0:05
Infoomom is a Xiaomi Redmi Note 8 Pro and today I will show you how to bypass the Google
0:10
Verification screen. So as you can see the phone in front of me is already locked and to bypass this we're
0:16
going to go back to the place where you get to choose a language
0:22
So right here and it's got to be the system language so from here choose any kind of language
0:27
that is just not using a quality system. So, for instance, French, I guess, could probably work
0:35
Greek will work Russian, so it doesn't really matter. So, for instance, I'm just going to choose Greek
0:42
Then let's proceed on. It doesn't really matter what we choose here. And from here, where you have connect to network
0:49
you want to top on the last option to basically connect to a custom one
0:54
And an SSID, just type here. so you get the keyboard and once you tap on this or not top but hold the space bar
1:02
you will get option to change between keyboard so you have the Greek one and the
1:05
query one so instead of choosing one we're gonna actually select a keyboard right
1:11
now so we can actually type in English alphabet and then also tap on the last
1:18
option right here and it takes us there top on the bottom button right here and
1:23
then choose the option right here and then top on the three dots choose the second option and from here in the search
1:37
field we're going to type in Morse M-O-R and you'll see probably right at the
1:43
bottom the only option is use M-M-M-R so select that a little video loads top on it
1:49
to actually gain more options to it so you can see that now we have the three
1:54
dots up here you can top on it and you have option to watch later once you top on it it takes you to browser so we want to top on the
2:03
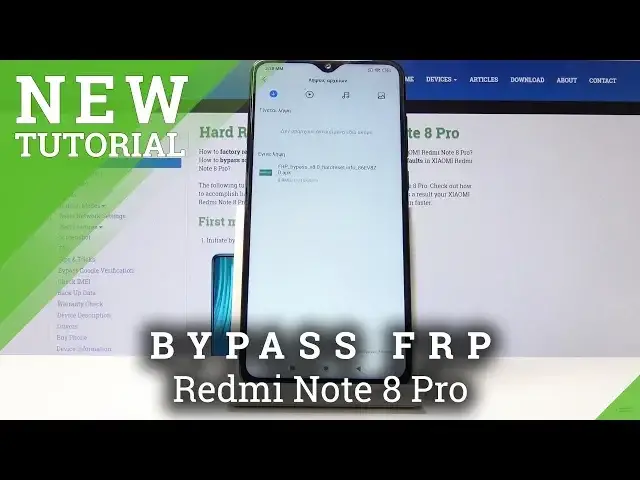
browser confirm this and in a search bar now navigate into the hard reset
2:09
that info website so like so hard reset that info and then let's go there
2:23
and then once you on the website top on the website bar right here gain access to different categories and select download And now in the download search field you want to search for Android 8
2:40
Okay, as you can see, Android 8, search for it, and you should see FRP bypass
2:46
So it is right now, tap on download. Then scroll down. Once more, tap on download
2:55
Yep. And let's stop on okay. Once you see the pop-up, tap on it
3:06
and then top on the FRP bypass right here. And basically every option on the right side is a confirmation
3:14
and on the left is denial. So let's tap on confirm to basically allow unknown sources
3:20
So top here and then check this on, and now we can go back one field
3:24
and then tap right here on the right side to install. Once more, okay, grant access
3:34
And once it's installed, you'll have the option to open it. And we're now in the app
3:40
So from here, you want to tap on the Google Access and then choose for version 6.0
3:46
Once more, we have to install it, so confirm and then allow access for known sources
3:52
Go back and install. And once this is installed, instead of actually opening it, you want to go back
4:00
And we should be back in the FRP bypass app. And now choose the other option, which is bypass FRP, and choose browser sign-in
4:08
From here, tap on a three dots right here, and tap on the option. Okay
4:14
And now we get to log in with a Google account that we choose to use
4:19
So I already have one created. If you don't have a Google account, you can always go on your computer and create
4:24
one so you can use it here or I believe the option right here is to create one
4:30
So I'm going to use mine. Okay, let's progress further and I'm going to put in the password for it
4:42
And then tap on the, again, the button, confirm it. And it's basically logged in once you're back here
4:54
on the FRP bypass all you need to do now is hold power key and then simply tap on reboot which is the circular arrow right here Once more and wait for the device to turn back on
5:06
And once it does, we should be back in the setup screen of the device. But this time, once we get to the previously where we were getting basically stopped by Google verification
5:18
you will now see a pop-up that basically a new account has been added, and that will be the account that we have added before the restart of the device
5:26
so give it a moment for it to actually load up now we can actually go back to the first
5:32
page right now and change language to English for instance so you actually can
5:37
understand what you're selecting to keep on going and then it can stay on doesn't
5:42
really matter continue skip this step go and you can see it's starting to check for
5:49
updates and as well look for verification don't copy and the next screen usually
5:54
was the Google verification page. And as you can see, account added, and it's the account that I have provided
6:00
just before the reset of the device. So let's stop on Next. I agree
6:07
I accept. Now, keep in mind that right now we're just plowing through this setup
6:12
without actually setting it up really as we like. Stop on Next
6:16
Doesn't really matter, no thanks. And once we're done with it, we want to perform a hard reset of the device
6:22
once more through the settings. so keep that in mind so then we'll get to remove basically everything that is left on the device
6:29
any kind of previous account skip we're i don't want to set up anything and complete
6:38
and as you can see we're basically on the home screen so from here we're basically on the home screen so from here
6:53
go into the settings and then let's find I think it was under my device and then backup and
7:02
reset and choose factory reset or erase all data and then at the bottom reset phone wait
7:09
10 seconds to go to the next step or you get to wait another 10 seconds it's basically
7:17
giving you the warning that it's going to remove all personal data from the phone which we
7:22
don really care about we want to remove basically everything anyway okay and now let wait for the phone to actually perform the reset of the device
7:37
And once it's finished, we should be back in the setup screen, but this time around, we can set up the device as however we like, and it will be fully unlocked
7:57
Okay, so let's go to the setup now that it's finished
8:16
Now once more I'm just going to skip through most of this. It's not really needed to set it up correctly
8:23
I'm only doing this for the purpose of actually showing that it worked. so let's proceed further and as you already seen i skipped connecting to
8:32
Wi-Fi which normally you wouldn't be able to do if there is a need to verify the
8:38
account and if it wouldn't stop me right here then it would stop me at the end where i'm
8:43
trying to basically finish it finish this setup so let's go further and
8:54
so normally if there would be a need to verify and I just skip the connection to Wi-Fi right here
9:01
It would be the time where the phone would stop me and just back me up to the point where I need to actually connect to Wi-Fi again
9:12
But as you can see, it's loading apps at the moment. And as you can see, we're now on the home screen without any need to verify anything or add an account
9:43
So that is how you bypass the Google verification screen. And if you found this very helpful, don't forget to like, subscribe and thanks for watching