0:00
Welcome, in front of me is a OPPO Reno5 and today I'll show you how to capture a screenshot
0:11
on this device. And to get started, open up the content that you wish to capture
0:15
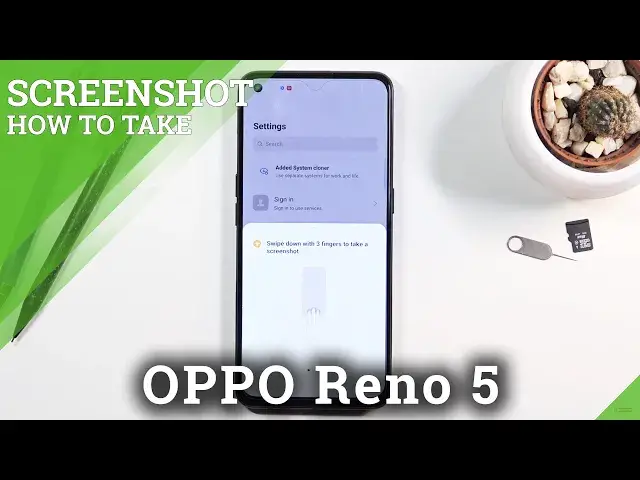
I'm going to be using settings as an example for this. And once you have it open and visible, simply press power key and volume down
0:25
It's a simple press and you will have this little thing up here so you can either swipe
0:30
up to share or swipe down to create a scrollable screenshot or disregard it and this will disappear
0:36
Now once it disappears and you have done this for the first time, it will give you this
0:41
little guide right here that it can capture your screenshots in three different ways as well
0:46
So you can use three fingers to swipe down to basically capture a screenshot as we did
0:51
by pressing these two keys. Personally I do like this, it is a way quicker option and more convenient one
0:58
Then all of the other options are just iterations of the three fingers so we can capture a specific
1:03
portion of the screen by just holding the three fingers and then swiping down and it
1:08
will select an area on the screen which you can edit. And then lastly we have the three fingers swipe down
1:14
So you just swipe three fingers all the way down and this will start a scrollable screenshot
1:21
Now personally this is a little bit wonky and I will show you what I mean in a second
1:28
It doesn't always work so you will probably have to try it a couple of times so I would
1:33
advise you if you are trying to create a scrollable screenshot just to capture it normally and
1:37
then swipe down the icon to start a scrollable one. So let me just get rid of this and show you what I mean
1:44
So we have that three fingers swipe down. There we go. There is the screenshot
1:51
Then we have three finger hold. So there we go, it disappeared
1:56
As you can see it changes it and we can now scroll a little bit down, let it go and we
2:02
can also from here resize it to our liking and tap on the check mark to save it
2:09
And lastly it was the three finger swipe down for a scrollable one
2:13
And like I said this one doesn't always work. You have to be fairly precise with it
2:18
Once it starts scrolling as you can see right now you can grab the screen and stop it from
2:23
scrolling all the way down. You can basically move it up if you want to, move it down however far down you want and
2:29
once you are satisfied you can just tap on the check mark and this will show you what
2:33
it captured. Let's confirm that. And lastly what I was saying before because the three finger swipe down for a scrollable
2:42
screenshot is a little bit wonky what you could do is just click, do a quick swipe and
2:48
then do this. And this will have the same effect, although we are at the bottom of the page so it can't
2:55
scroll anymore. But it's going to be a little bit easier because as an example if you just quickly, let me
3:03
quickly show you what I mean with the three finger swipe down for a scrollable one that
3:07
is wonky. So you do this, as you can see even though I swiped all the way down it decided to capture
3:14
a portion instead of a scrollable one and that is what will happen most of the time
3:19
if you are trying to do it quickly. So I do advise you just to do a quick swipe and then pull down to create a scrollable one
3:27
Now anyway, once we have captured our screenshots you can find them all in our photo gallery
3:34
Once we find the gallery. There we go, photos. So you can see, if we go back, there we go
3:48
Right now there is no additional folders because I haven't captured anything else so this is
3:54
just in the main directory but usually you will also have the categories like just photos
4:01
albums and stuff like that. In an album it will create a screenshot album and you should be able to find all your screenshots
4:07
in there. So as you can see those are the several different screenshots that I have captured just to showcase
4:12
this function. So if you found this video helpful don't forget to hit like, subscribe and thanks for watching