0:00
Welcome here I've got Xiaomi Redmi Note 10 and I'm going to show you how to record the time lapse video at this device
0:13
So at first we have to tap on a camera button to open it. And for now we are in the standard photo mode
0:19
Let's change it by using this settings bar and just simply going to the right to more
0:24
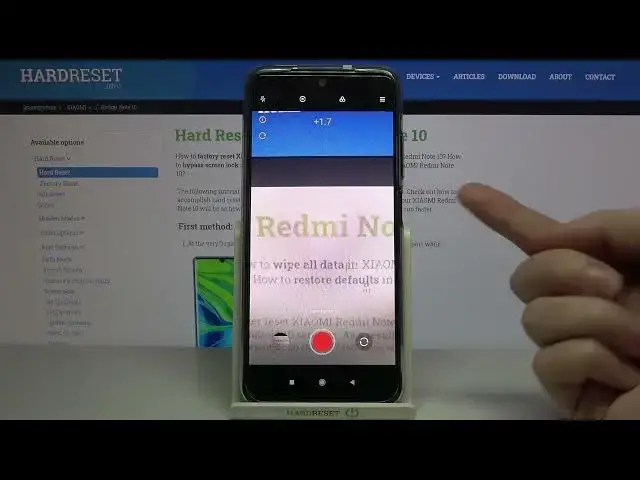
Here we have access to other modes of this camera. One of this is the time lapse, so let's be good
0:29
And here we are, now we can start recording this kind of video by tapping on this big red button at the center
0:36
We can also adjust the speed and the duration of our time lapse by going to the right side to this button
0:44
Let's start with speed, we have spectrum from 4 to 1 and 8,000 of it
0:49
So this is really wide choice. And a really good thing is also that we have some short suggestions from the device
0:56
which speed is good for which conditions we have. when we want to record that kind of video. So for example 30 is good for recording street
1:05
120 is good for sunrises and sunsets and maybe 450 is good for recording dusk
1:15
So this is really cool thing here. Now let's stay for example on 10 to street and move to the duration
1:22
Here we can decide how long our video should have We can pick the unlimited time and then from 30 to 240 so we can for example leave our phone to a few hours to record a longer video Now let stay on unlimited You can also tap to this
1:45
button here in the left side with eye letter to see some examples of different speeds
1:53
as you can see and read about the speed and the duration. Also when we go back to this view and move out from this
2:02
let's move to the right side and this one button. Here we have really pro options about our video like in the camera pro mode
2:12
So from the right we can pick the exposure compensation of the video
2:16
Here we can manage the light of it. By going to the right on the side there or to the left we can make it more bright
2:23
or dark. At the center we have zero parameters. The next one thing here we can adjust is the
2:29
ESO so we can control camera's sensitivity to light. We can make it less sensitive from 100
2:36
or by going to the right more sensitive to 3 and 2,000. So this is really, really wide spectrum
2:44
and really professional thing. At the beginning from the left we have auto settings so there's
2:49
no problem to go back to auto ISO. The next one thing here is the
2:53
shooter speed so we can decide how fast the camera takes picture in our video We can pick from 1 and 4 of seconds so this is really short time to 30 seconds so this is really long one And of course from the left we have a letter button
3:14
to go back to auto settings. Also, when we adjust them manually like that, we don't have to go back
3:23
to the auto settings separately. We have one extra button. which appear here and all of this goes back to the auto now
3:33
But now let's move to this button. Here we have also the focusing so we can change auto focus on our video to the manual
3:41
and we can use this like that to pick how close we want to be from our subject that is focused
3:51
And the last one button here is the white balance. So here we can manage the temperature of our picture
3:57
it depends from the light we have in the area where we take a photo so we can pick the tungsten light
4:04
daylight, white fluorescent light, cloudy light and the last one button here gives us access to extra slider
4:12
and here we can adjust the temperature in calving degrees manually so when we go to the left we can make it more cold
4:21
when we go to the right we can make it more warm and of course with that we can easily tap to the a letter or
4:27
here to go back to the auto settings So these are really pro parameters Now let me stay for example on the tank stand light the focusing let stay on the auto The shooter speed may be here and the ISO here
4:44
Or maybe a little bit bigger. The exposure compensation now is locked because the shooter speed and the ISO together
4:52
are kind of exposure compensation. So as you can see when I change this, we can also manage the light of the picture now
5:00
in these parameters together. So if you want to use the exporter compensation
5:05
these two parameters should be on the auto to unlock this. Now let's stay on this one and let me start recording
5:13
to show you an example on this kind of time-lapse video. And this is my object
5:20
The time-lapse should speed up the original video, so I'm going to move it slowly
5:25
Now let's tap by tapping again on this button
5:34
and to see the video let's move to the left one to this that follows us straight to the gallery
5:40
Now we can play it by tapping on the center And this is how the time lapse video
5:45
Looks like at this device with some usual parameters So I think this is really cool
5:52
And that's all thanks for watching subscribe by our channel and leave the thumbs up