0:00
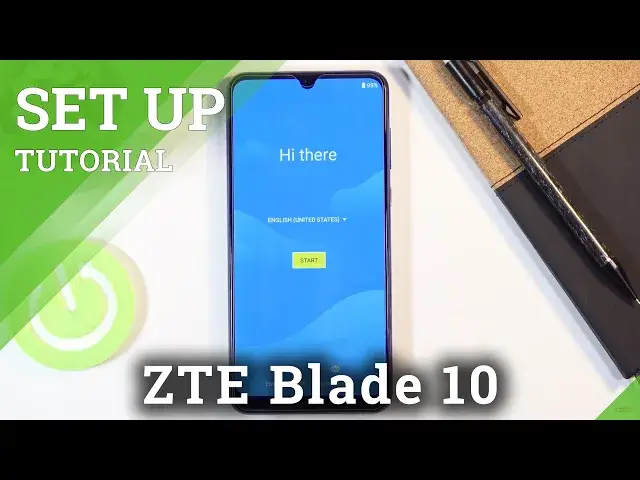
Welcome, Efraim is a ZTE Blade 10 and today I'll show you how to go through the setup
0:12
process of the device. And when you boot it up for the first time, you'll be presented with the HiDare screen
0:20
So from here, simply select the language that you want to use by just tapping right over
0:24
here and then finding your desired language. I'm going to stick with English so just select it and then tap on start
0:34
Then we have the page for inserting a SIM card. This step is completely optional and you can insert a SIM card at any given moment that
0:40
you want to. And once you do, it will start working as it would do right over here
0:46
So let's just skip this for now. And then we have Wi-Fi connection
0:50
So you can connect to Wi-Fi if you want to or if you have access to it right now or you
0:54
can completely skip it. Now the downside of skipping it is you won't have time set automatically and also throughout
1:04
the process you won't be able to connect to a Google account which also won't give you
1:09
the option to restore your device from an old backup that would be located somewhere
1:13
on the Google Drive. But you can still do that later on after you finish the setup just through settings
1:19
It won't be as neatly provided in order as it is right here but it still can be done afterwards
1:26
So I'm going to select skip right now. And then we have the date and time
1:32
Now like I said if you choose to connect to Wi-Fi, date and time is being set automatically
1:36
so this page doesn't even pop up. So let's just tap on next and let's record it for now
1:42
Then we have Google services. So we have location scanning and send user and diagnostic data
1:47
Now each one of them basically does kind of what it says
1:50
So location uses your GPS tracking so apps can access it, allow scanning
1:57
Basically apps have access to Bluetooth and Wi-Fi so they also scan for some kind of devices
2:03
that would give off the Bluetooth or Wi-Fi in the area and then send user and diagnostic
2:08
data which will simply send data to Google on how you use the device
2:13
If you don't want any of those you can actually deselect them and then tap on accept at the bottom
2:19
And here we have the ability to protect our device. Now this is for the fingerprint so if you tap on next it will give you the option to
2:26
set I believe a pin by default but you can change it and then it will prompt you to put
2:31
in a fingerprint. So you could tap on next for instance and then as you can see you have fingerprint pattern
2:38
pin or password. So choose whichever one you want. I'm going to go with the pattern and from here let's tap on secure startup
2:45
Now this is completely up to you. Secure startup means that when the device is booting up, before it fully boots up it
2:52
will require a protection so if you have pin, pattern or password it will require one of those
2:59
I don't personally like this because it shows up before the device boots up and then once
3:04
it boots up you still have to do it once more so you basically have to unlock the device twice
3:09
So I'm going to select no. And then we have the screen lock
3:14
So right here is the pattern because that's what I said. So let's draw the pattern, tap on next, redraw it, confirm
3:19
And that is going to be automatically set. Now it also tells me to now start scanning my finger on the fingerprint sensor but you
3:26
know what I don't really want to do that so I'm going to skip it and skip anyway. Now this will still keep the pattern that I have chosen
3:33
Privacy policy obviously let's agree and I believe this is about it
3:37
Oh there we go there's one more thing. So system navigation. Here you can set what kind of navigation on the display you want
3:44
So you can have the normal buttons as you can see right here the back and in the middle
3:48
you normally have the home and like you can see right here and then resend the square
3:53
So if that's something that you want then stick with the default one that is selected
3:57
but if you want the gestures just select gestures and all set and there we go now we have gestures
4:04
So if you found this video helpful don't forget to hit like, subscribe and thanks for watching