0:00
Hello! In front of me I have Vivo Y52 5G and I'm gonna show you how to go
0:11
through the first setup on this device. Let's start by selecting the language. To
0:17
do it simply tap on this text right here above the button to open the list of
0:22
languages. Now you can swipe up and down on the screen to scroll through the list
0:27
find the language you like to use and tap on it to select it. In my case I'm
0:31
gonna select English like this. Now we need to select the region and again you
0:36
can swipe up and down on the screen to scroll through the list of regions, find
0:41
the region you like to use and tap on it to select it. I'm gonna select United
0:45
States for example. Now we can tap on start button to continue but before that
0:51
you can also tap on emergency call right here to call the emergency numbers and
0:56
also you can tap on auxiliary settings for reading and here you can
1:01
customize some settings like magnification, font size, select to speak rather and talk back. Okay. Now let's tap on start button to continue. Here we can
1:14
select our location. Again you can swipe up and down on the screen to scroll
1:19
through the list, find the location you are in or you like to use and tap on it
1:24
to select it. For example I'm gonna select Australia like this. Now we need
1:33
to agree to the user agreements. To do it tap on this checkbox and then tap next
1:44
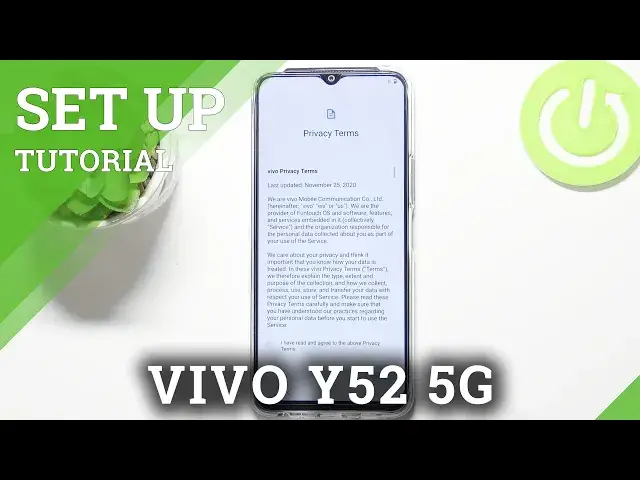
Here we need to agree to the privacy terms. Again tap on the checkbox and tap
1:49
next. And here we need to agree to the e-warranty card privacy terms. Again tap
1:55
on the checkbox and tap next. Here we can agree to sending the usage
2:01
diagnostics information to Vivo if you want to. You can do it by tapping the
2:08
checkbox right here next to agree to send usage and diagnostic information
2:12
and then you can tap next. But if you don't want to, you don't need to, you can
2:17
just keep it unchecked and tap next to continue. And right here we can connect
2:22
to the Wi-Fi network. You can also skip this step and not connect to anything by
2:27
tapping on setup offline but I recommend you to connect to a web network because
2:31
if you do you will be able to set up your Google account and also or rather
2:38
connect to your Google account on your phone and also the time and date will be
2:43
automatically synced to your network so you won't need to do it manually. Okay
2:47
let's select the network we want to connect for example this one and now we
2:52
need to enter the password so give it a few seconds. And once you're done
3:01
entering the password tap on connect to connect to network. The apps and data from the Google account or different device. If you want
3:23
to do it simply tap on next right here and you can select to backup from the
3:29
Android phone, from the cloud or iPhone. I don't want to copy any data so I'm just
3:34
gonna go back and tap on don't copy right here. And now we can log in into a Google account. You can also skip this step by
3:54
tapping skip button right here but again I recommend to log into one. It's gonna
3:59
make up this setup easier and of course it's gonna let you to use different
4:05
apps like Google Play Store, YouTube and stuff like that on your phone. Okay let's
4:10
stop right here and enter the account name or email address. Then tap next. Now we need to enter the password so give me a few seconds
4:45
And once you're done entering the password tap on next to continue. Here
4:51
tap on I agree button. Right here we can turn on and off some of the Google services. For example if
5:11
you want to turn off the Google backup or backup to Google Drive you can tap
5:15
this switch and keep it disabled. And you have quite a few of them you can
5:20
customize. Once you're done changing the options simply scroll all the way down
5:25
and tap on the accept button. Now we can select the default search provider
5:35
Basically search engine and you have different options like this. I'm just
5:39
gonna select Google and then tap next but you can select any of this from this
5:45
list I mean. Okay let's tap next to continue. And right here we can either
5:51
skip the rest of the setup and just continue it later or we can just continue
5:57
and finish it up now so you don't need to do it later. I recommend to tap on
6:02
continue to finish it now. Here tap next and now we can set up or rather yeah set
6:13
up a Google assistant. Basically we can teach the Google to recognize our voice and to do it you can tap on I agree. If you don't want to use
6:24
the Google assistant simply tap on skip button right here to skip this step. I'm gonna tap on I agree. As you could see my assistant already knows how to
6:36
recognize my voice because I set it up before and it saves on the Google
6:41
account so it recognizes my voice but if you're doing it first time it will
6:46
ask you to say phrases like hey Google and okay Google a couple of times until
6:51
the recording is done. Okay here tap on next. Right here we can start saving
7:04
audio on the Google if you want to. If you want to help Google to improve
7:10
you can allow Google to save your audio or audio of your voice on the Google
7:16
cloud if I believe correctly. Yes from search assistant and maps basically if
7:22
you're using Google apps it will allow Google to save the audio of your voice
7:27
If you want to you can tap on start saving audio. I'm just gonna tap on not
7:31
now because I don't want to do it. And here we can add debit or credit card to
7:39
our Google wallet. If you want to do it tap on the add card button and follow
7:45
these instructions on the screen. I don't want to do it so I'm gonna tap on skip
7:48
and skip this step. And finally here we can add another email account, change the
7:55
font size and review additional apps. If you want to do any of these you simply
7:59
tap on the option like for example change font size and now you can
8:04
customize the font size if you want and then you can go back. And once you're
8:08
done you will have the done for now button. Before if you don't want to do
8:12
any of these things you should have button right here. I don't remember what
8:18
it says but basically you can skip this step by tapping right here on this
8:22
button on the left side. Okay now let's tap on done for now
8:29
And now we can set up a screen lock method. Basically protection for our
8:34
phone. To do it simply select the method. We have screen lock, fingerprint and face
8:39
and follow the instructions on the screen. I don't want to do
8:43
it I'm just gonna tap on skip button right here to skip this step
8:55
And right here we can enable the system updates. To do it simply tap on next. You
9:02
can also tap on install manually to disable it and not enable the automatic
9:07
updates. I'm gonna tap on next to keep them enabled and you should see this
9:11
screen right here. And as you can see it says our phone is ready. Let's tap on
9:15
start to finish the setup. And at this point the setup is done and our phone is
9:24
ready to use. That's how you go through the first setup on this device. Thank you
9:30
for watching. If you found this video helpful please consider subscribing to
9:35
our Channel and leaving the like on the video