0:06
I'm filming the Wepo S5 and today I'll show you how to go to the setup process of the device
0:13
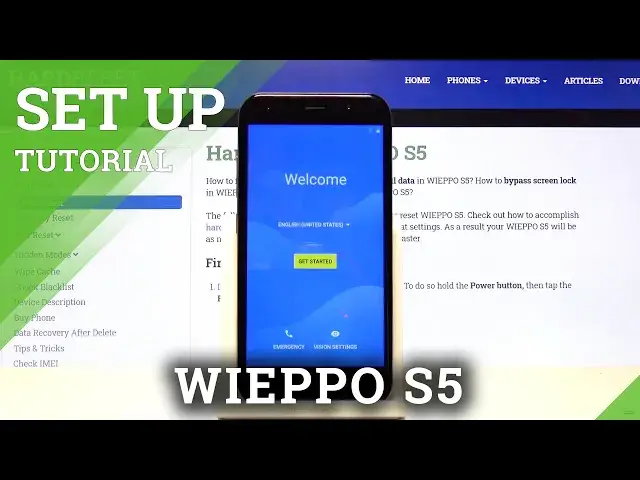
So when you boot it up for the first time you'll be presented to the welcoming screen right here
0:18
and all you need to start is select your language. Now I'm going to stick with English and then tap on get started
0:26
And on the next page you are prompted to insert a SIM card. to insert a SIM card. Now this step is completely optional and literally changes nothing
0:33
throughout the setup. The moment you insert a SIM card it will work just fine. There is literally
0:39
nothing that is required of you to do once you insert it. So this step is kind of useless
0:46
Step on skip. Then we have set up your repo s5 so we can either
0:52
basically restore apps and data from an old device or set it up as new which that's what I'm
0:58
going to do by tapping us set up as new and then get connected option to connect to Wi-Fi if you
1:06
don't have a Wi-Fi just disregard this it really changes little the only difference is if you
1:12
connect to Wi-Fi throughout the setup it will give you as one of the steps ability to log into your
1:17
Google account and if you choose to skip it you just won't have the option throughout the setup
1:24
now as be sure you can still log into your Google account after the setup just simply
1:28
through settings The differences it won be neatly provided like it is here but we can still do it later on Then we have Google Services we have help apps find location so just GPS tracking improve location accuracy scanning and then send system data
1:47
Now in a newer version, this is called send user and diagnostic data
1:52
So all these options are optional, so if you don't want them, you can disable them
1:58
If you want to know exactly what they do, you can tap on the error right here, text
2:01
spend it, but basically the brief version of it. The location, which is the first one, uses GPS, so apps, for instance, like Google Maps
2:10
can track your location accurately, and for instance, if you're using just GPS navigation
2:15
it knows where you are and where you will be, so it basically gives you accurate destination
2:22
and also like the turn right left at the accurate moment. And this also includes the improved location accuracy
2:31
it will also use that. But apart from that, the location or the
2:38
basically scanning option just scans also Wi-Fi, Bluetooth and all that signals so you have the ability to connect to them
2:47
And I will also add that for location, certain ops will require them
2:53
things like the majority of smart home accessories and for instance watches, smart watches, which is complete crap
3:01
because they literally shouldn't need it. There is no need for a watch to know my location
3:07
It only needs Bluetooth access So keep that in mind But then there are also apps that work better with it will not require it As an example like I said at the beginning Google Maps You can run Google Maps
3:21
without location, but it will work better with it. And then at the bottom send the system data
3:27
so user and diagnostic data, other words. So basically, gather data on what you do and how you use
3:32
your device and sends it to Google. Now, in certain devices it is also divided
3:38
into ads as well so it basically looks for what you're searching and then
3:42
gives you ads based on your search results but I'm not sure if this is
3:46
actually included here so once you disable them or enable keep it enabled
3:51
whatever you want I can then scroll down and top on next and we have date
3:57
and time so we can set up our date and time and now as you can see at least
4:03
for me it is not set correctly now it's 1137 and well it's definitely not 2018 so that's first certain so number one I
4:15
could change the time zone to plus two and also completely disregard this
4:22
if you want to because once you connect to Wi-Fi I believe it will
4:26
sync it automatically to be a correct time but assuming you're not
4:31
planning to connect to Wi-Fi you can simply tap right here and do it yourself
4:36
so let's go to 307 there we go so let see Glorious 2020 Okay now I just going to just record setting it correctly
4:59
So there we go. Then on the next page we have the name of the device
5:05
Now this will change the name in things like Bluetooth, so when you're searching for your device
5:10
it will take the name that is right here, and also Wi-Fi hotspot, along with the name
5:15
just simply connecting it to your computer. All those will take the name that you insert here
5:20
If you just to leave this empty, it will then take the name of the device itself
5:24
so it will be something like repo S5, maybe some model number. So you can simply leave this empty if you want to
5:32
if you don't care to have a specific name set. Then protect your phone
5:37
So here you can set pin, pattern, password, whatever you want, or nothing at all if you want
5:42
I'm going to set up a pattern. So once you top on one of them you will need to insert it
5:48
So I have pattern and continue. Repeat that same code again. Then we go and confirm
5:56
And anything else. So we can add email address that is assuming you connect to Wi-Fi
6:03
So no, let's stop on setup later. Basically everything is set and there we go
6:10
So if you found this video helpful, don't forget to like, subscribe
6:14
subscribe and thanks for watching