0:00
Welcome and from me is the Honor Magic 4 Pro and today I'll show you how you can
0:05
go through the setup of this phone. So when you boot it up for the first time
0:12
you should be presented with roughly the same screen as you can see right over here. Now from the list you will want to select your desired language but for me
0:19
it's already selected a correct one. So let's choose get started. Here we can
0:26
select our region. This time around it's not actually showing that or selecting
0:30
the correct regions so I'm gonna change it to Polish and then I can proceed to
0:34
the next page which is terms of use. Now you can tap on details to read exactly
0:39
what you will be agreeing to but at the end of the day you do need to check the box right here that have carefully read and agreed to them. And we can go to the
0:48
next page which allows us to insert a SIM card. Now I have two ways of actually
0:53
doing so. You can do it through inserting a normal SIM card like this
0:56
one or you can insert a eSIM which is done through a code or you can skip this
1:05
which is what I will be doing. Now if you choose to skip inserting a SIM card and
1:10
also connecting to Wi-Fi then date and time will probably not be set
1:14
automatically and not correctly and additionally you won't see the Google login page throughout the setup process. Now both of those things can be later on
1:23
changed after the setup is completed by going simply to the settings and I'll be
1:29
skipping the Wi-Fi connection as well. So there is the date and time which is not set correctly and automatically but
1:40
it did choose the correct time zone. Now next page we have Google services so we
1:48
have three different ones. We have location, scanning and sending user and diagnostic data. You can tap on the arrow to drop it down and see a bit of a
1:56
longer version of what this does and if you don't like it you can simply turn it
2:01
off. Now let's go down into the next page which gives us a connection error I
2:08
guess because we are not connected to any kind of network. So this page I
2:14
believe normally would give us a Google login page but because we're not
2:19
connected it gives us this kind of prompt. I'm gonna select skip for now
2:22
Obviously if you want to connect you can then could have tapped on the try
2:29
another network option and connect to some kind of network if you want to
2:33
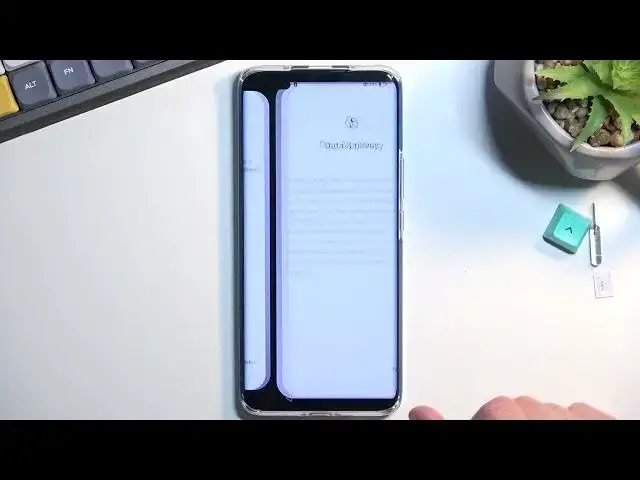
actually connect to some account. Now here we have some data and privacy which
2:41
is kind of hilarious coming from Huawei. Wait sorry Honor. So we can tap on details
2:48
to read exactly what these are and go to next which will allow you to set up
2:53
some kind of screen protection. So we have several different ways of going
2:57
about it. We have a fingerprint, face recognition and then password which will
3:01
give you three different options which is pin, pattern or password. Now if you're
3:06
planning to use any of the two first ones so fingerprint or and face
3:11
recognition you are always required to set up a physical way of unlocking the
3:15
device that'd be pin, pattern or password. Now the reason for that is if
3:19
something would happen to your face or your finger or maybe the sensors on a phone you still have some other way of accessing your device and obviously if
3:28
you don't want to protect your phone which is completely fine you can just select next and then skip. Here we have some enhanced services so we can read
3:38
exactly what these are and if you're interested in those enhanced services
3:44
you can select enable all or you can set up enhanced services which will allow
3:48
you to pick and choose or you can select no thanks if you don't want to. And I
3:54
have user experience improvement programs which again same as before read exactly what these are you like it select join you don't later. Location
4:04
services same as before. Keep your software up to date basically allows the
4:13
device to automatically update during nighttime if you want to then tap right
4:18
here enable and continue and if you don't want this instead of having the
4:23
button later here you have this text update manually and then select don't
4:29
enable. And from here we can choose our navigation style now it's automatically
4:36
prompting us to learn the gesture navigation so tap try gestures and if
4:43
you have never used them before you can go to the quick guide that it gives you
4:47
right here by just kind of like swiping as it tells you. If you use them before
4:52
you know how they work so you can close this and if you want to use gestures
4:58
then just select finish. If you prefer to use the buttons then you can tap right
5:03
here change navigation method and select the three button navigation instead but I'll be sticking with gestures. And this finishes up the setup
5:12
so if you found this very helpful don't forget to hit like subscribe and thanks