0:00
Welcome. In front of me is a Google Pixel 7 Pro and today I'll show you how we can go
0:05
through the setup process of this phone. So to get started when you boot up your phone for the very first time you should be welcomed
0:16
by this page right over here which is welcome to your Pixel. Select your desired language
0:21
For me it's already selected a correct one so I'm not going to be changing it. And then I have also accessibility options but for the most part majority of you won't
0:29
probably care about those so select get started after choosing your language. Now on the next page you can insert your SIM card. This can be done right now if you want to
0:40
It's not a necessity or requirement. Now the reason it shows up right here is because by
0:46
inserting your SIM card you will have the option to connect to your mobile network
0:51
So that would also be one of the ways you can then sign into your Google account throughout
0:55
the setup process. And the other way would be using just Wi-Fi. If you choose to skip both of
1:00
them then you won't have the Google login page and usually date and time isn't set automatically
1:05
so you need to set it up yourself which is what I'll be doing. So here we have the Wi-Fi
1:12
connection page like I mentioned. I'm going to choose setup offline. It gives us a pop-up right
1:16
here that without connection we can sign into our Google account, restore apps and data and
1:22
get software updates and automatically set up the time and date. So basically everything that
1:26
I mentioned. And here's our date and time so we could set it up right now correctly but actually
1:34
it looks to be set correctly by default. I'm just going to quickly check. Yep it actually is selected set correctly right now even with the
1:44
time and date which is surprising so I don't even need to do anything there. Now next page we have
1:50
Google services. So we have location, scanning and then sending user and diagnostic data. So
1:57
obviously you can turn them off if you don't want them. Probably things like the send user and
2:02
diagnostic data is a little bit too creepy in my opinion, just intrusive. So I'm going to disable
2:07
it and from there we can just scroll down and select accept which takes us to the next page
2:12
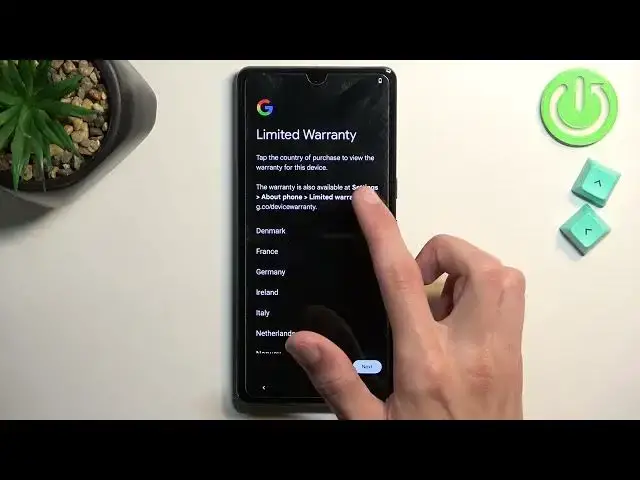
which is limited warranty. Now this is just information so tap the country of purchase to
2:20
view the warranty for the device. So this is just information. It also tells you that I can view this
2:26
in settings, about phone and limited warranty. So this will also be there. So I'm going to select
2:33
next. There's nothing there to do and this will take me to a page where I can set up a screen lock
2:38
Now by default it opts into a four-digit PIN but you can tap screen lock options and this will
2:43
also give you options for pattern and password. You can choose either one of those and obviously
2:50
if you don't want to protect your phone that's fine too. You can just select skip and then skip
2:55
once more. So let's navigate your phone. So this will just give you a guide on gesture navigation
3:05
If you don't want gesture navigation you can skip this and it will keep the three-button navigation
3:09
which is like the home, recent and back. But I do prefer gestures so I'm going to select try
3:15
and I do know them so counter-intuitively I'm going to select skip which will use them
3:23
And as you can see now I can just swipe up to go home which finishes up the setup of my phone
3:29
So there we go. If you found this video helpful don't forget to hit like
3:33
subscribe and thanks for watching