0:00
Welcome! Here I've got Huawei MatePad Pro and I'm gonna show you camera pro mode at
0:10
this device. So at first we have to click on a camera button here and now as you
0:15
can see we are in the standard photo mode. So let's go to this settings bar
0:19
and slide up to the more to get access to the more advanced modes and here in
0:24
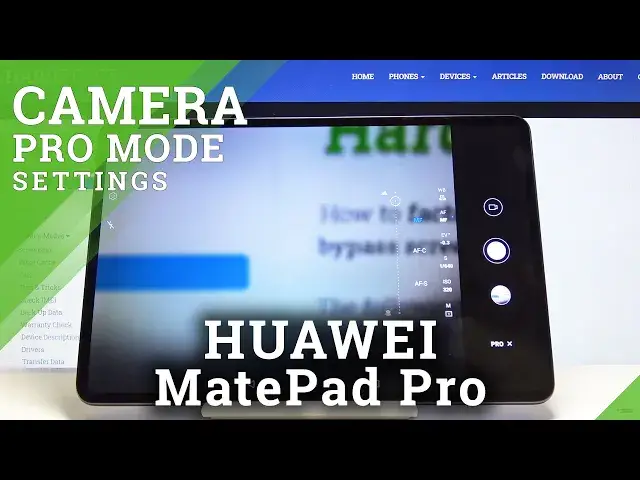
the first place we have the pro mode. So here we are. The pro mode gives us
0:29
possibility to choose shooting parameters by ourselves. This is useful for example when we want to making experiments in photography. And let's
0:37
focus on this settings bar here for now. The first button here is the white
0:41
balance so we can pick from the cloudy light, white fluorescent light, tungsten
0:47
light, daylight and also we get access to this slider so here we can control the
0:53
temperature of our picture in Kelvin degrees by using this slider and as
0:58
you can see we can make our picture more warm or more cold as we need by
1:03
using this. And now let's go to the next button here so here we can change the
1:09
auto focus to the manual focus. As you can see we can pick spot autofocus
1:15
center autofocus and manual focus and by using this button and the slider we can
1:24
focus manually like that. And now let's go to the next button here. This is the
1:30
exposure compensation so here we can make our picture more bright or more
1:36
dark as we need. This is how it looks like. And let's go to this shooter speed
1:42
This is the next parameter here. So here we can pick the time of taking picture
1:49
from pretty wide spectrum as you can see from one and four thousands of seconds
1:53
to the eight seconds of taking picture which is very long. And I'm going to stay
1:59
on this for now. And let's go to the next button. This is the ISO so here we can
2:04
control the camera's sensitivity to light and also we have this pretty wide
2:09
spectrum from 50 to wide 1 and 600 and this is how it works. And when we go back
2:17
want to go back to the auto settings we tap on this here and let's go to the
2:22
last button here. This is the mattering as you can see you can pick from the center weighted mattering, then the matrix mattering and the spot mattering. And now
2:32
let's go to the more advanced settings here. So by tapping on this button on the
2:37
left we get access to it and in the pro mode we have the extra resolution so
2:44
here we can pick the photo format in RAW and this is the best possible quality of
2:50
saving picture used by professional photographers to especially post-producing them in the graphic program but this is really useful and good to have this in this device
3:02
And also interesting thing here is the horizontal level. This is not available
3:07
in the standard photo mode so when we tap on this and get this turned on we
3:15
have this line and this lets us to keep our topic straight like that. This is how
3:22
it works and of course when we want to turn it off we go back to this settings
3:26
and simply tapping on this button here. And now I'm going to take a picture
3:45
And that's all. Thanks for watching, subscribe our channel and leave the thumbs up