0:00
Welcome. Today I'm with Motorola Edge 20 Lite and I will show you how can I apply
0:11
tempered glass on display and the smartphone. So now we have to at the
0:17
first take a look on display. As you can see I can find here a lot of fingerprints and other greasy marks. So we have to remember that the good
0:26
lighting is essential to see all the mess that we have on our display. And
0:29
also it will be good if you have the quiet place so that nothing can distract
0:34
you. That's very important. And next we can finally move to our box with
0:39
tempered glass. So I have this kind of the protection on the screen. And
0:44
in the box you can also find two wipes. We have wet and dry. And the first we are
0:52
going to use a wet wipe to remove the fingerprints and the greasy marks
0:55
from our display. And after that we will get the dry one. But let's
1:00
start from the wet. So open it and sometimes these wet wipes comes dry
1:06
unfortunately. So if something like that happened to you you can use
1:11
something like window cleaner or something like that and apply it on your
1:16
on your wipe. In my case everything is fine but you know that
1:23
sometimes. So you have to clean your screen like that. You can make moves in
1:28
the circle, reach every corner and edge. And that's how easy you can remove all
1:37
of these greasy marks and fingerprints from the display. As you can see our display looks right now definitely better. So the next step is to
1:45
use the dry wipe. And just do the same. So with the dry wipe we have to remove all
1:57
of these wet marks after cleaning with the wet wipe. And as you can see right now
2:04
our display looks fantastic. So you have to be sure that there is no any dust on
2:11
the screen. Because when you apply tempered glass on the display you will
2:15
find air bubbles. So you want to avoid that. So if you have any dust just drag
2:20
to the bottom section of the screen and remove it with the wipe. You can also use
2:26
the stickers or duct tape whatever you have around you. And finally we can move
2:30
to apply tempered glass. So we have to remove this sticker and it will follow
2:34
with this foil. Sometimes it's not happened so you have to remove this foil
2:42
manually by using your fingernail and put it underneath this foil from the
2:48
one of the edge. And right now we have to keep holding the bottom part and put the
2:53
notch right here. It's very important to put glass, to apply this glass evenly
3:02
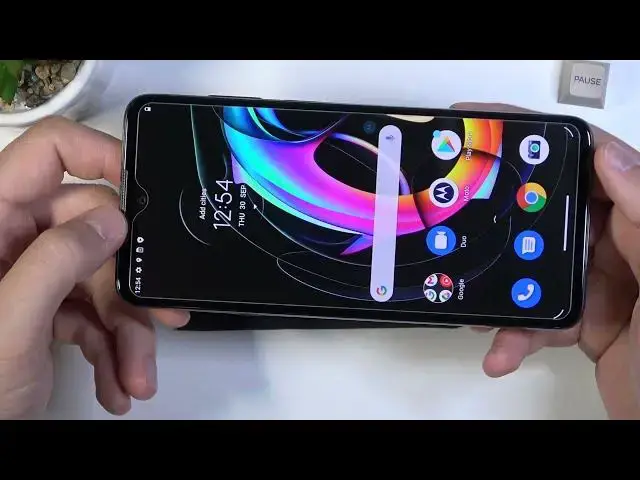
You can turn on the screen to take a look how it looks. I think that in my
3:09
case it looks really good. And I'm going to turn it on a little bit to the
3:15
right side like that. And then you can finally put it on your display like that
3:24
And take a look. It goes automatically. You don't even have to press on the
3:27
screen. But you can for sure to make it faster like that. And as you can see we
3:32
get here this kind of the marks. It's the glue marks. So if you want to remove them
3:37
we can do it very simply. You have to press on them with wipe. As you can see it
3:43
disappears. So that's what I'm going to do right now. Okay and as you can see right now we finally get rid of all of this glue marks
3:57
and we can use our device. So as you can see we don't have any problem with the
4:01
touch interaction. So we don't have to be afraid of applying this kind of the
4:05
glass on your smartphone. So yeah that's how we can make it. And if you find this
4:10
video helpful remember to leave a like, comment and subscribe