0:00
Welcome. So in front of me I have something I guess a little bit more unusual than I typically do
0:07
So this is not a phone obviously, but anyway I'll just quickly demonstrate for people that might be
0:15
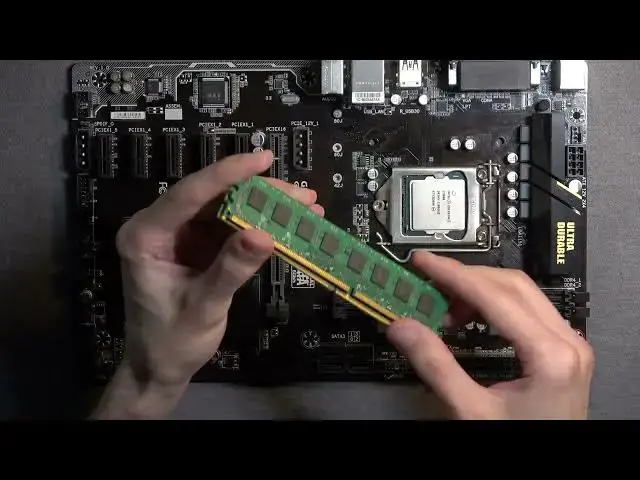
not very versed in PC building or just don't know how you insert a RAM
0:20
And this specific board right here which is the Gigabyte GA-H110-D3A
0:34
uses DDR4. So this one is specifically for DDR4 but the logic behind it just stays the same. So
0:43
you can do the same thing on a DDR3 which I have right here and obviously DDR5 and so on. So it
0:51
doesn't really change much. So I'm going to first take out this stick of RAM that I have right here
0:56
and I'll mention that there's a little bit of a variation if you have two slots for RAM or four
1:03
But I'll touch upon I guess a little bit more on this. I guess I can do it right now. So if you
1:10
have four you will need to consult the manual for your motherboard and it does specify if you're
1:16
using two sticks which slots you're supposed to occupy. And when you have four you will realize
1:22
they are in different shades so one might be just kind of like black and the other one grayish and
1:27
then another black and then another gray. In this case you will probably want to insert in the two
1:33
black ones or two gray ones depending on what the manual is telling you to do. This will make your
1:41
RAM run more efficiently because the way these are made it's just just dependent on the manufacturer
1:49
They do make it so the RAM runs better in the specific slots when you're only occupying like
1:54
half of the spots. But here I have two and this wouldn't really matter. It's either gonna either
2:00
gonna put one or two which would then run in dual channel. But anyway so now moving on to the RAM
2:09
and DDR4 right here you can see this is just a measly four gigs. There we go and you can see we
2:16
do have a little cutout right here. Each RAM will have this cutout in different place so let me just
2:21
quickly grab the old one right here. This is a DDR3 and you'll see that they do not match up with
2:30
the cutout anymore. It's completely off no matter which side I put it on. So DDR5 will also have a
2:39
differently matched little cutout and this will ensure that you never use the wrong RAM with the
2:44
wrong motherboard and also it prevents you from inserting it the other way around. So
2:52
when inserting it I would just first place it near it and see if it aligns with the little nib
3:00
right here. So the cutout. Otherwise obviously you won't be able to put it in the wrong way. It will
3:06
never fully suck it in. So when you find the correct placement just slide it in like it's
3:16
right now. As you can see not all the way in and I don't think the microphone will pick it up but
3:21
once you start pushing in you'll hear click. So start off from the bottom and I will try to be
3:27
quiet just so maybe you can hear that click. So there it was. I don't think it was audible. I'm
3:35
gonna now do the same thing on this side. As you can see right now at an angle. I'm gonna do
3:41
this on this side but I will bring it close to the to the mic so you can hopefully hear that click
3:47
That is signifying that the RAM is sucking it in correctly. So it was a little bit wonkier. I didn't give you that nice click like it should
4:05
Like it's when it's laying down. But you did hear probably like a thunk of a noise that
4:10
signified that it is sucking in correctly. And also you'll see that this little flip right here
4:16
clicks in place. There we go. So now it won't come out and obviously it is
4:22
suck it in incorrectly. So there we go. That's about it. If you found this
4:27
very helpful don't forget to hit like, subscribe and thanks for watching