0:00
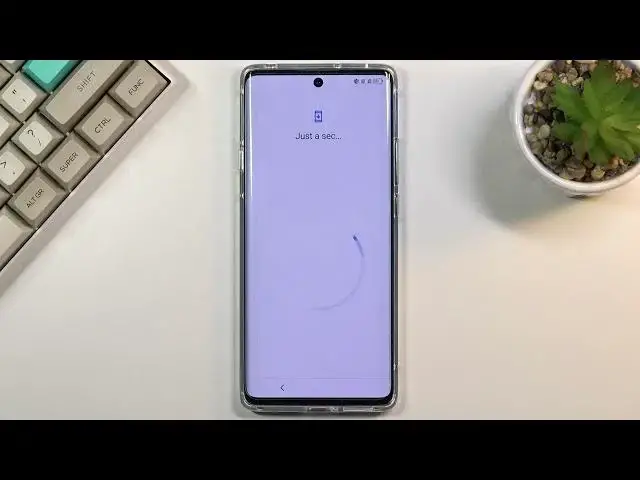
Welcome, my name is ATCL20Pro and today I'll show you how to go through the setup process
0:11
of this device. So when you boot it up for the first time, you'll be presented with this screen right
0:17
over here, so all you need to do is start off by selecting your language and then choosing
0:21
start and here you can insert a SIM card or you can skip this if you don't want to
0:27
On the next page you have the option to connect to WiFi, again, option, so you can skip it
0:32
if you don't want to connect to or maybe you can't. Next page we have date and time, so you can fix it up if it's incorrect, if it is disregarded
0:44
As you can see it is set to be automatically set, so once you connect to WiFi or mobile
0:49
network it will be fixed up automatically, but if you want to do it yourself you are
0:53
free to do so, you just disable this toggle. And next page we have Google services, so we have location, scanning and sending user
1:00
and diagnostic and data. So you can read exactly what each one of them does by tapping on an arrow and expanding
1:07
it, and at the end of the day if you don't like it you can disable it. So the next page, or scroll down and then to the next page, which brings you to protecting
1:17
your phone. By default it automatically goes into asking you to enroll a fingerprint, which once you
1:24
select it, it will ask you to set up pin pattern or password, because you cannot have just
1:30
a fingerprint, you need to have also some kind of screen lock
1:34
So choose whichever one you want. Alternatively, if you only want a screen lock but no fingerprint, you can just go through
1:42
this the same way. As an example, select one of those, confirm it, and at this moment we now have a pattern
1:52
so what I could do is just go back and select skip, which will now skip the fingerprint
1:58
but will keep the pattern that I have set. Now next thing it wants, or asks us to enroll, is a face ID, so you can unlock your phone
2:07
either with a fingerprint, pin pattern password, and also as an option as a face unlock
2:13
But again, I'm going to skip this and continue setting it up
2:17
So here we have choose your dominant hand, mine is right, which basically selects where
2:22
the back button is. I have a next vision, so there, improvement for images
2:32
As you can see there is the difference kind of swipes back and forth, so this is with
2:36
it on, this is with it off, and all this really does is brings up brightness a little
2:40
bit higher, adds saturation, just to make the photos and video content look a little
2:45
bit more pleasing. So you can keep it on if you want it, if you don't want it, then disable it
2:54
Then we have home screen style, so you have choice either between the home screen with
3:00
an app drawer, like a typical Android, or below that we have the more of a iPhone kind
3:06
of feel with all the applications smack in the middle of your home screen
3:11
So select which one you want, I'm sticking with the default one
3:15
I have a lock screen, so we have two different choices, we have the TCL default one, and
3:21
then we have the actual default Android lock screen. This is just kind of how it looks like, how it displays a clock and the notifications
3:28
on it. And once you choose that, as you can see this basically finishes up the setup, or before
3:37
it does it needs to still give us a TCL Terms of Service, so angelic goodness, let's agree
3:43
to them, and then user experience programs, you can skip that if you don't want it
3:50
And there we go, we are now on home screen with the device fully set up
3:54
So if you found this very helpful, don't forget to hit like, subscribe, and thanks