0:00
Hello! In front of me I've got Vantrue OnDash N4 camera. In this video I'll show
0:06
you quick start guide. In the beginning let's install the SD card. Make sure that
0:19
the SD card is at least 42 gigabytes and install it right here. Now, when the SD
0:37
card is installed and the power supply is connected, press and hold this button
0:45
Now select language. You can select different language by pressing these buttons and then confirm by pressing OK button. Now enter date and time. Select
1:13
speed units and now you have to format the SD card. Now when the format has been
1:31
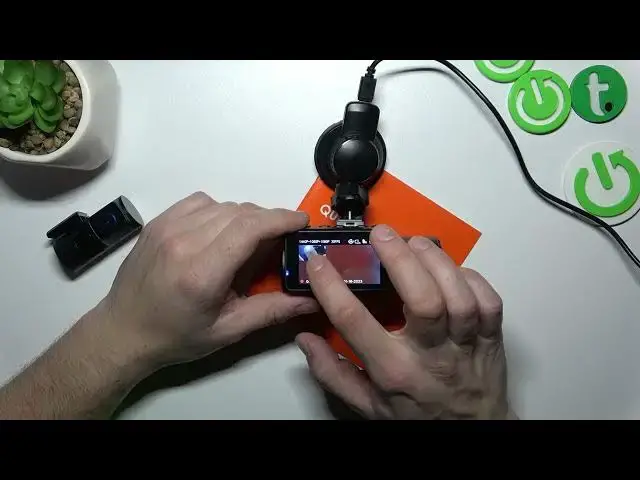
successful, as you can see our camera has started recording. Now let's take a
1:40
look at the screen display overview. Right here you can check the resolution
1:48
of the camera selected right now. Here you've got the indicator if G-sensor is
1:59
on or off. Right now G-sensor is enabled. Then you've got loop recording time. Next
2:11
you've got night light indicator, microphone and memory card indicator. Right here you can check the duration of your current video, current time and
2:30
current date. In here you've got the front camera display and right here is
2:40
the rear main camera display. Let's go to menu. If you press this button you will
2:52
lock the display. If you press and hold it you can go to menus. First let's go to
3:01
record setup and now you can change resolution, loop recording, IR LEDs mode
3:10
G-sensor mode, adjust recording, parking mode, exposure, WDR, number plate, stamp
3:20
rotate display, time-lapse and recording light. Press the mode button to go back
3:29
Next you can go to files where you can find your event videos, normal videos and
3:35
old files. In system setup you can change language, format SD card, format reminder
3:44
setup, change time and date, manage auto LCD off, change device sound frequency or
3:52
check system info. Then you can restore default settings, GPS and speed units
4:02
And that's basically it. If you find this video helpful please leave like, comment