Up next in 10

The LG Q6 Unlock FRP Method:
https://www.hardreset.info/devices/lg/lg-q6/faq/bypass-google-verification/lg-frp-bypass-android-7-1-2/
In this video you can find a way to remove factory reset protection from LG Q6. If you hard reset LG Q6 and forgot the Google account password you should find a way to activate your phone. The only way to unlock LG Q6 is by skipping the Google verification. Let's remove FRP in LG Q6.
How bypass Google Account protection in LG Q6 phone with Android 7.x and security patch 05.2018? How to bypass Google lock in LG Q6? How to remove factory reset protection in LG Q6? How to bypass Google Verification in LG with Android 7? How to skip Google lock on LG Q6? How to unlock LG Q6?
#bypassGoogle #skipGoogle #unlockLG
Follow us on Instagram ► https://www.instagram.com/hardreset.info
Like us on Facebook ► https://www.facebook.com/hardresetinfo/
Tweet us on Twitter ► https://twitter.com/HardResetI
Support us on TikTok ► https://www.tiktok.com/@hardreset.info
Use Reset Guides for many popular Apps ► https://www.hardreset.info/apps/apps/
Show More Show Less View Video Transcript
0:00
Welcome
0:02
I'm a phone name is an LGQ6 and today I'll show you how to bypass the Google
0:11
verification on this phone. Now the device that I have right here is locked
0:18
So I'm going to quickly go through setup just so you can see the verification page and while
0:22
it's going to check for it, I'm going to mention that you do need a SD card and you want
0:26
to load up the two applications that can download from the description. You want to load it up on the card and then insert that card into the device
0:34
Now I have already put my card in here so it's already waiting and well it's ready to use
0:40
So once you have your card already in the device, you can now back out to the first page right over here
0:45
and then select accessibility, vision, and enable Talkback. Select turn on
0:56
Now I do have it muted right now so I can't really hear it talk which is completely fine
1:03
So once you see this page right here you want to draw an L on a screen then go to text to speech settings
1:08
So you want to tap on it once to select it and then double top it to confirm it and once this page hold parkey
1:17
and select restart and wait for the device to turn back on
1:42
Now as you can see this brings us back to the Talkback tutorial page, so again let's draw an L on a screen
1:47
Select text to speech, double top it, and from here you want to hold volume up and volume down
1:53
Select suspend and pull down the notification panel, go to the settings
2:03
And from here, I'm going to now continue the bypass. Now I'll mention before I progress any further that this works, I guess, 50-50 with
2:13
the pull-down notification panel if you, for some reason doesn't want to pull down the
2:17
notification panel. Either, for instance, Hogback didn't suspend, which has happened to
2:22
me before or for instance just something is bugged out now to basically fix this all
2:29
you need to do is basically turn off the talk back reboot the device and try
2:33
from the beginning once more so that seems to work for me at least this time
2:39
around so once you're in the settings page you're gonna top on the three dots
2:47
list view it basically pops everything and you can you click in here and we're gonna start off by going into the security security then you're
3:01
gonna go down to phone administrators and disable find my device deactivate and it's
3:11
now turned off which we can now go back to the settings page the main settings page
3:16
and actually I gonna go back to the security There is one more option that we need to enable which is the unknown sources So enable allow and now go back
3:31
So once that's enabled, we're going to now go to apps. I'm going to top on the three dots and then show system
3:42
And we're looking for Google Account Manager, so we're going to scroll down, see, go, Google
3:49
account manager top on it and then you want to turn it off or we're going to
3:56
start with fourth stop okay and see disable go back and next thing you want to
4:09
deactivate is the Google Play services so right over here and disable
4:18
disable app and let's also make sure that it's not running there we go so for a stop and from
4:28
here we're gonna now go back back once more to the main settings page and from
4:33
here you want to navigate to storage select your SD card and you should see your
4:44
two different applications that we have downloaded and loaded up on the SD card
4:49
So from here we're going to start off by installing the FRP VRM which is going to add the option to log into Google. So install
5:19
So now you want to click Done and then go to Shortcut and install the second application
5:32
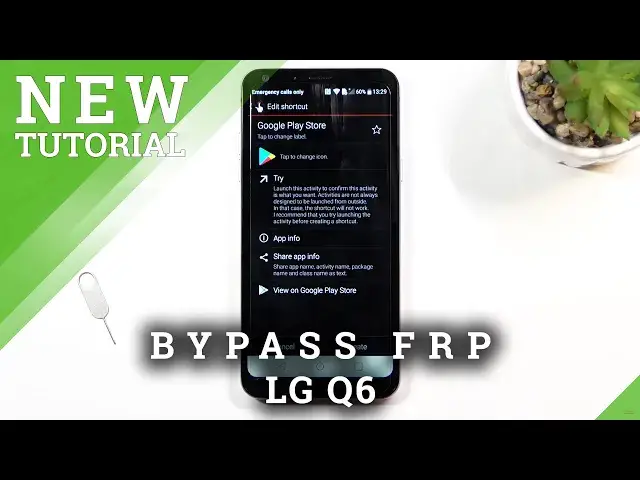
And this time around you're going to select Open. Now from here we're looking for Google Play Services or not services, Google Play Store
5:45
So scroll down. Play Store. You want to top on the drop down next to it and looking for Google Play Store once more which actually let me make sure that I'm looking for the correct one
6:19
exactly for this one right over here above my finger. As you can see both of
6:25
the Google Play stores right here have some writing under it and you're looking
6:29
for the one which has a dot com. Android.vending. Dot asset browser activity
6:39
So once you find this one you want to simply select it And there we go And from here we going to select Try
6:55
And now you want to log in with your Google account to it. So..
6:59
There we go
7:10
Now, additionally, you can create an account just for this, even though we do have a button for it right over here as you just seen for a second
7:17
I do strongly recommend you to create a few planning to create an account to do it like
7:21
on your computer or a different phone. I have no idea how well this works
7:26
This is kind of in a glitch territory which shouldn't be possible but it is
7:32
That's what I'm saying. I have no idea how the create account would actually work here
7:38
But anyway, you can use your existing account to log into it or create a brand new one
7:43
for this purpose and then once you log in we'll provide the email then you need to provide the
7:48
password which i'm going to do off the screen right here here select open up the screen up again select open up again
8:13
Now from here we're gonna back out
8:24
And now we're looking for settings. Now go, settings
8:34
And adjust them around, we're gonna look for exact settings. So we're looking for
8:43
quickly make sure it looks like... I think it's the first one right here
8:57
So you can see this one, com. AndroidSettings. Or slash dot Android
9:06
Android settings settings. So anyway, stop on it. And from there again we're going to select Try and we're going to navigate to apps, show system
9:23
And we're going to reenable the two applications that we have disabled, so Google Account Manager and Google Play Services
9:37
There we go. enable, go back, enable and go back. So once more, the applications that we have enabled right now are Google Play Services and Google Account Manager
9:54
So once you have enabled both of them, you want to hold PAR key
10:09
Now once more we going to suspend the talkback So let exit So volume up volume down
10:21
Select OK. And we should be able to progress through the setup
10:26
So let's go normally through it. And as you can see, it pops us up with the message right here, account added, and if you paid attention, this is the account that I have logged in with throughout this process as a bypass
10:58
And now just simply replaces the old account that was blocking us from finishing up the setup
11:03
So let's select next. Now additionally, because you will be able to right now gain access to the home screen, I will mention
11:09
right now. The process is still not finished, but we're almost there. So right here you want
11:16
to progress through the setup, skip everything that you can. It doesn't really matter how you
11:21
set up your device, at least not right now. And once you get access to the home screen
11:25
you will want to go to the settings. And from there, perform a factory data reset of the
11:30
device, which will reset the device again and bring you back to the setup screen with the
11:35
key difference of the device being fully unlocked at that point. So once the actual setup is complete, I'm going to show you where you can find the factory reset for the device
11:50
And you want to go through it, but I won't be going through it just to save the time
11:55
There's nothing any more trickery needed to finish it up once the factory reset has been completed
12:03
You will just go through the setup normally. Okay, so now that we're on the home screen, let's open up settings
12:29
Let's close this, whatever pops up. And from here we're looking for..
12:39
backup and reset. Then you want to scroll down and right at the bottom you'll have factory data reset
12:53
This will give you a message that will remove things like, for instance, the account that we have added
12:59
Now it also removes the other account that was blocking us, which will thus fully unlock the device
13:05
So from here you want to select reset phone and then delete all. click on the delete all, it will begin reset
13:12
and this will take several minutes. Once it's completed, like I mentioned, you will be then back in the setup screen
13:16
and from there, you can set up your device however you like. It is going to be fully unlocked, so you can do whatever you want
13:22
So, that being said, this is how you bypass the Google verification on this device
13:26
And if you found this very helpful, don't forget to hit like, subscribe, and thanks for watching
13:38
You know
#Software