0:00
Here I have Sonyxpria XA1 Ultra
0:09
Let me show you how to bypass Google verification the following device. So let me show you how to remove factory reset protection, how to activate this device with the forgotten Google account
0:18
So at the very beginning you need to open here the keyboard
0:22
Let's use this icon right here. Select here more. Choose the settings icon
0:29
Here let's use more key again and choose share Swift key. Alright, here let's hold down on Gmail, keep holding Gmail for a few seconds and let's select
0:37
app notifications. Choose here additional settings in the app, select General X settings, choose more key and select
0:45
here Helbin feedback. Let's here type in Morse code. Let's choose Use Morse code
0:54
As you can see the following YouTube video pops up. Let's play this video
1:01
Let's use this clock icon. And now let's tap accept and continue
1:08
Choose No Thanks. Let's type in here the following. Address hardreset.Info
1:27
Use more key, tap download, and let's here type in the Android 8
1:39
Let me do it. Tap search
1:48
All right here let find the Google Account Protection Bypass app right here tap download And let choose here Download again
2:03
Tap Continue. Let's allow Chrome to access Photos, Media and Fides on this device
2:08
Tap Download. Choose OK. Select Open. Let's choose Settings. The installation is blocked, but let's allow from this source
2:18
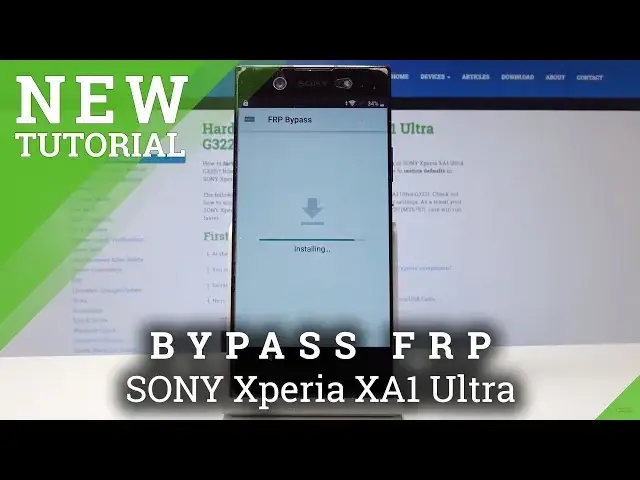
Let's go back and choose install. Alright, FRP Bypass is installed, choose Open
2:28
And let's choose Google Account Manager AP key for version 6.0. Tab Settings
2:35
And let's allow from this source, let's go back. And let's tap install
2:42
Alright, tap done, and here let's choose Bypass, FRP, choose Browser Sign In, and select More Key
2:50
Browser sign in again, tab okay, and here you need to sign in into some Google account
2:56
It could be any Google account, even the new one, of course not connected to this device
3:01
just the Google account that you know the password and the email address
3:09
All right, let's start next. Let me enter the password in my case
3:20
All right. Choose here, sign in
3:30
And that's it, the FHP bypass app pops up again. So now all you need to do is simply press power key, tab restart and wait a few seconds
3:50
Alright the well panel pops up so let choose here to get started
3:57
Tap shocked. Skip the SIM card, inserting tab setup as a new
4:01
Let's have a fresh start. As you can see, account added, so the account that you add previously in that process is added
4:13
so it's a good sign, tab next. Choose not now to the following protections, skip anyway
4:24
All right, select here more, more and accept. Let's tap continue right here, tap more and agree
4:40
Let me cancel the Google Assistant. Let me choose now. Let me choose no thanks in that case
4:46
Choose not now. And as you can see, you just quickly activate the device
4:51
Let's wait for the last configurations. Tap all set
5:03
The phone is adding some finishing touches and choose finish. But to fully erase the FRP, you need to also perform here the hard reset by using settings
5:14
So let me do it, let's choose apps, select settings, scroll down, choose system
5:22
From the system, let's choose reset and select here Factory Data Reset
5:27
So let's here scroll down again and tap Reset Phone and choose Erase everything
5:31
Wait until the operation will be completed. I I going to be Righty welcome Panic
6:15
So now let me try to activate the device. Let's choose here the language
6:20
Let me choose here English. For example, from United Kingdom. Alright. Tap get started
6:32
Choose accept. Let's keep inserting SIM card. Set up as a new
6:38
Skip also connecting to a Wi-Fi. It's a good sign that you can skip it
6:42
Now let's wait until the following date in the time. Following date and time will pops up
6:46
Let's tap next, next. Choose that now to the following protection skip anyway
6:53
Tap more, more and accept Google services. Let me just quickly activate the device to show you that I can do it without the Google account
7:03
Here you've got the software configuration. Let me choose Wi-Fi only. Tap finish
7:08
And that's it. The home screen pops up. Now let me check out the version of the device, so let's choose settings
7:14
I just accomplished that operation on the Android version 8.0.0 and with the following security patch level from the February
7:29
So that's it. Everything went well. Thank you for watching. Please subscribe our channel. Leave thumbs up under the video