0:00
Welcome! In front of me I have the Infinix Hot 12i
0:07
There's got to be a better way of naming your phone than that, but I digress
0:12
So anyway, let's jump back to it. So, you can see, there's the phone, it's locked
0:18
So, let's get started. Now, we're gonna get started with introduction to intro
0:25
So, after that, in the description you should find a link to our website
0:33
If there isn't one for some odd reason, then just navigate to hard reset.info
0:39
search for your phone, which would be the Infinix infamous name, and in there you'll find a couple of tiles
0:49
One of them will be the Bypass Google Verification. I'm gonna click on it and this will take you straight to here. That's one thing
0:56
Number two, obviously you will need a computer. That's why I'm recording this on the computer
1:00
You will need also a cable that you can connect to your computer
1:04
So, for me it's a type A to type C, so I can plug it in
1:09
And you'll also need internet connection, so you can download these things
1:13
Now, judging by the fact that you're watching this video, you probably have internet
1:18
So, from here, download the two links that are right here, the Universal MTK Drivers and MediaTek FRP Bypass Tool
1:27
You will need both of them. And I'll just straight up say I have already installed those
1:34
so I won't be doing that on the video, but I'll just kind of show you what you need to do
1:40
Now, there is no password protection on the files, so we can just download them without any kind of problem and unpack them
1:47
Just to kind of showcase this, I'm gonna unpack this. I guess overwrite it. There we go
1:57
So, you want to start off by installing the drivers. So, select the MTK Drivers Auto Installer
2:06
and choose whichever one corresponds to your system. Now, for me, it's the 64
2:13
But if your computer has about 4 or less gigs of RAM
2:18
then you will select the 86. Now, if you're not sure how many gigabytes of RAM your computer has right now
2:25
you can just simply right-click on the Start button, select System, and you will find it right over here, under Installed RAM
2:34
As you can see, for me, it's 8, so I installed the 64 version
2:38
Now, like I said, I have already done so, so I won't be installing it anymore
2:44
And number two, you will need to navigate to the second folder, which is the MediaTek Universal tool
2:50
And here you'll find the MediaTek Universal tool. So, just double-click on it
2:56
It will open up. Now, the first time around, when you're opening it up
3:00
it takes it a bit longer than it did for me, so it might take like 10 seconds for it to actually appear
3:06
But that's normal. Now, from here, you will select Tools, Driver, and again, select the one that corresponds to you, 64 or 86
3:17
And once you select one of them, it will start installing them
3:24
Hopefully, by clicking that, I didn't mess it up. So, once you install it, for you, it should probably take a little bit longer
3:32
than it did for me. That was just like a flash. The first time I installed it, it took me like a minute
3:38
And once you install it, you will need to reboot your computer
3:42
So, reboot your computer, open up this program again, and we can now progress further
3:48
Now, hopefully, by pressing that button, I won't need to reboot my computer now
3:52
I guess we'll see. So, anyway, let's get started. So, moving to your phone
3:59
you want to hold the power key and select Power Off. While this is turning off
4:07
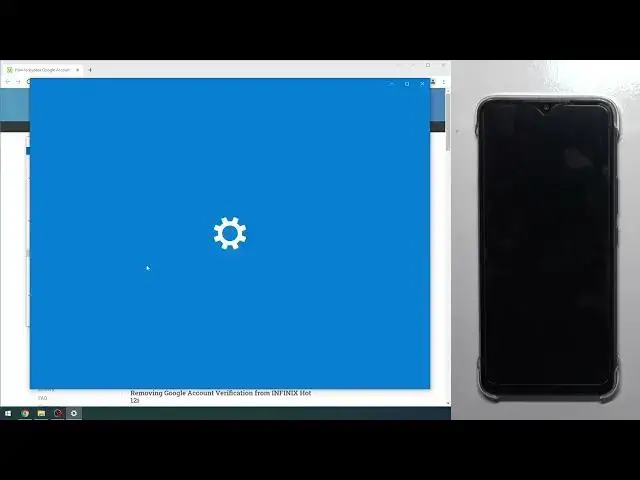
I'm going to go back to the program. So, here, you want to select Erase FRP and Start
4:13
Now that our phone is off, we will hold Volume Up and Volume Down at the same time
4:21
And while holding it, you want to plug it in with the cable
4:27
which I grabbed the wrong cable for this. Anyway, I'll be back in a moment
4:34
Okay. Now I grabbed the correct one, so give me a moment
4:39
I need to plug it in. Okay
4:49
So, again, Volume Up, Volume Down, and plug it in. And there we go
4:58
On the computer side, you can see that it started doing something when you plug it in
5:03
So, once it's starting to show up with something, just let go of those two keys
5:08
Give it about five seconds, and as you can see, it will bring up a message right here
5:13
in the green field. Progress completed. Once that is visible, your phone, and hold the power key
5:22
Okay. Now, once the device boots up
5:34
you should be able to finish up the setup without needing to verify anything. The device will be unlocked
5:40
Now, I would still recommend, after you go through the setup, to perform a factory reset of the phone through Settings
5:46
just to be absolutely sure that everything that could have been left over
5:50
from the account is removed, but it doesn't look like it's a necessity
5:56
Like I said, I would still recommend doing it. Now, once the device boots up
6:07
as it did, I'm going to quickly just jump through the setup right here
6:21
Now, as you can see, right now I have the option to log in into Google account
6:26
but obviously I don't need to verify anything, so I can just skip this
6:45
And there we go. And there we go. So you can see that we have now access to a home screen
6:51
Now, like I mentioned before, I do recommend going through the factory reset of the device through Settings
6:56
This will ensure that the device is fully unlocked. But at the end of the day
7:01
you can see that the device is right now bypassed, and you can start using it
7:06
So anyway, if you found this very helpful, don't forget to hit Like, Subscribe, and thanks for watching
7:16
Microsoft Mechanics www.microsoft.com www.microsoft.com www.microsoft.com