0:07
And from you as a Xiaomi Redemy Note 10 Pro, and today I'll show you how to go to the setup process of the phone
0:14
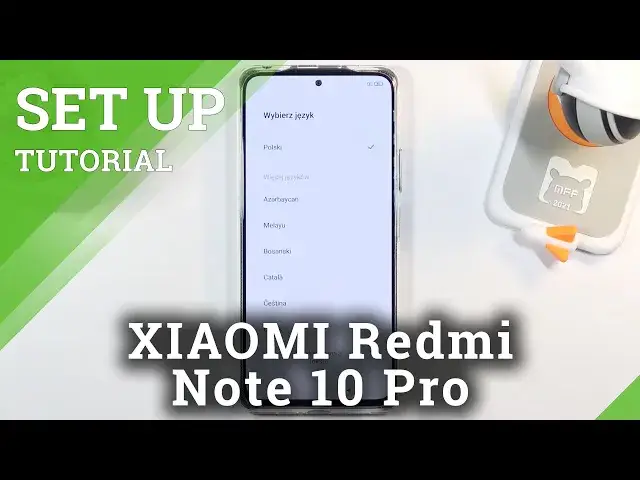
So when you boot it up for the first time, you will see this screen right over here. And what you want to do is simply tap on an arrow to get to the next page
0:22
Sorry. Or you will get to choose your language. So for me, it looks like it defaulted to my region, so Polish
0:30
but it's not the language that I want to use, so I'm going to scroll down, find English
0:34
and let's go further. Choose the region, again, it's correct, so I'm just going to stick with this one though
0:39
Then choose your keyboard, we have two different options. Gboard or Talkback Braille keyboard
0:45
Obviously, I'm going to go with the normal Gboard. But if you want the other one, simply tap on it to select it like so
0:51
Obviously here we have terms and conditions. No phone comes without those
0:59
So you have to check the box right below here that you have read and agreed to them
1:04
If you want to actually read them, you can tap on them. And voila, you have all the terms and conditions right here
1:11
Nice easy night read right here. So if you want to read them if you don just make sure you select it and then you can proceed further Without selecting it you won be able to go any further Then on the next page the device automatically starts looking for the SIM card
1:28
and if it finds none, it gives you a message that it didn't find any SIM card
1:33
And honestly, this step is completely useless. You can skip this and completely forget that it even exists
1:38
because the moment you insert your SIM card, the device will work just fine. Now on next page we have network connection, so here we can connect to some kind of
1:46
Wi-Fi if we have one. If we don't, again, we can skip this if we don't want to. But by skipping
1:53
Wi-Fi or basically skipping any kind of network connection, which could also be done by the
1:58
Zoom card, we will lose the ability to log into our Google account. Now, that can be later on
2:06
changed. Once the setup is complete, you can go into the settings, connect to some kind of network
2:12
and from there, again, to the settings, go into accounts and apps
2:16
a Google account if you want to. But if you skip it right here, it just won't be needed to
2:21
throughout this setup. So I'm going to skip it anyway. And this will take me to Google services
2:28
So services like use location, scanning, and sending user in diagnostic data
2:32
Again, we can top on the thing right here, expand it, and read exactly what it does
2:37
And if we don like it disable it From there once you scroll down you can tap on accept to go to the next page And the next page is just some kind of way of protecting our device that we try a fingerprint or screen lock
2:51
So if you want to go with a fingerprint option you will also be required to set up a screen lock, keep that in mind
2:56
But if you want to just add a screen lock you don't need fingerprint. Now I will set up a pattern right here, that's what I'm going to choose
3:03
And also gives us a pop-up window blocked by timer that, But any kind of protection is a password and password needs to be remembered
3:12
Like no doubt, we're not from 19th century. We know what a password actually is
3:19
And from there, we have a couple additional settings. So we have location, sending diagnostic data automatically, automatic system updates
3:28
personalized ads, and user experience programs. Now, honestly, most of them don't really jump out that hard at you
3:34
the only one that I can point out is for instance location which I already disabled in the Google services
3:43
so I don't want to and then another one which is a complete nightmare is the personalized ads I despise this
3:50
option and just to point that out I just disabled everything and you just seen me just check it off and
3:56
nothing happened but look at this are you sure you want to disable personalized ads where we track what you searching for and then gives you give you ads based on your search Yeah I don want that
4:10
That is intrusive and obnoxious. So I highly recommend disabling that. It's an absolute can
4:17
It's absolutely just trash here. So, yeah. And from there, we can go to next page where we get to select our home screen, however you want to call it
4:27
so I wouldn't really call that launcher but as you can see the difference here is
4:32
once it's basically an apple clone what I would call with all the apps in the middle of the
4:38
home screen and just pages and pages of them while the other one is typical Android with an
4:44
up drawer and just several apps on the home screen so choose whichever one you like more
4:50
I'm going to go to the up drawer that is something that suits me more and from there let's
4:54
go the next page and complete the setup Now I believe it will start loading apps for a little bit so just give it a moment
5:04
Okay, there we go. So that is how you could go through the setup of this phone and if you found this very helpful
5:11
don't forget to like, subscribe and thanks for watching