0:06
I'm using ApoRino5 and today I'll show you how to go through the setup process of the device
0:14
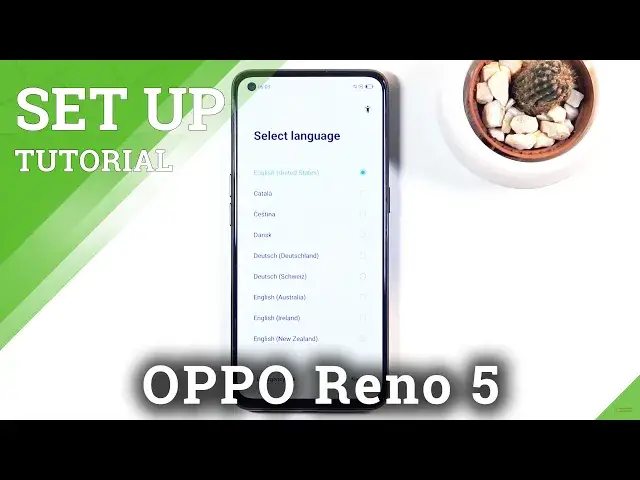
And when you put it up for the first time you'll be presented with this screen right over here
0:18
So simply start off by selecting your language, which for me is already in a correct one, English
0:24
So that's what I'm going to stick with. And from there, let's press on next. And then choose R region
0:30
Next page, user agreement. Now you see this is something that we do have to agree to
0:35
and why we can't finish up the setup. So let's just select it
0:39
Now if you are interested, you can read exactly what you're agreeing to right here
0:43
And from there, once you select the box, go to next page
0:48
You have user privacy, security and protection. Apparently there's nothing to select here, so I'm just going to click on the next
0:59
So I guess we can join it if you want to, whatever this is. You can actually read it if you are interested in it
1:05
I'm going to go to next, and this will take me to the Wi-Fi connection page. So here I'll be able to connect to Wi-Fi, obviously, if I have one that, well, I can
1:15
You can also skip this if you want to, and now by skipping it, you will lose the ability
1:20
to log into your Google account throughout the setup, which you can do still later on
1:25
after the setup is complete once you connect to Wi through settings So for now I going to skip this and one thing that is nice on Apo is the Wi assistant right here So even though I skipped Wi it does give me this option right here
1:40
which is automatically select the best Wi-Fi. That meaning if I have more than one Wi-Fi that I can connect to, well, next to each other
1:50
then the device will pick which one is better, meaning faster and more stable of a connection
1:55
and switch, well, depending on the better one. And also, when you select this, it gives you another option
2:02
which is automatically switch to mobile network. So that is going to happen if both of the Wi-Fi's
2:08
or however many Wi-Fi's you have in area are all trash, and the device decides your mobile network is faster
2:15
That's what's going to pick. And now I would discourage anybody who has a low data plan
2:22
so not very many gigabytes, like 5 or 1.1.1.5. below, maybe even three or below
2:29
Because if you select this and your device randomly start switching to your mobile
2:33
you might run out of your mobile data quicker and you might not be prepared for that
2:37
So just keep that in mind if you want to select it or not
2:42
So, yeah, the choice is at the end yours. If you have plenty of data to spare, go right ahead
2:48
We'll probably help you out. So from there, we can go to the next page
2:52
where we have the Google Services, so we have location, scanning, and sending user-end diagnostic data
2:58
So you can read exactly what these do by tapping on an arrow
3:02
and if you decide that you don like it disable it and go down and accept Next page Now we have the screen lock Well not only screen lock
3:13
We have the password fingerprint and face. Now, I'm not sure who was translating this because this is just complete out of garbage
3:21
the way it's described here. So let me translate it for you the way it's supposed to be
3:27
We have a screen lock, then we have a fingerprint, and then we have a face recognition
3:32
that's how it's supposed to be written here. So, and the password, if you tap on here
3:40
it automatically goes not to the password, as you would probably expect, but it goes to a pen
3:46
But we can also choose a different method of unlocking our device, and once you top on it, it gives you a couple different options
3:52
So we have a pattern. We have a four-digit pin, 4-16-digit pin
4:01
and then we have an actual password. This is the only option that got it correctly
4:08
the password word. So, yeah. Now anyway, because I decided to kind of go on a rent here
4:18
you can choose whichever one you want. And apart from that, if we go back
4:24
if we try to add fingerprint or face recognition, we are still required to set a screen lock
4:29
again the choice is ours if we want to select a pin pattern password it's completely up to us
4:35
same goes for the face recognition that is because you cannot have just a fingerprint or face recognition Those two can change Your face might get beat up and you won be able to unlock the device
4:47
or maybe the camera gets done it and you won't be able to unlock the device. You cut your finger
4:51
you lose access to your phone. So that's why the device forces us to also set up some kind
4:57
of pin pattern or password which isn't very dependent on things that can change
5:02
So anyway, I'm going to set up a pattern and that's the only thing I'm going to set up
5:06
So, there we go. Now I'm going to skip this because I don't really care
5:13
And then we have recommended auto update overnight. That is completely up to you if you want to update overnight or not
5:20
If you want to, select this if you don't keep it off
5:24
And then import data. So this step allows us to import basically all the data from our older device to this one
5:31
If I remember correctly, this uses their own application. So on your old device you will need to download some kind of RealMe or Apo transfer app from Play Store
5:41
and then you will connect these two devices together to transfer all the data that you want over to here
5:48
But I am setting it up as new, so I'm not going to really bother with it
5:51
So I'm going to stop the next and finish up the setup
5:56
Get started and there we go. So if you found this very helpful, don't forget to hit like, subscribe and thanks for watching