0:00
Hi friends! And this is a new video about the CapCut app and I will show you how to create your own GIFs on this app
0:12
So let's open the CapCut and let's create a new project after going to the camera section and album
0:19
I need to find the videos option to set some video as an example. For example, I will use this one
0:28
And let's import it. Don't forget to delete the default ending of the video from the CapCut app
0:35
And right now we have our clean video from the gallery. How to add the GIFs on it? How to create your own GIFs for this video
0:44
So first and foremost, guys, I need to say that you have the special stickers option where you can find a lot of different cool stickers and find GIFs default
0:54
You can add them very smoothly and easy just after tapping on it one time. Don't forget that you can also locate it, relocate, increase or decrease them
1:05
If you want to delete, for example, the sticker you had added, you can tap on the cross option, cross, put on here at the corner
1:13
And well done, without any troubles you can add a lot of different stickers, which is very funny and cool
1:21
But if you want to add your own meme from the gallery, your own photo as the meme, you can drag little bit the appearance line and tap on the first option like gallery
1:34
Later I will use this photo as an example. Also you can increase or decrease it, rotate in different ways
1:43
And you can use your own photo as the meme, which I think it's very cool option
1:49
You can also manage the length of this added sticker. And if you want to know more about this add sticker option on the CapCut app, you can find the special tutorial on our channel where you can learn how to create and manage your own stickers
2:07
So guys, the main question today is how to add the GIFs by yourself for your video
2:15
So the best option is to use overlay. Because you need to have these GIFs saved on your gallery and after add this video, add the second video overlay to your first one
2:29
It's very convenient and a cool way, because you can just correct this added GIF to edit the video to manage its appearance, to manage its length, style, also edit it with filters etc. So it's very very cool and fine
2:46
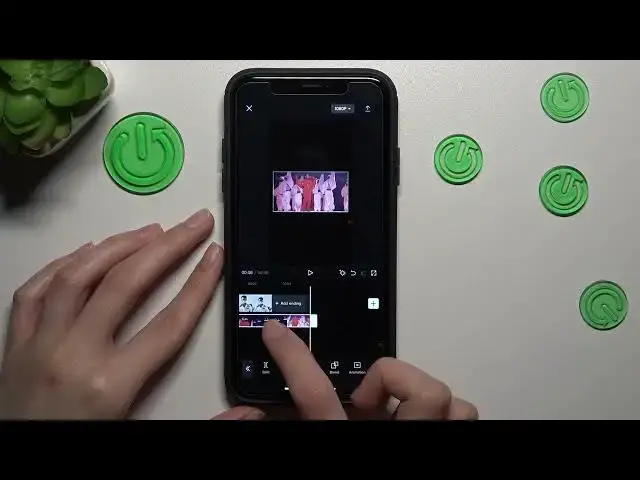
So let's tap on the video section, because I want to use this video as the GIF. And let's tap on the end
2:55
So guys, don't forget that the first video is definitely shorter than the second one. So I want to crop my second video, my GIF, saving it here
3:09
And I will drag the white line to the right and left side, managing the length of the video and its duration. And later, by holding on, I will locate it on the needful time when I want to save this GIF
3:26
And guys, well done. Right now I will also show you that, as I said before, you can use the blend option, animation, cutout, style, all features as the normal video to manage its appearance. It's very convenient
3:44
So don't forget about this edit feature and crop option, because you can just crop your added GIF. I want only to save the Rihanna, for example
3:56
Let's tap on the checkmark to find out the result. I will set a GIF here at the top of my video. So let's check how right now my work looks like. So let's go to the whole screen
4:14
And guys, as you can check, we had added our own GIF without any troubles, without any problems. And I hope that this video tutorial was definitely useful and interesting, because it's the most convenient way to add your own GIFs on this app. And it's very quickly, definitely
4:36
Don't forget to like our tutorial, to find other guides on our YouTube channel, to learn more about the CapCut app and other programs. Good luck, guys! Goodbye