0:00
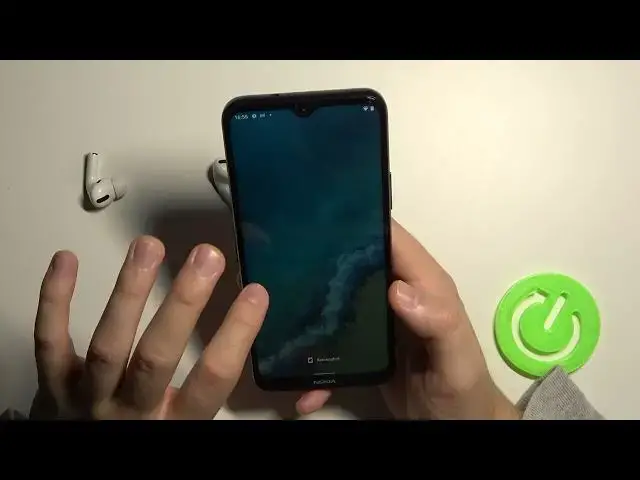
Welcome today I am with Nokia G50 5G and I'll show a couple camera tricks
0:11
so the first I will show you the modes tricks and then the best features that you can find
0:17
the settings so we're starting from the photo mode and we can quickly increase or decrease
0:22
brightness level take a look you tap on the screen just like that and when you got the sun
0:29
icon. Wait, what is wrong? One more time. Okay, as you can see, it's right here. So you can
0:37
decrease or increase brightness level by moving this sun icon like that. So if you want to
0:44
adjust the brightness level on the screen, on the phone, you don't have to use the promo
0:52
Another option that we can use right here is the camera timer. So we need up here and then
0:58
select three or ten seconds. After this time, you will get just basically photo
1:05
So when you tap on the shutter, after this three seconds, the photo will be taken. Let's turn it off
1:12
We can also use the Google Lens. That's a very great feature when you tap on this icon
1:18
So take a look right now. We have to accept all the permission that pops on our screen when we open this application for the first time
1:25
And right now, if you are looking for something, for example, you would like to know more about this earphones
1:32
So what you have to do, at the first, connected to the Wi-Fi or mobile data
1:36
then put the object in front of the camera, and when you find Oh wait why it shows on my finger I don know But basically when you got this dot you have to tap on the shutter And there is Your phone would automatically find the object that you are looking at
1:55
So we find the AirPods Pro, as you can see. We can also find here other stuff like text
2:03
So we can try to get the text from this window cleaner
2:09
Let's try to scan. down. So we have to basically tap on the shutter and as you can see it automatically detects
2:21
the text but it's not the best example because it's liquid here so we know it will be
2:26
better definitely when I get just normal paper and just scan it but you know what I mean
2:33
with this option. So yeah that's the Google lens and we can also click right here to use the
2:40
beautiful mode but of course you need the person in front of you to see the
2:45
difference so yeah that's that's from the photo mode when you are in the
2:51
video mode we can make the same with the brightness level okay it's some kind
2:58
of the bug on the camera application as you can see let's turn it off and turn
3:03
it on back okay right now we are here so we can adjust the brightness level, like on the photo mode
3:16
In this place when you tap, we can enable wind nose reduction, so definitely useful option
3:24
Right now when we go for the more modes, we can find the Pro mode, where we can adjust a lot of things mainly like wide balance AIF ISO shutter speed and there is the EV And if you don know what is going on here
3:40
you can tap on the information icon. So there's the small preview of this option
3:48
But of course you can find the other video on our YouTube channel
3:52
but basically you can just press and adjust things manually. If you don't know how to adjust them, you can take a look on our YouTube channel where we show you how to learn how to use this mode
4:07
And we can also find the dual side. So take look. When you enable this option, you are able to make video at the same time with the two cameras
4:16
So with the front and the rear camera. You can also just up like that
4:21
Oh, it's not changing, but we can change the theme. As you can see, so there's the second theme, and we got basically two themes
4:34
And you can record video like that, you can move yourself. We can also change lenses
4:42
So we can go for this double back camera option. Okay, and honestly, I think that's all from the modes
4:51
Right now we are going to focus on the settings. So we can enable gridlines
4:55
They appears right there on the screen And they help us to take better composition on our photos Okay
5:09
We can also find a long press on the shutter So we can take bare shot or our capture video quickly Take a look So when you click and hold the shot arrow with this option Oh it doesn change so let make change one more time Let go for the bear shot and right now
5:30
when you click and hold you can take a lot of photos and you can store all of them right here in the gallery by tapping
5:37
Oh sorry guys that was the misclick but you can also make it by tapping here and you can take a look on all of this
5:45
We can also location tag enable, so when you take photo and go for the details
5:55
you will find the exit location where the photo was taken. So here we are on the Google Maps
6:04
Okay, and we can also find the watermark, so when you enable this option, you can add your personal message like signature
6:14
Click OK to confirm. And here we got the different theme of our signature
6:26
So we can pick whatever you want. I would like to go with this one
6:32
And here we can also enable the device information. So right now when you take photo
6:39
on the left bottom corner we'll find the watermark. the watermark that we set up, as you can see appears right here
6:48
And basically that's all. So if you will find this video helpful, remember to love a like
6:53
comment and subscribe