0:00
Here you've got a Xiaomi Mini in light and I'm going to show the top 3 weeks of its camera
0:10
So at first we have to click on a camera button here and now let's take a look at all of these settings around
0:15
We start with the left corner. Here we can change the flash
0:19
As you can see we can turn on auto-flash, turn on flash every time we take a picture
0:24
And also here we get access to detourge and this is how it looks like
0:29
I'm going to turn it off now. The next one here is the HDR, so
0:33
HDR helps to improve the details in the brightest and darkest areas of our picture
0:39
Here we can choose between a turn edit off, turn on auto HDR and also turn it on
0:46
So I recommend you to keep turn it on when we can do it
0:51
because this really helps to improve our pictures and make it just more beautiful
0:56
And now we go to this button here, so here we can manage the filters as you can see this is a pretty white spectrum of it
1:04
we get access to this slider and can choose this before we take a picture and now let's take a
1:12
look at zooming we use to these two fingers like that and also here we can pick the angle of our lens so it also helps to
1:25
zoom as you can see this is how it looks like and to change the modes we use this slider
1:34
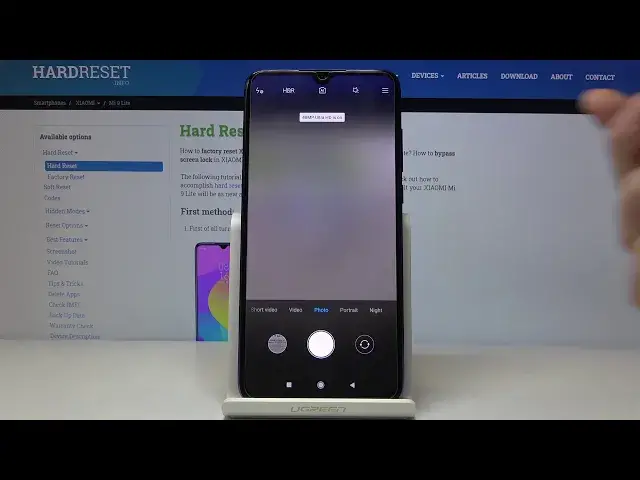
sorry as you can see here we can manage the the modes as you can see a slow motion short
1:41
video video photo portrait night panorama and Pro mode. I'm going to go back to the standard mode. And now let's take a look at this settings here
1:52
When we tap on this we get access to more advanced settings. The first one here is the camera frame. So here we can change the ratio of our picture by just tapping on this
2:03
As you can see this is how looks the full ratio of our picture
2:07
The next one here is the camera timer so here we can change the delay of taking picture. We can pick from three and five seconds
2:15
here I'm going to pick three to show you how it works and I'm going to take a picture
2:21
And as you can see the picture was taken with three seconds delay
2:26
I'm going to turn it off now. And now interesting thing is are the grid lines here, so here we can get access to these grid lines
2:35
As you can see this is how it looks like And here this is useful when we for example want to use the rule of ferdin photography And also here we get access to the straight end so this is a kind of leveller and helps us to keep the topic of our picture straight
2:57
And also here we can turn on the 48 megapixels resolution, so this is the highest quality
3:05
of this camera and now let's take a look at this settings in the left corner
3:11
they are more advanced than the others and here we can turn on the watermark as
3:17
you can see we can add time stamp of on photos we can turn on device watermark
3:23
and also we can turn on our own watermark and save and I'm going to take a picture
3:34
to show you how it looked like and we go to the preview here and as you can see here
3:46
we have the watermarks shot on me nine lights by hard reset and the date and now we go back to the settings here this is the picture quality so here we can choose between low standard and high picture quality
4:05
As you can see, this is how it works. And then we go down to the general settings here
4:14
And here we can turn on the safe location info, so here we have the location tags
4:19
And as you can see, to make it work, we need to be connected with the internet
4:25
the internet, for example the Wi-Fi and have turned it on the location here
4:38
Here also we can manage the camera sounds, as you can see, this is how it works by using this button
4:46
And also here we have access to the grid lanes. And after turning it on all of these settings we may want to go
4:55
go back to the original settings so here we have rest all default settings and we can just agree to this and get back to the auto settings
5:05
So that's all, thanks for watching, subscribe our channel and leave the thumbs up