0:00
Welcome, here I've got Ulefone Power and I'm gonna show you the top tricks of this camera
0:10
So at first you have to tap on the center to get access to the list of apps of this
0:14
device and from here we have to pick the camera app so by tapping on this we can easily open
0:19
it and as you can see we are in the standard photo mode so let's see what we've got here
0:24
We start with the left corner by tapping on this we can easily manage the flash and by
0:29
tapping on this button we can change it as you can see this is the flash turn it on every
0:33
time we take a picture. By tapping on this we can, it again, we can turn it off and by tapping on this it again
0:41
we turn on the auto flash here so this is how it works and this is how it changes
0:48
And now let's go to this button here by tapping on this we get access to the filters so here
0:54
we can change and make our picture just more beautiful before we take it and we can pick
1:00
these filters like that so this is how it works. So for now I'm going to stay on the original one
1:18
And this is how it looks like and now let's see how to zoom so we can do it by using the
1:24
two fingers like that and as you can see we can get close to our subject and also go back
1:30
and also the quick zoom is here by tapping on this button we can change the lenses from
1:35
ultra wide lens to the wide lens this is how it works here
1:40
And the useful thing also is by when we tapping on the screen like that we get access to the
1:45
exposure compensation so here we can adjust the exposure of our picture and make it more
1:52
bright or more dark as we need by using the slider so this is the focusing ring and this
1:59
is the exposure compensation here this is how it works. And now let's move to this settings bar here so here we can change the modes of this camera
2:09
as you can see we can pick video, photo, face beauty, blur, mono, panoramic and pro mode
2:16
so I suggest you to make your experiments with that and just have a good fun here
2:23
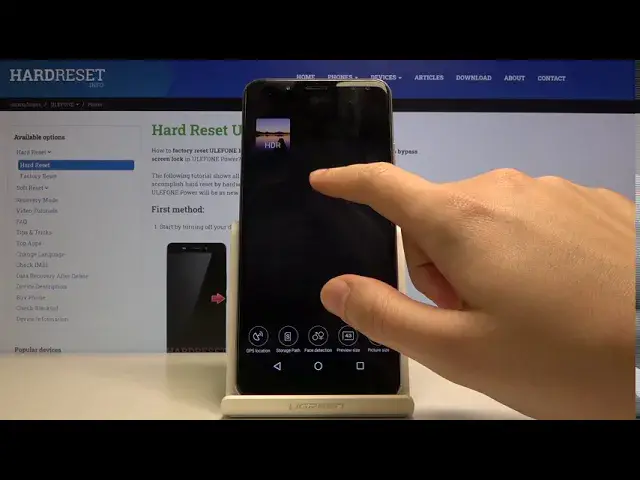
And now let's go to this button here in the right corner by tapping on this we get access
2:27
to more advanced settings and as you can see we get access to this slider and from here
2:33
we have different options to manage and the first one I want to show you is the GPS location
2:38
so here we can turn on and turn off the location of our picture on this device so this is how
2:45
it works we can easily turn it on and off and the important information is that to make
2:52
it work we have to be connected with the internet for example the wifi and we have to turn on
2:59
the location of this device so these two things should be turned on when we really want to
3:06
save the location of our picture and from now I'm going to take a picture to show you
3:10
how it works and let's go to the preview now and as you can see this is our picture and
3:17
when we tap on this button here in the right corner we get access to info about it and
3:23
by tapping on this we have the info and at the last position we have the camera location
3:30
so greetings from Krakow this is how it works and let's go back to the camera here
3:39
and now let's go again to this button and to the settings the interesting thing also is that here
3:45
we can change the ratio of our picture and we can pick from 16 and 9 which looks like that
3:51
and also the 4 and 3 ratio of our picture which looks like that so the next one thing here
3:59
this is the picture size so by tapping on this we can change the quality of our picture and as you
4:04
can see we have pretty wide spectrum and we can move this and manage this as we need for example
4:12
one megapixels three megapixels or the best possible 16 megapixels here is available and
4:21
when we go to the next settings here we have access to the self timer so here we can change
4:28
the delay of taking picture and as you can see we can pick from 2 seconds and 10 seconds so I'm
4:33
going to pick 2 seconds to show you how it works and let me take a picture now
4:41
and as you can see the picture was taken with 2 seconds delay so this is how it works for now I'm
4:46
going to turn it off because I don't need it and also the interesting thing here is the anti-flicker
4:53
function so here we can improve our picture when we are taking photo in some difficult
5:02
conditions for example the led light so this is also useful and also the zero shooter here so it
5:12
saves the picture when we take it and it allows us to taking pictures just quicker
5:20
so this is how it works and these are the top three tricks of this camera
5:26
that's all thanks for watching subscribe our channel and leave the thumbs up