0:00
Hello, in front of me I've got Sonic Sparia 5 Mark 3
0:10
In this video I'll show you all camera modes and settings. So let's open camera
0:19
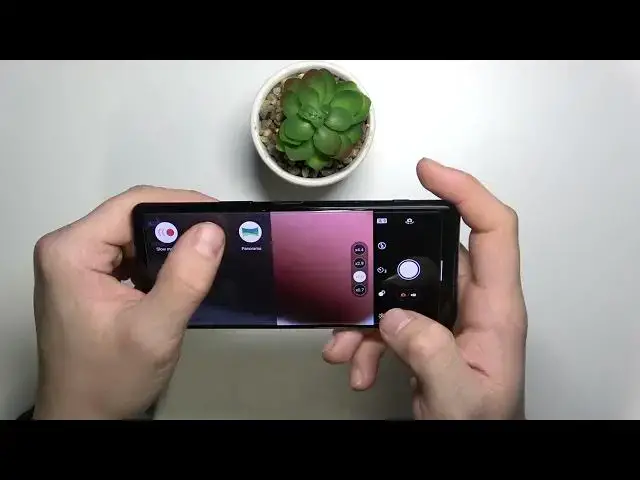
And as you can see, this is the homepage of our camera
0:24
Let's use it in horizontal mode. From here we can take a photo change zoom
0:37
change brightness level and color temperature
0:55
Then we've got single shooting mode, continuous shooting mode
1:14
Self timer for 3 seconds and for 10 seconds. Next we can change aspect ratio, change to video mode, enable HDR or disable it
1:39
zoom in, zoom out, and of course change brightness level and color temperature
1:53
Also we can manage Bokeh mode, focus
2:07
Focus and enable Google Lens. Let's check the front camera
2:23
And in front camera we can also enable flashlight, timer, change brightness level and cold temperature
2:38
Enable slow motion But it is only in rear camera In slow motion we can zoom in
2:48
Enable torch Change brightness level and color temperature
3:02
Next we've got Auto mode with more settings. For example we can change focus area
3:19
Select single shooting, continuous shooting high or continuous shooting low, change timer
3:32
enable flashlight, change format of our photo, lock the settings
3:46
enable leveler, change lens, change lens
4:02
And as you can see we've got many notifications about our camera
4:14
like format megapixels, our storage, light, battery percentage, and more settings for our camera like ISO, shutter speed
4:32
and white balance. Also we can set program mode
4:44
shutter speed priority, manual exposure and memory recall. In memory recall
4:58
we can learn about learn about history and legend, legend more of this camera
5:08
Like what does everything mean? In manual exposure we can manually control shutter speed and ISO sensitivity By exposing longer it is possible to take photos to take capture
5:25
that capture the trailing motion of objects using motion blur. In shutter speed priority we can manually control shutter speed to change how you capture moving objects
5:38
Fast shutter speed will appear to freeze and objects in motion while slow
5:43
while slow shutter speed can better exposure motion blur. In program Auto, the camera will control shutter speed automatically with other settings being left up to you
5:55
So for example, in this mode we can change ISO, metering mode, Auto-HDR, format
6:20
White Balance and focus mode Let's select basic mode and check other modes
6:40
So we've got slow motion, portrait mode, where we can enable touch to capture, change aspect ratio, change timer, adjust modes for face like sendler face
7:10
eye enlargement, skin brightness, soft skin and bokech. In Panorama
7:40
pictures. And the last mode we got is creative effect Where we can put some filters on our photo
8:10
Now let's check settings
8:20
And in settings we can manually change aspect ratio, enable drive mode
8:32
change zoom settings for digital zoom or AI super resolution zoom, enable flash mode, auto flash, feel flash, red eye reduction, turn it off or set torch
8:48
We can turn on or off soft skin effect, change focus mode, change focus area color
8:55
enable or disable face eye AF, cure code reader. We can change touch to adjust to object tracking, autofocus or focus and brightness, enable or disable gridlines
9:12
use volume key as zoom, volume or shutter, change audio signals, audio signals, change data storage, turn on or off safe location, enable launch
9:26
camera with key, change shooting mode at launch, enable or disable mode TIL guide
9:35
enable or disable mode TIL guide, transfer and tagging at on mode, check
9:44
Introduction to features like Drive mode, QR code reader, lens correction, triple
9:51
camera, face IAF, POKEh effect, portrait selfie, hand shutter, front camera and slow motion
10:05
Basically you can learn about this camera to use it better. Also we've got tutorial, accessibility, or we can reset settings
10:21
And that's all for our camera modes and settings. If you find this video helpful, please like,attan and subscribe