0:00
Welcome today I am with Opurino 6 5G
0:09
and I'll show you a couple camera tricks So at the first I will show you the best features that we can find the settings
0:17
right here and after that I will smoke remove four modes So let's start let's go for the settings where at the first we can find the watermarks
0:26
So you can enable or disable watermarks on your phone photos and videos
0:31
In this case I'm going to enable, as you can see, as a default is turned it off
0:36
When you make it you will also get notification about access to the location so you can
0:41
accept this permission. And right now you can add your own signature to your photos and videos
0:52
In this place you can also enable and disable other watermark information like device model, date
0:58
and the time and also location. Okay, we have to choose at least one option here
1:09
And as you can see, that's how it changed. So for example, I'm going to leave this watermark like that
1:14
We can also change size of the watermark. We can make it bigger or smaller
1:20
And we can also change position. Let's, for example, stay with the left upper corner
1:25
And take a look right now. and you are going to take photo on the left upper corner
1:31
we'll find a watermark So yeah that's the first option And another option that we can find here
1:41
is the volume button action So currently when I press volume up
1:45
Or volume now button I'm going to take photo Because it's set up as a shutter
1:49
So we can also change to the zoom And take a look how great it works right now
1:54
Let me just put it right here for example
2:06
So when you press volume up button you can smoothly zoom 220 times When you press volume down we are going to zoom out
2:34
And you can also switch to the ultra-wide lens. We can also find location option, so when you enable this option, you can also find the
2:45
and also turn on location on your phone. When you take photo and go for the details
2:53
you will find the exact location where the photo was taken. If you have any problem after activate this option
3:02
I mean it's not working, there is no location and the details
3:06
You have to restart your camera and smartphone and after that everything will be fine
3:11
And the composition we can find a location. we can find in the green light and the leveller
3:17
So this option basically help us to take better compulsion on the photos
3:22
and you can enable the grid and take a look right now this helby grid line appears on the screen
3:31
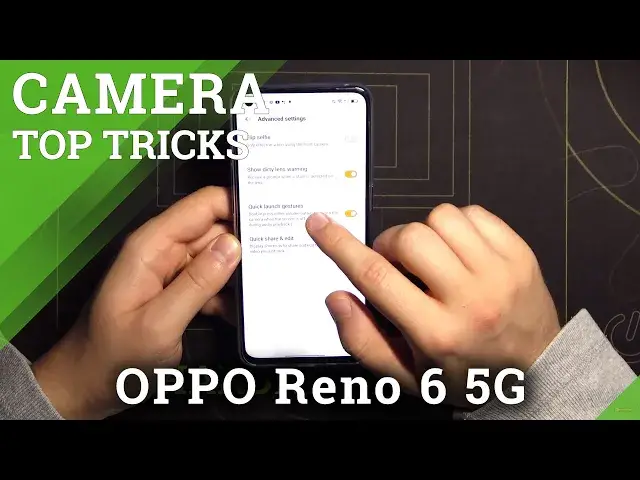
And the advanced settings we can find quick launch gesture. So when you enable this option, you have to press volume button twice
3:38
to launch, camera when the screen is off, so take look. and there it is
3:45
So if you want to get quick access to your camera, try this function definitely
3:52
And the shooting methods we can find tap to capture or show palm
3:57
So take a look. When you hold your phone like that, for example, and you cannot reach your shutter, you can press
4:06
on the screen and you can also take photo. You can also take photo by showing palm of your hand
4:16
Okay, it works only on the front camera, so I'm going to switch right now
4:22
And take look. When you show the palm of your hand, the photo would be taken after a few seconds
4:30
So let's turn off these options right now. And let switch to the real camera because we can find more options in the settings Okay and I think that all honestly That all from the settings
4:48
And right now when you are in the photo mode, we can increase and decrease brightness level by tapping on the screen
4:54
by moving this dot, this icon like that. You can also make it manually by tapping on the screen
5:04
We can also quickly add filters, take a look. So you don't have to download any external application from the Play Store
5:16
If you want to change a little bit your photos, but of course you have to make it before taking the photo
5:25
Okay, let's switch to the original mode. And we can also click right here in this right upper corner and we can add timer to the photos
5:37
So when you select three or ten seconds and tap on the shutter, after this time the photo will be taken
5:45
As you can see. And we can also find 64 megapixel mode
5:51
So take look on the difference. There's the normal mode. And I'm going to take photo of this plant
6:02
And right now the same photo but with the 64 megapixel mode
6:09
Okay and let's take look on the buff photos. Okay this one was taken with the 64 megapixel mode
6:22
And as you can see we can spot here a lot of details and also we can zoom very close to the object
6:31
And right now take look on the normal mode. We can also zoom that that close and we got the less details we can take look
6:41
For example right here and this place. So yeah if you want to get more details on your photo, definitely try to use the 64 megapixel mode
6:54
All right now I going to turn it off and the same we can make in the video modes I talking about this brightness change So we have to tap on the screen and then you can increase and increase brightness level
7:09
We can also add filters like it was in the photo mode
7:14
By tapping right here we can enable the ultra steady mode to improve stabilization
7:22
And here you can change quickly resolution and switch between 60 and 30
7:26
frames per second. So I think that's all from this mode, we can go for the more modes, where we can find
7:33
for example dual capture, so it's called the dual view mode. And right now we can take a video with two cameras at the same time with the selfie and the rear camera
7:43
You can also change the layout. You can also switch position of these cameras by tapping two times on one of them
7:56
Now we can also find here this Pro mode where we can adjust a lot of things manually like ISO
8:05
shutter, wide balance, AF and EV. And if you don't know what this values means, you can tap on this information icon and here we
8:14
get the great explain of each option. And that's how we can adjust these features
8:37
And the last option that we can find here, it's the sticker mode
8:44
So when you switch to the selfie camera and find the place, the face
8:49
and you can add this kind of the stickers to your photos. So it works like the Snapchat filters
8:56
we can take a photo with this one for example and there it is as you can see
9:04
so that's all if you find this video helpful remember to love a like
9:10
comment and subscribe