Up next in 10

Read more about ASUS Zenfone 6:
https://www.hardreset.info/devices/asus/asus-zenfone-6/hardreset-first-method/
In this video we want show you how to configure ASUS Zenfone 6. Let’s check the best method to first start of your device. Use presented instruction and set up ASUS Zenfone 6 smoothly. Subscribe to HardReset.info channel to find best features in ASUS Zenfone 6.
How to configure ASUS Zenfone 6? How to activate ASUS Zenfone 6? What I should know about ASUS Zenfone 6 Set Up? How to set up ASUS Zenfone 6?
Follow us on Instagram ► https://www.instagram.com/hardreset.info
Like us on Facebook ► https://www.facebook.com/hardresetinfo/
Tweet us on Twitter ► https://twitter.com/HardResetI
Show More Show Less View Video Transcript
0:00
Welcome
0:02
I'm using Aces Zendphone 6 and today I'll show you how to go to the set-up process of the device
0:11
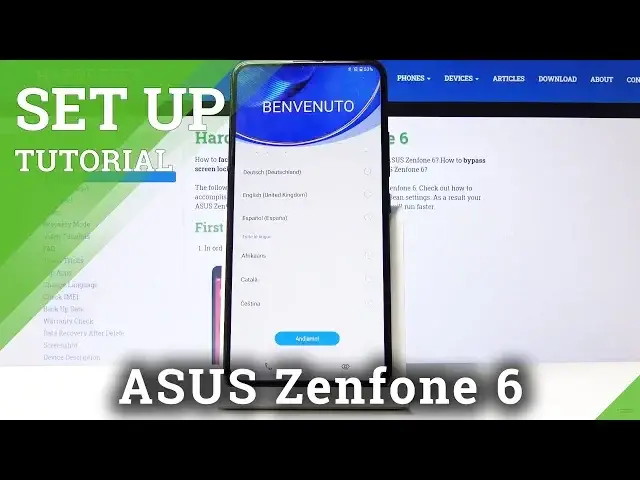
So to get started, once you power on the device, you'll see the welcoming screen, which at this moment it's in a different language
0:19
So start out by choosing your language, which for me is going to be English
0:23
And there we go. So once you tap on it, it automatically changes and then we can tap on, let's go
0:29
From here you have internet connection. Now this is optional. You can skip it or
0:34
Connect to one if you want to. So I'm gonna actually skip it. It's gonna save on time. So I'll tap on next
0:43
all your privacy rights. So we have to agree to this so are you above the app and then
0:54
Agree cool Go and you have data in time and you have data in time and
0:58
Now keep in mind this will be incorrect as long as you don't have a SIM card
1:03
Once you place in a SIM card, time and date will be set automatically
1:07
So if you're planning to, if you already have a SIM card or you're planning to put one in
1:12
you don't need to change anything here, it will be set automatically. So I'm going to tap on next
1:19
Then you have Google services, so all the things Google uses to spy on you
1:22
Here you go You have localization allow scanning Now you can read all of them and decide if you want them enabled or disabled Also we can enable and disable them later on after the setup is complete
1:36
For instance like localization you just have a nice toggle in the notification panel which
1:41
can toggle on and off your will. So I'm going to keep it as it is and let's stop on accept
1:49
And from here at the flip camera. It gives you a nice preview of the flip
1:54
As you can, well, he didn't get to see that because the camera is a little bit too low
2:01
But here if I do this, it just gives you a preview
2:05
It flips over and goes back immediately after. So not really much in here
2:12
Stop on next. Call volume. So you have again option for a call volume
2:19
Not really sure why though, because, well, you have the volume. markers right here which you can adjust the call volume
2:25
So stop on next and keep it as it is. Protects your phone
2:29
Now here you have an option to actually set up something useful like your protection
2:33
So you have choice between pin pattern, password and also a fingerprint
2:39
So keep in mind if you choose a fingerprint you'll also need to set up pin pattern or password
2:44
Or you can skip it by tapping no thanks. Now as an example I going to set up a fingerprint so just tap on that And because I chose fingerprint I also need to add the pattern or pen or password I going to stick with pattern So there we go Draw the pattern tap on next we draw the same pattern once more and next
3:04
And then you have options for notifications, so this is when the devices lack
3:08
they have a choice on how the notifications are shown. So you have show all notification content, hide certain notification content, or don't show them at all
3:19
this is only one of the devices locked so for instance if someone is trying to see your
3:24
messages and stuff like that well you're not around you can choose don't show notifications at all
3:31
and they won't even know that there is a notification now if you choose hide certain content
3:37
notification content this will show that for instance you have a message notification but
3:42
it will not display the content of that message so you can choose whichever one you want and
3:48
tap on next and now we get to scan our finger on the back of the phone so there we go
3:53
there's a sensor as this sensor right here so you want to just start tapping on that and just go back
4:04
over there we go I'm gonna finish this up now when you're scanning your finger you want to get a
4:08
good rid of all the middle of it and outside edges but now I'm gonna try to do it as quick as possible
4:15
some kind of repeatedly spam just the middle of the finger basically But I advise you to try to get a good rid of entire fingers so you have a higher chance of unlocking the device in normal circumstances You can also add another one so you could
4:29
And clearly add the same finger once more for even higher chance of readability if there is problem that your phone
4:35
Isn't always recognizing your finger or you can add another finger If you want to unlock your device with for instance your left hand if you're right-handed
4:44
So I'm just gonna top on next now Yep, it's already protected there we go
4:49
Then you have a notification about the smart key which is this right here and it looks like it brings up Google Assistant
4:55
So let's up on next Now you have AIS account which I would like to skip
5:03
Isis data transfer just allows you to copy data from previous device so you would go to open AIS data transfer and I assume you need to download another app on the other device
5:15
Which would provide you with the name or exact name and and you'd go only to the Play Store there and get it
5:22
and from there you have options to choose what you want to transfer over I'm going to top on done and there we go and that's finished
5:33
and that is basically how you would go to the setup process of this device so if you found this very helpful
5:38
don't forget to hit like subscribe and thanks for watching
#Consumer Electronics
#Other