0:00
Welcome, I'm an Aces RG415, and today I'll show you how to record screen on this device
0:13
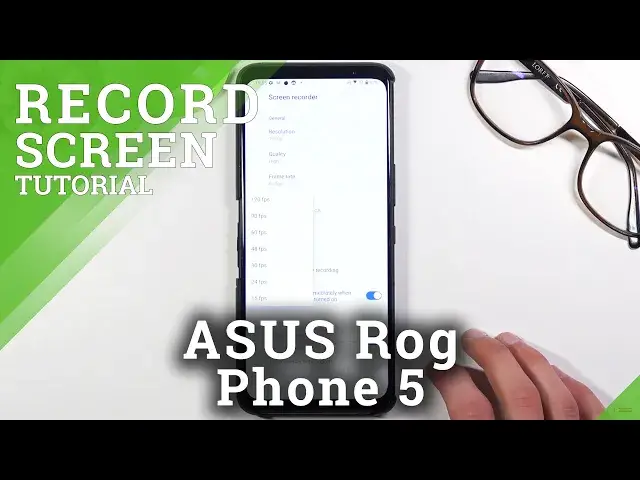
So to get started, let's pull down our notification panel, expand it, and look for the screen recorder toggle, which for me is right over here
0:22
Once you find it, I need to do as either tap on it to start recording or hold it to go into the settings
0:29
Now I do recommend you to start off by going into the settings when you're doing this for the first time and change a couple of them to suit your preferences
0:38
So number one, we have the resolution. This, if you want to have the best quality, go for the 1080p
0:44
Anything below will just start dropping in quality. 720 could still work, but it's going to take less space, which is a benefit, but it's going to look also worse
0:54
So keep that in mind. You don't have the quality right here. apparently are set to medium so I'll probably set that to high just so it looks better
1:03
I believe this it probably includes bitrate which means that medium or high
1:08
difference will not be visible on still photos so as an example of if I'm
1:14
recording as something like this right now where you can see settings it wouldn't
1:18
be really visible even like on low it might not be but the moment I start like scrolling up and down you will see this kind of when I move it it will everything will look blurry and kind of degraded in quality for a couple or a second or so till it catches the
1:33
quality it looks a little bit wonky and it's not necessarily anything that
1:39
adds to your the quality so I would suggest you to go with the high option now
1:45
next thing we have is a frame red and that is a surprise here and we are
1:50
Frankly, can't record at 120 frames. Now, if you're planning to record something for YouTube or stuff like that
1:59
60 will be really good. For this, you could drop it to 30 to save on space if you want to
2:06
but 30 looks... For games, it's not cinematic experience, as everybody would make you believe
2:13
So, for gameplay, go with 60 at least. For anything kind of, like, related to something like
2:20
I'm showing you right now, guides, or showing some kind of application how it functions
2:24
Yeah, you can go with 30. And if you want to have just the most battery smooth experience, you can go for 120
2:30
but I believe YouTube doesn't support it. So if you're planning to upload it somewhere like that
2:35
just keep that in mind that YouTube will automatically downscale it to 60 frames instead of 120
2:42
I'm going to go with 120 just for the kicks. And then we also have the option to select where we can save the recording Now there is only internal storage I believe there is no space for SD cards So not sure why is that even here Maybe the
2:58
better versions of this device do have storage expansion, but this one does not. Then we have
3:05
orientation. Keep it on auto, the best option. As just when you hold the phone in landscape mode
3:09
it's going to be in landscape and when you flip it to portrait, it's going to record in portrait. Then we have record audio. So here we have microphones
3:16
internal audio or none unfortunately we don't have oath if you wanted to
3:22
record that that's a little bit of a shame some devices allow you to do that
3:26
some don't not really sure why so choose whichever audio you want to record
3:31
and then we have countdown before starting to record I'll set it to zero
3:38
what else we have show touches so once you start recording whatever you
3:44
will touch it will show this grayish dot and now For the normal informational videos like this one, showtouch is a good thing
3:53
For gameplays, not so much. So I'm just going to turn it off
3:58
Then black overlay notifications. So if you don't want any notifications showing up on your recording
4:03
while you record, they will be blocked from popping up. Stop recording for incoming calls
4:09
Probably a good option. So when someone calls you, it will automatically pause the video. So yeah that basically all the settings right here that we have We can close this now once you have gone through all of them And all you need to do now is simply tap on the recording When you doing this for the first time
4:23
it will want access to your screen, to audio, and to media, just so it has place to save
4:34
And as can see, it automatically starts recording. So whatever I'll do right now will be recorded
4:39
and well in this case in the battery 120 frames smoothness which is a fairly nice thing
4:44
and once you're done I can simply tap on a stop and this will stop it now once you
4:52
actually have finished recording you can find out recording in your photo gallery so
4:57
let's just open up photos just regard this don't pack up there we go let's go to the
5:02
library where you will find screen recording folder and once you stop on it there
5:06
should be our recording Okay, and it's already playing as you can see
5:14
And this is probably the best screen recording I have ever seen at this moment
5:19
primarily because of that 120 Hz frames recording. So yeah, this looks really good
5:26
But anyway, that is how you would record your screen, and if you found this very helpful
5:30
don't know if I could say like, subscribe, and thanks for watching