0:01
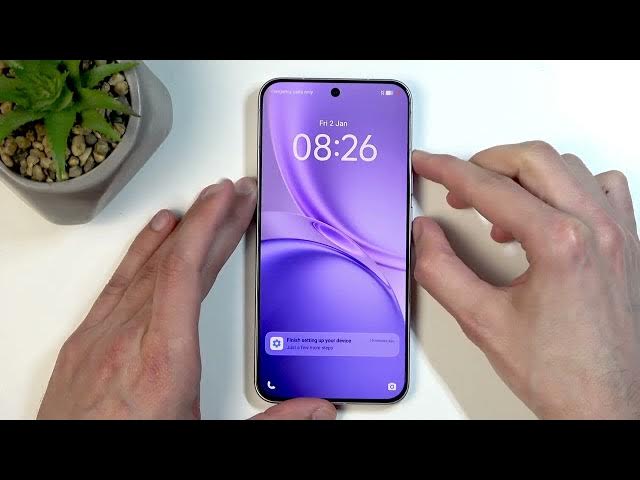
Welcome. In front of me is a Vivo X300F
0:06
and today I will show you how you can
0:07
hard reset this device through recovery
0:18
So to get started, I want to quickly
0:21
talk about a couple important things. So
0:23
number one, you can perform this kind of
0:25
reset in order to get rid of a screen
0:27
lock if you have one set that you don't
0:29
know, but all of your data will be
0:32
removed. Now, if you don't if you don't
0:34
know your screen lock, that might be a
0:37
small price to pay to actually start
0:39
using your device again, but just be
0:41
warned. Um, so that's number one. Number
0:45
two, typically if you perform this kind
0:47
of reset in order to get rid of a screen
0:49
lock, what will happen is your device
0:51
will become FRP locked. And this means
0:54
that when you're going to the setup of
0:56
your phone, your phone will force you to
0:58
verify either the screen lock or the
1:00
Google account that was used on this
1:04
phone prior to the reset. And uh this
1:08
will only happen if you have both screen
1:11
lock and Google account.
1:13
And from there you can verify it using
1:15
either Google account or the screen
1:16
lock. Uh so that's another one. And
1:19
number three is because of your data
1:21
being reset uh or removed by this
1:23
process, it's probably best that you
1:25
back up your phone if you have the
1:27
option to if uh you don't know your
1:28
screen lock. Honestly, that doesn't
1:30
really give you much of an option here.
1:32
uh you can just potentially check if
1:34
it's been backed up by opening up your
1:36
Google Drive on a web browser and
1:38
signing in with the same Google account
1:40
that is used on this phone and seeing
1:42
for instance what's the most recent
1:43
photos stored in the Google photos there
1:47
and based on that you can kind of gather
1:49
on what has been backed up so you can
1:52
also view that in the settings if you
1:54
can access it by going to system
1:56
management and backup and restore and
1:58
right here backup data this will look a
2:01
little bit print typically, but from
2:02
here you can kind of view uh as there
2:05
are like two options, photos and videos.
2:07
And then the second one is other device
2:08
data. And if they both have a check
2:10
mark, that means that they're all backed
2:13
Um so that's one thing. And if uh if you
2:16
do want to back up your device and you
2:18
can unlock it, uh you can do it in way
2:22
that I personally really like, which
2:24
would be through migration. Now, this
2:26
would allow you to either migrate data
2:28
to an old device that you might have
2:29
laying around or if you buying if you
2:31
already bought a new phone, it would
2:32
allow you to move over data to the new
2:34
phone. And you can do that by using
2:37
either the easy share application, this
2:39
one right here on the two circles. And
2:42
in here, you would select device clone.
2:44
And this can be used in between Vivo
2:47
devices and only Vivo devices. It's Vivo
2:50
is an application that allows you to
2:52
move to their phone and in between their
2:56
And the idea here is you can download
2:58
these applications through play store uh
3:00
on different devices and you will always
3:02
need to download the application of the
3:04
phone that you're going to be moving the
3:06
data towards. So as an example, if
3:08
you're moving uh from Vivo to Samsung
3:11
just as a hypothetical situation,
3:14
I have one right here. You would need to
3:17
download Samsung's uh own application
3:20
like this one on the Vivo phone. And
3:23
Samsung has an app called Smart Switch.
3:26
Uh if I were going the other way around,
3:28
I would download the easy share of this
3:30
phone onto the Samsung because you can
3:32
only connect these devices one way when
3:35
you're using uh from the this
3:37
application from different brand. So if
3:38
I were to download the easy share app on
3:41
the Samsung, it won't give me these two
3:44
options in there. It will only give me
3:46
the option that uh that Samsung device
3:48
would be and old device. old device,
3:51
meaning I'm moving the data from that
3:53
phone to the new one. Uh, so there we
3:56
go. But this in general is the best kind
3:59
of way to go about this as the
4:00
application here is very good. They're
4:03
just generally good. They're kind of
4:04
cloning applications as they give you
4:06
the option to select everything that you
4:08
want, every application, updata, and uh
4:12
all that without any kind of
4:13
restrictions, which is pretty damn nice.
4:17
So anyway, now with that out of the way,
4:19
uh I will be performing this reset. I
4:21
don't have a screen lock set, uh but the
4:24
process doesn't change if you do and you
4:26
just don't know it. So what you would
4:28
need to do is press the power button and
4:30
volume up at the same time. And this
4:32
will bring up your boot options. And
4:34
from here, just swipe, swipe to the
4:36
right to power off your device. And when
4:39
the phone turns off, you want to hold
4:41
power button and volume up and let go of
4:44
the power button when you have the Vivo
4:53
From here, using volume buttons
4:54
specifically, just click volume down
4:56
once to select recovery mode. You want
4:59
to then confirm it using your power
5:01
button, and this will bring us to the
5:15
uh you want to select clear data
5:18
and then select clear all data.
5:23
This will give you a quick message clear
5:25
all data. All data on this device will
5:27
be cleared including important data such
5:29
as contacts, photos, SMS messages. Data
5:33
cannot be re uh recovered if cleared.
5:35
proceed with caution. So, we're going to
5:38
click on okay, and this will now begin
5:40
resetting your device. Now, at this
5:42
stage with the recovery mode still uh or
5:45
in recovery mode, this is relatively
5:47
quick. So, we're just going to now click
5:49
back or sorry, return as we are already
5:51
finished clearing and then click on the
5:54
arrow right here and select restart from
5:57
the bottom and okay. Now, this will
6:01
reboot the device and continue resetting
6:03
it in the background, which will take
6:06
about a minute or so to finish up. Now,
6:09
once it's finished, we'll be presented
6:11
with the setup screen. So I'll be black
6:12
ones that is visible for me.
6:45
And as you can see, the process is now
6:47
finished and you can set up your device
6:49
however you like. So if you found this
6:51
video helpful, don't forget to hit like,
6:53
subscribe, and thanks for watching.