0:00
Welcome guys, so today I am with the Motorola Razor 22 and I want to show you a few camera tips and tricks for this device
0:12
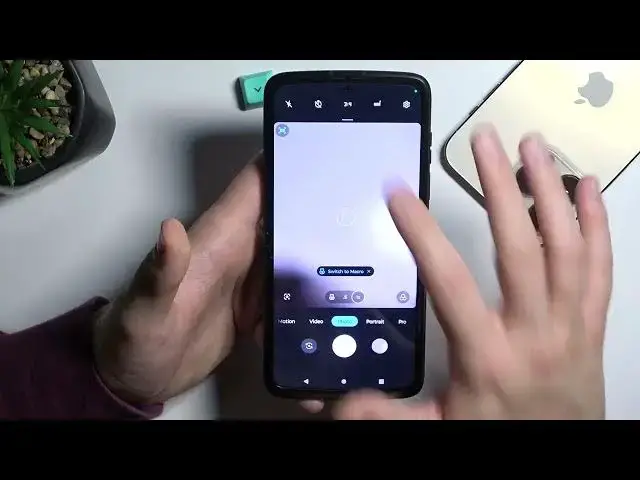
Okay, so first of all, when you open the camera application, we will be in the photo mode
0:16
And right here I'm going to show you how you can change quickly the brightness level
0:20
So when you click on the screen once, you'll find the slider and you can move it up and down to decrease or increase brightness level
0:28
You can make it automatically to tap, I mean you can make it automatically by tapping on the screen once, I mean twice
0:36
Very simple as you can see. Next, you can tap right here of your preview and as you can see you can change color and the temperature on the photo mode
0:46
We can find here the default filters. And the cyberpunk looks interesting
0:52
You can also find the classic like the black and white. And you can also reset to the default parameter by tapping for the type
0:57
by tapping right here. Next, when you are on the photo mode
1:03
you can switch between the macro lens, ultra-white lens, and the main wide-lens
1:08
You can also zoom in and zoom out when you click and hold the already selected preset
1:13
You will unlock this zoom feature. And as you can see, we can zoom in to the eight times
1:19
That's... Wait a minute. Let me find the subject. Okay. That's the maximum zoom on this phone
1:25
And that's, by the way, quality. Looks not bad actually. You can also make it by pinching the screen
1:34
with your two fingers. So we can simply slide like that. So we can decide the way
1:40
of the zooming in and out. Next when you go right here you can change the
1:47
aspect ratio. You can go for example for the full screen but you have to
1:51
remember that when you change it you are also going to change the photo quality
1:56
So the best way it's also to stay with the 3 by 4. When you tap right here, you can enable shutter delay between 3 or 10 seconds
2:07
When you click on the shutter with this option, activate there will be small countdown
2:13
Right here, you can also enable or disable the flashlight. Next, we can smoothly move for the settings
2:20
Here we can go for the QuickView display. You can get the external preview for sure we are talking about this screen so if you want to get the preview of this screen you can just turn it on right here next we can go for the AI settings for example we can use
2:44
the gesture selfie so when you show the palm of your hand with this option enabled let me just
2:50
show you so let's switch to the front camera And when you show the palm of your hand
3:08
Oh, wait a minute. Okay, it is not actually taking the photo, but it's supposed to..
3:20
Let me just put the screen like that, maybe. Maybe it's all about the brightness
3:26
Okay, let's try to reset the camera application
3:36
Let's try to open it one more time. Let's go for the selfie camera
3:45
Okay, looks like this feature is not working properly. Let's go another time for the AI settings
3:54
Okay, as you can see the option is enable, but it is not working
3:58
That's weird. Okay, never mind. You can tell me in the comment if this option is working for you
4:04
When you go for the photo modes, we can, for example, switch from the recommended 8 megapixel mode
4:11
the high resolution. So basically you will get more details while taking the photos with your front selfie camera
4:18
Right here, you can also enable or disable the camera. selfie mirror effect
4:27
So the photo will be flip. It will be not looks like on the preview when you enable this option
4:31
And here we can also enable the camera watermark. So when you enable the timestamp
4:35
on the right bottom corner of your photo we will find the date and the time
4:40
You can also enable the device watermark so you will know that the photo was taken
4:44
from this Motorola Razor 2022. And you can add your own signature
4:52
And that's by the way, how it looks when you take photo
4:58
When you go for the videos you can be sure that the stabilization is enabled and you can also enable the HDR 10 plus
5:08
So when we will be on the main lens, it will be set to the 4K 30 frames per second
5:14
and the photo, I mean the video looks just a little bit better
5:18
You can also go for the capture options so as you can see
5:22
we can use the quick capture so we can twist our wrist twice quickly to open the selfie camera
5:26
the selfie camera okay we are going to find this option but you can also go open the real
5:32
camera let's try to make it okay as you can see it's working one more time let's close it take
5:41
look yeah the motions in the phone are really good working smooth another option right here
5:48
adds the top anywhere to capture so basically when you click on the screen once the photo will be taken
5:55
and it works very fast as you can see. Okay, let's go back for this option right here
6:02
You can hear enable or disable the shutter sound. And you can also enable the assistive gridlines and the camera leveler
6:10
So as you can see, that's the leveler and there are the gridlines. And they help us to take better composition on the funnels
6:19
Okay, and that's all from the settings. right now we can try to go for the more modes they appears right here and as you can see we
6:30
can for example use the dual capture mode this option allows us to take photos and record the
6:35
videos from the selfie and the rear camera at the same time we can also switch position of the
6:44
preview and change the theme so we can get small picture in the picture right here
6:55
Okay. We can also go back and try to use the ultra resolution mode
7:00
So let's make the small comparison. We can focus, for example, on this button
7:05
That looks totally normal. Let's see if we can spot any difference with the ultra resolution mode
7:12
and with the standard mode. We're going to catch focus on the same
7:17
So the photo was taken with normal mode. It looks not bad We can spot some details some pieces of the dust Let go for this ultra resolution mode And yeah I guess we can spot more details a little bit
7:45
Let's try to open the Pro mode for the Marmots for the Nurtime
7:49
Right here we can find the spot color option for the photos in the video and let me just show you how it works
7:56
So you have to basically use this point. We can use it on our plant
8:03
And you can see right now, we can remove all the colors from the photo
8:08
and stay only with the green one. Just take look. It works the same for the video and the photos
8:20
Okay, and I'm going to show you also the last option that will be probably useful for you
8:25
if you want to get better quality of your selfies you can just close the phone let me just
8:34
clean because there's a lot of fingerprints okay and when you turn on this screen
8:41
unlock the phone and then simply open the camera by swiping on the left as you can see you can
8:47
take photos with your main camera like the selfie and here we can find the preview
8:55
There's also other options like the gesture selfie. Let's try if it works for this screen
9:03
Okay, it's still not working. That's weird. Maybe they're gonna fix it
9:08
But in my Motorola, it's not working unfortunately. So there's few parameters, there's automatic smile capture, that's the flashlight shutter delay
9:19
We can also change the aspect ratio. As you can see, that's the HDR
9:24
mirror effect and the face beautify mode. Right here we can also record the video with this screen
9:36
We can use the spot color and other modes. And yeah, that's all for this video
9:43
That's all my tips and tricks for the camera in the Motwala Razor 22
9:49
If you find this video helpful, just remember to love a like, comment and subscribe to our channel