Up next in 10


Learn more info about XOLO Era 4X:
https://www.hardreset.info/devices/xolo/xolo-era-4x/
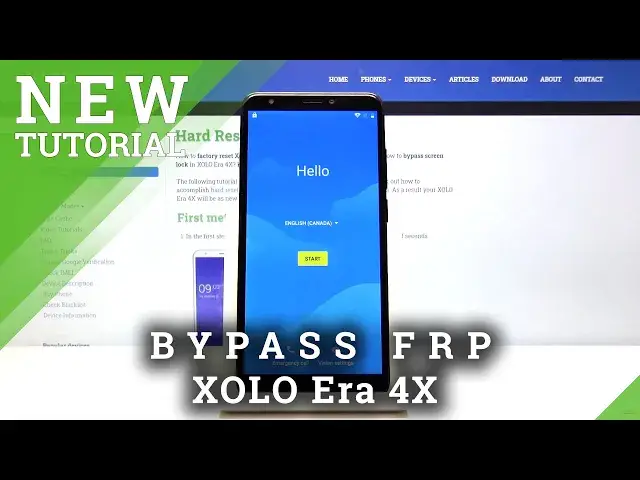
Come along with the uploaded video, where we teach you how to unlock Factory Reset Protection in XOLO Era 4X. If you forgot Google login details, find out the attached instructions, where you will be able to learn how to bypass Google verification to smoothly log in to Google account with new or without a Google account in XOLO Era 4X. Let’s follow the presented tutorial and get the knowledge of how to activate XOLO Era 4X without a Google account. Visit our HardReset.info YT channel and discover many useful tutorials for XOLO Era 4X.
How to unlock FRP in XOLO Era 4X? How to bypass Google verification in XOLO Era 4X? How to remove Google protection in XOLO Era 4X? How to skip Google verification in XOLO Era 4X? How to unlock XOLO Era 4X? How to activate XOLO Era 4X without Google Account?
Follow us on Instagram ► https://www.instagram.com/hardreset.info
Like us on Facebook ► https://www.facebook.com/hardresetinfo/
Tweet us on Twitter ► https://twitter.com/HardResetI
Show More Show Less View Video Transcript
0:00
Welcome, and following me is a Xolo Era 4X and today I'll show you how to bypass the
0:11
Google verification screen on this device. So as you can see the one in front of me is already locked and yeah
0:18
So before we actually get started there's a couple of things that we will need
0:23
Number one is an internet connection and that is a must and number two is more depending
0:27
on if your circumstance is the same as mine. So you might need a SIM card with a phone number
0:34
Now like I said I do not have one in here but the device has a built-in number at least
0:39
on this device. I'm not sure if this is the same thing for all of the other devices that's why I'm saying
0:44
that you might need a SIM card. If you don't see a number then that means that you just need to drop a SIM card in there
0:50
and add one of your own. But to get started let's go into emergency calls, tap on the emergency information twice
0:57
then edit and add a contact. And you can see right here I have the Xolo customer care
1:05
So I guess this number is built into the phone even though you would reset it it's gonna
1:10
be there. At least that's how it looks like for me. But like I said if you don't have this number here if this space is empty and there's nothing
1:19
in here just drop a SIM card and choose one of your contacts just simply tapping on it
1:25
And once you do you will have the contact right here. So emergency contacts you want to tap on the contact itself and it brings it up and gives
1:33
you a couple options right here. So you can call it messages but right here beside the edit you have the three dots
1:38
So you want to tap on those three dots and go into share and you'll see the share options
1:46
So from here you will choose Gmail but instead of tapping on it you actually want to hold
1:50
it so you will see that I'm holding it. If I could actually hold it correctly there we go
1:58
So once you hold it for about a second or so it will pop up with this window and you
2:03
have pin and app info. So choose the second one the app info
2:08
Then go into app notifications, additional settings in the app right here, three dots
2:15
again and help and feedback. That's what the network was for so we can now do a search and help and feedback
2:23
So you want to search for Morse code and use Morse code
2:29
There we go. So as you will see there is a YouTube video you want to tap on it
2:35
Give it a moment for it to load and then you will see that there is now three dots again
2:41
on here so you want to tap on that and it gives us an option for watch later
2:47
And what this will do is open up browser as you can see
2:51
There we go so let's tap on accept and continue, no thanks
2:58
And then in the search field you want to look for hard reset.info website so let's type
3:05
that in like so
3:15
And once you're on the website tap on it, three bars right here and go into the downloads
3:22
and in the download field you want to search for Android 8
3:34
As you can see there it is so Android 8, search for it and it gives you only one option
3:39
so the FRP bypass or Google Account Protection bypass and Android 8 application
3:46
Tap on download, again scroll down and you will find the link to download it
3:52
Click on it, continue and allow and download. And it's downloaded so tap on OK and open
4:03
And before we can actually install it we'll need to allow Chrome to install it so let's
4:08
go into the settings, allow from this source, go back and now install
4:18
And once it's done installing you just want to open it and from the app we're still going
4:23
to start off with choosing the Google Account Manager APK install and for version 6.0
4:30
Again let's go into the settings, allow from this source and go back and install
4:34
Now this time around once it's finished installing you're just going to click on done and it
4:39
takes you back to the app. And from here tap on bypass FRP, browser sign in and then from here tap on it three times
4:47
and select browser sign in once more, confirm that by tapping on OK
4:54
And now we can log in with the Google Account. So you can use your existing account or you can create a new one if you wish to, to log
5:01
into it, it doesn't really matter, just any kind of account that you know the email and
5:06
password for will suffice. So I'm going to use my own
5:18
And I'm going to put in a password for it
5:30
And then sign in. So you will see it's signing in right now and once it's done signing in it goes straight
5:37
back to the app itself and at this point we're done with the app so what you want to do is
5:43
hold the power key and select restart
5:56
And as you can see we're back in the setup screen. So in here we're just going to primarily skip through most of this now
6:05
And you will see that the moment we encounter the verify screen it will actually now show
6:10
that account has been added and will provide us with account that we have provided right
6:15
before the restart. You can see it right here how we set that info one, how we set info one
6:21
So just tap on next. Now once more you just want to skip through most of this, we're going to perform an additional
6:29
hard reset of the device so whatever we set right now will not really matter. So..
6:50
No thanks. And we should be right about done with the setup
7:06
There we go, got it
7:18
So once you're on the home screen what you want to do is go into the settings so let's
7:22
pull down the notification panel and tap on the gear icon to go into the settings
7:30
And from here we're going to go down to system, yep that looks like it, system, reset options
7:40
and erase all data, factory reset right here. It gives you a message that this process will remove a bunch of things including your Google
7:49
account and it provides the account right here. Now this account is the one that I have added but it also will remove the previous account
7:57
that was blocking us from being able to set up the device at the beginning
8:03
And if you were to perform a hard reset of it right now through recovery mode instead
8:09
of through here the device will go back to being locked. So we're doing it through the settings and this will remove both of the accounts and
8:18
basically at this point the device will be fully unlocked. So let's just erase everything and let the process begin
8:24
Now this will probably take a couple of minutes so just be patient. And once it's finished we should be back in the setup screen and from there we can go
8:33
and set up our device as however we like. And as you can see now the process is finished so once more I'm just going to go to a quick
8:58
setup skipping as much as I can but I will briefly touch on the things that normally
9:03
you wouldn't be able to. So number one you can skip the Wi-Fi connection which if the device would be still locked
9:09
you would actually have to connect to Wi-Fi and then it will tell you that the device
9:12
is locked but this is not the case anymore so we can skip it, connect to it, do as however
9:19
you like. Everything will work just fine now. So let's just tap on next, next
9:27
You can add a passcode if you wish to. I'm just choosing to skip it for time
9:37
And there we go. So we're now on the home screen with the device being fully unlocked and ready to use
9:43
So if you found this video helpful don't forget to hit like, subscribe and thanks for watching