Up next in 10

Learn more: https://www.hardreset.info/devices/nokia/nokia-61/
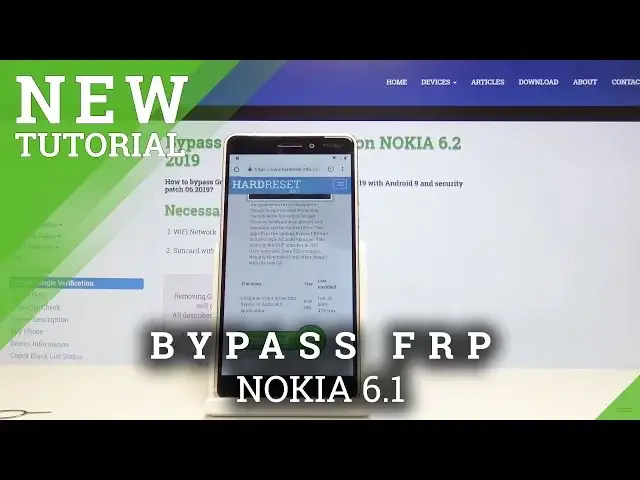
Have you reset your device, but forgot the password to your old Google Account? Maybe you received smartphone that is locked? No matter what happened, the following tutorial will provide you with the great method of bypassing Google Verification. Watch and learn how to skip FRP in Nokia 6.1.
How to Bypass Google Verification in Nokia 6.1? How to skip FRP in Nokia 6.1? How to skip Google Verification in Nokia 6.1? How to Bypass FRP in Nokia 6.1? How to unlock Nokia 6.1?
Follow us on Instagram ► https://www.instagram.com/hardreset.info/
Like us on Facebook ► https://www.facebook.com/hardresetinfo/
Tweet us on Twitter ► https://twitter.com/HardResetI/
Show More Show Less View Video Transcript
0:00
Welcome! In front of me is a Nokia 8.1 and today I'll show you how to bypass the
0:11
Google verification screen and as you can see the phone in front of me is actually locked so I would not be able to progress if I wanted to and as you can
0:19
see verify your account. So how we're gonna bypass is with a card that has a
0:25
pin number on it. I have one right here that I just dropped. So this thing right
0:30
here. Now find yourself some kind of SIM card that also has a pin and then just
0:35
put it into the phone. So I also need a SIM eject tool or some kind of paper
0:39
clip whatever works and put in the card in there. Now let's wait for the lock screen. So then put in the pin of the card and
1:00
confirm it and you will see this. Now do not unlock it. Start holding this and you
1:05
will get this information icon right here and then just tap on that icon. From
1:11
here tap on advanced and scroll down to browser app and then select opening
1:20
links and choose YouTube from the bottom of the list and tap on the icon of
1:26
YouTube. Then tap on notifications and then again select advanced and advanced
1:38
and additional settings in the app. Give me a moment. Okay then let's go to about. Now I'm also checking this to make sure I'm doing it
2:07
correctly so that's why it's taking a little bit longer sometimes. So about
2:12
then let's go into the Google Play policy right here and continue. You don't
2:23
need to sign in. And from here also make sure that you connected the network. So
2:32
we're gonna go from here to hard reset that info. So on the side tap on the
2:51
three bars up here and then select a download and in a search for download
2:58
search for search for Android 8. So Android 8 and search and you'll find
3:13
this FRP bypass. So just download this and once more scroll down and select
3:19
download. Continue and allow access to the storage and tap on OK. So now it's
3:29
gonna begin download and should give us a link once it's done. So tap on open and
3:36
to install it we need to enable unknown sources. So tap on the settings and allow
3:40
from this source. So enable this and go back. And now tap on install and once
3:48
it's finished we're gonna open it. So open and now we're gonna go into the
3:55
bypass FRP. Oh never mind whoopsie. So it's gonna be Google account
4:05
management APK and for version 6.0 again we need to allow this and go back and
4:13
install. And then you don't need to open it just tap on done. And now we're gonna
4:20
go into bypass FRP and then browser sign-in. And what you wanna do is now tap on the
4:29
three dots up here and then browser sign-in. Tap on OK and then use the
4:36
Google account that you wish to log in with. So one that already exists doesn't
4:43
matter what it is you can even create a new one for this it doesn't really matter. So I'm gonna use mine
4:49
How do you set info dot one whoopsie. Oh gosh let's go back I messed up
5:10
Okay let's go and I'm gonna put in the password for this email so I'm gonna do
5:17
that off the screen. And I'm gonna tap on sign in so we'll see this and it goes
5:29
back to the app that we have used before. And basically now bypass is
5:36
almost done. All we need to do now is reboot the device. Now it's advised that
5:44
once you actually gain access to the phone you want to do a hard reset of the
5:48
device again just to clear out everything that there might be left
5:53
over. And I will do that on the video as well. So I just wait for the phone to boot
5:59
back up. So this doesn't really matter anymore. You could take out the SIM card
6:17
if you wanted to it has no need anymore. So now we're back in the setup screen
6:22
but the difference is now we actually can go through it without verifying the account. So let's do that. Now you can do it really quickly not really setting it
6:32
up just trying to get access to the to the home screen because there's gonna be
6:37
another hard reset. Select don't copy. Next
7:00
Accept. Skip. Skip. Skip anyway. Continue. No thanks. Skip. No thanks
7:30
And not now. And we're in the home screen. So as you can see there is no need for
7:36
verification anymore but to remove everything that might be left over I'm
7:42
gonna go into the settings. So pull down the notification panel and tap on the gear icon here. And then scroll down to system. Believe. Let's go to advanced and
7:54
reset options. And erase all data. Factory reset. Reset phone. And erase everything
8:02
And let the process basically go through fully. And once it's done we're gonna be
8:05
back in the setup screen but this time we can actually go through it fully with
8:10
setting up well basically as you like. So I'll actually be back when this is
8:17
done so yeah. Okay and as you can see process is finished so we can and put in the pin
9:08
Unlock. Select language. And as you can see the first thing we can already skip
9:25
the Wi-Fi connection so just gonna do that. Then it actually won't be looking
9:29
for any updates in the process. Kind of want to make it a little bit shorter so
9:36
when it's looking for updates takes a little bit too long in my opinion so
9:41
except you can set up a fingerprint. Doesn't really matter. Basically the
9:48
device is fully unlocked now. And one more thing. I'm just gonna go into the settings. Show the accounts. As
10:17
you can see there is no account here. And is there any Google? Yep there is. I can
10:23
also see that there is nothing here that would resemble any kind of user data. So
10:28
basically the phone is fully unlocked now and ready to be used. So that is how
10:33
you bypass the Google verification screen on the Nokia 6.1 and if you found
10:37
this video helpful don't forget to hit like, subscribe and thanks for watching