0:00
Here I have Wicol Lany Free and let me show you how to go through the initializing setup
0:09
process on the following device, so let me show you how to activate this device
0:13
At first let's start by using a welcome panel, here you've got full list of available languages
0:18
that you can use on this device, in my case let me choose English, you may also choose
0:22
emergency and make some emergency calls if you need, if not let's go back, then let's
0:28
tap next, you can insert sim card but you can also activate your device without the
0:36
sim card so let me do it that way, let me choose skip, now you can select wifi network
0:51
it's not necessary but I usually recommend this step so you can do more with your internet
0:56
connection, so let me connect my device to my network, to my wifi, the device is obtaining
1:02
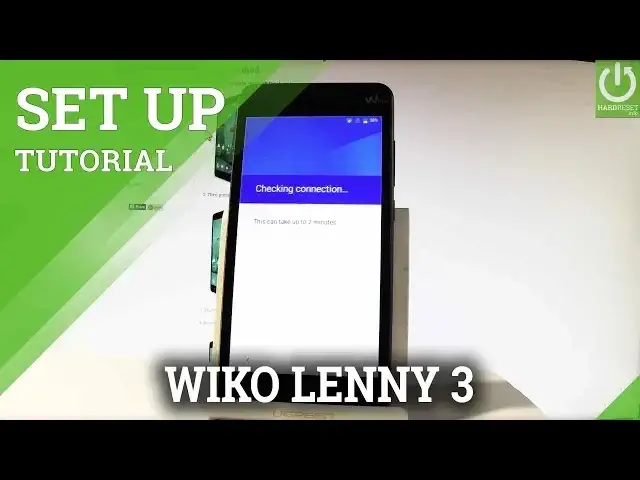
IP address, let's wait a few seconds, the phone is checking connection, the device is
1:18
looking for any available updates and now you have to decide that you would like to
1:25
copy your Google accounts, apps and data from one of your other devices or you can
1:29
just choose no thanks, so let me tap no thanks and let's tap next, let me have a fresh start
1:48
and now you can add a Google account to your device, it's not necessary but I usually recommend
1:53
this step so you can do more with your Google account, you can enable some interesting features
1:59
and you can do it in two ways, you can create a new account or use an existing one so let
2:03
me use an existing one, let's activate keyboard, let's enter an email, let's tap next, now
2:20
it's time to enter a password, let me do it, let's wait a few seconds, let's choose next
2:36
if everything is correct let's accept terms of service and privacy policy, tap accept
2:43
the device is checking info and now you can change some settings about Google services
2:54
for example you can enable or disable automatically backup device data, help apps find their location
3:01
improve location accuracy, help improve your Android experience, let me leave all of these
3:05
features enabled and let's tap next, now the phone is asking you to set up payment information
3:16
you don't have to do this, you can bypass this step by choosing no thanks right here and by
3:52
now we have to decide either you would like to use some other email or you can tap not now and
4:00
just set up later in the settings so let me choose not now, tap next and then you can protect your
4:08
device by using a pattern pinner password, let me unclink the protection, let me do it later in
4:14
settings, let's tap skip, skip anyway and now you can restore apps and data from one of your
4:28
other devices or you can choose set up as a new, let me do it that way, let's tap done and let's
4:36
choose next, here we've got a tutorial, let me skip a tour, let's allow a couple of features
4:48
and now you can use your device, so everything went well, thank you for watching, please
4:54
subscribe our channel and leave thumbs up under the video