0:02
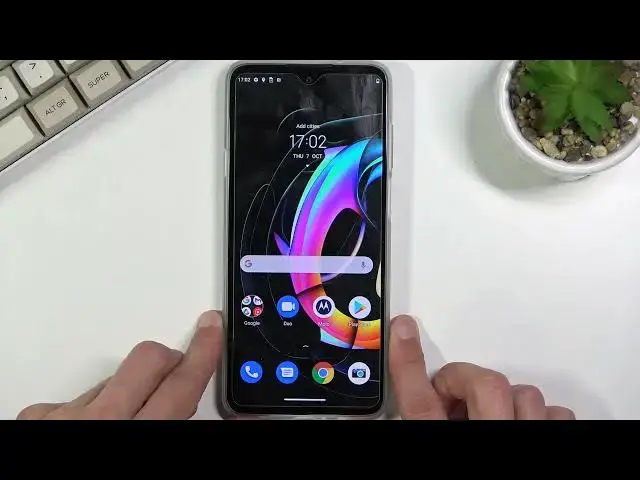
In front of you see Murula, Edge 20 Light. And today I'll show you couple tweaks and tricks you can do on this phone
0:12
So we're going to start off with a really common one, which is the dark mode
0:16
As you can see by default it's not enabled, but you can quickly access it by going into the settings
0:21
display and simply tuggling dark theme. This is basically equivalent to a dark mode
0:26
And there we go. basically changes majority of the things into dark mode, including apps as well, as you can see
0:36
So there are you. Let's actually see if there's also another option here
0:45
And there actually is. So when you click on it, it gives you the scheduled option, which actually provides you a little bit more versatility
0:55
Personally, I prefer to have my dark mode enabled only at night. and I, my phone, don't actually have this option, so I would have to toggle it on and off manually
1:03
But here you can set up a schedule and don't worry about it ever again. It will switch between dark and light mode, depending on the time that you have set
1:11
Now moving on to the next one, it's going to be the display refresh rate. By default, I believe it's set to 90 right over here, again under the display
1:19
And 90 hertz of this refresh rate will provide you with a little bit of a smoother experience by scrolling through content
1:26
but additionally it will also train your battery a little bit quicker. Now personally I do prefer to have it on a higher refresh rate and just suffer on the battery side But if you the type of person that don really see much of a benefit and the faster refresh rate the smoother like overall experience of your device then you can simply go into the display refresh rate section drop it back to 60 and this will reduce the
1:49
refresh rate of the display and also give you some additional battery life so moving on to the
1:59
next option it's going to be a swipe to split screen so this is a section
2:04
again under the display section somewhere in here. There we go. Swipe to split
2:13
And you basically need to enable it and all you do is just frankly swipe it like that
2:23
It doesn't want to split for some reason. Oh I need to go back
2:33
back, apparently. Still didn't work. Okay, so the problem is I was going a little bit too far
2:48
But as you can see, there we go. Now let's actually try it out with the actual application, so... Hello
3:08
It doesn really want to think doesn really want to work Well it seems a little bit effie
3:23
For some reason it works in the test environment, but here it does not
3:29
I have a suggestion that it might be because of the gesture navigation
3:33
As you can see, every time you swipe from it, it pulls out the arrow
3:39
And I think it just messes up the gesture. messes up the gesture, making it kind of redundant. I guess, go back to it, we can
3:48
simply get to the split screen by going into here, but then again that kind of defeats
3:53
the purpose of that gesture. A little bit sad, anyway. Moving on to the next one, it's
3:59
going to be the quick lunch and this allows you to set up, I believe it was a limit to
4:05
three different applications that will basically use more of your phone's RAM just so
4:11
they can launch quickly. So if you have some kind of other lunch is a little bit longer than
4:17
you would want it to, add it to the list and it should launch way quicker. So all you need to do
4:23
is go into the Blieverro system and performance. There we go. And we have quick lunch. As you can
4:30
see, Quick Lunch uses extra RAM to open up apps faster. Can you be used for up to three
4:36
apps and all you need to do is tap on add app and choose whichever app you want to add
4:41
So Facebook might not be the best case scenario here, considering they've been down
4:46
yesterday, but anyway, not what I want to click. So there we go So basically once you add those apps you don actually need to do anything extra
5:03
So they should now open up quicker by using more of your RAM and preloading it
5:08
And that was actually fairly quick considering I actually haven't opened this up at all
5:13
And as you can see night, basically jumped straight to it. Now I do need to actually log into it
5:21
But anyway. Moving on to the last option, this is going to be the attentive display
5:28
And what this does is uses the front facing camera to look a fear, actually looking at the display or not
5:36
And what this will do is keep the screen on as long as you're looking at the display
5:42
When you stop looking at it, it will start the typical countdown for the screen timeout
5:48
and then just lack us normally. So anyway, to get this enabled, let's go into the table
5:52
enabled let's go into the Moto application and then here you want to navigate
5:55
to three dots or bars and display where you will find attentive display
6:00
toggle it on and as can see it gives you how it works cool turn on and that's it
6:09
basically it's now enabled that's all you need to do now to be fair I don't
6:15
really have a good way to showcase this right now probably it will stay on as
6:20
long as I'm basically near the phone, so yeah. So anyway, if you found this video helpful, don't forget to hit like, subscribe and thanks