0:00
Hello, in front of me I have Sony Xprio 1 4 and in this video I'll be
0:13
unboxing it. So if we take a look on the left side of the box we should find a sticker with more
0:19
detailed information about this device and we can see that this one is a purple color
0:25
Here we can also see the storage which is 256 gigabytes. and 12 gigabytes of RAM. It also has a dual sim slot and the price goes for around
0:36
$985 US dollars and also it should have a little glass protection and
0:46
OLED display 6.5 inches screen 98 6 cm in centimeters the
0:56
there's a the resolution is 1,000 644 to 3,840 pixels, 21.9 ratio
1:09
That's about it. There's also CPU which is octacore 1 by 300G gigahertz Cortex 2 and 3.3x240 gigahertz Cortex A710
1:26
And okay, GPU is also ad papers. 6...9, I mean 730. Okay
1:34
So now that we have this covered on the back we can also find some information
1:40
There is a camera, 12 megapixels plus 12 megapixels plus 12 megapixels
1:45
3D height of 12 megapixels front camera, 60.75 centimeters 4K display
1:54
5,000 million hours battery. and the Snapdragon CPU which I got right before I guess I did okay AP 65 by 68 protection okay so that's basically it for the information let's cut the tape
2:30
We can open the box by sliding it up or down like this
2:40
On this side there's nothing. Wow let me actually zoom out the camera There just some code right here And the phone itself with this pink color
3:04
We're going to check it out later. Some warranty information and also instructions on how to start using it
3:19
And that's basically it for the box, there's only phone and a lot of instructions
3:36
No charger and no headphones, just your phone. There's not even a SIM card needle
3:43
Now let's take it on the side and check out the phone
3:49
So it's protected by some kind of foil that is not transparent so we need to take it out like this
3:57
It has nothing else on it so we can just put it on the side and here we can see our phone
4:05
So you can, on front you can see the speaker, phone call speaker right here, the front camera and the down speaker right here
4:14
It's not on the side, it's on the screen. on the screen itself. Now on the left there's nothing. On the right we can see the
4:28
power key also volume down volume up and I think here's a shutter so we can use it to take a picture
4:37
There's a jack plug microphone. Here's a SIM and SD card microphone
4:48
and a USB C charger. On the bike we can find a flashlight, the camera
4:55
and I think that's something for the camera which I can't tell you what it is because I don't know
5:01
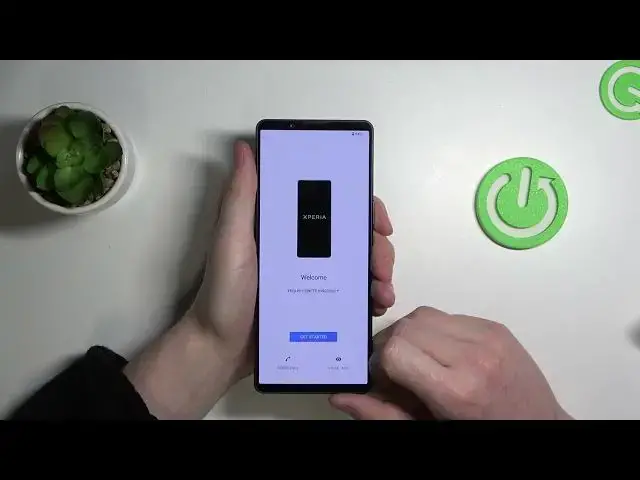
and here's an NFC scanner. Now let's try powering this device. So the device is powered on
5:16
So here we have it, we can begin a set up and choose a language for this device right here
5:41
You can click go on and get started that way we move on with a setup There also an emergency call and a visual aids which you can enable to increase the font size
5:54
Display size, adjust magnifications, enable select to speak and a talkback. Now let's get started
6:02
Here we need to accept to the terms. Insert your SD card right here
6:08
I can take it out without an needle. So let's try it
6:14
there's a dual sim slot or actually is it that's only one slot and on the other there's a
6:26
SD card so let's take it in again skip the process here choose a Wi-Fi network
6:37
you want to connect to and I would strongly recommend doing that So now we're connected to the internet
6:56
We can proceed with the setup. If you have any Google backup setup from the older devices and you want to migrate your older phone to this one, you can proceed by clicking on the next and that will
7:30
you'll back up your data and apps. I'm not gonna do that, let's don't copy it
7:41
Sign into Google account in order to activate all Google services and I'll be doing that part of the camera
8:00
After you put the right password and email address, you'll be asked who will be using this device
8:09
So I'm using this device, so let's just skip that setting. Then click on I agree
8:26
You can select any Google services. If you want to use them, make sure they're enabled
8:30
If not, make sure that the buttons are grayed out. So now let enable all of them and move to the next step Select your default search engine and in this case I going to be checking out Google Set up the pin I going to skip that
8:49
Skip Google Assistant also because I don't want it on this device
8:56
You can go with it if you want. Now let's continue the setup
9:00
Here select any apps you want to use for this device and they will start the downloading
9:07
to downloading I'm gonna just select none of them like this and move to the next step
9:16
Here I wanted to use free button navigation and not gestures. Our setup is finished and here we can start using this device
9:25
Now let's move to the settings and about this device, about phone
9:31
Here we can find the device name. There's also Android version which you probably want to
9:37
to know and it's 12 and that's all information we can find here. Now let's check
9:47
where the fingerprint scanner is. Security fingerprint manager and here it is. We'll need to
9:56
set up the pin code or any other form of the password in order to set up the
10:01
fingerprint. Here we have it. Now let's check the button. It's right here
10:09
It's set up. We can lock our phone, try unlocking it
10:37
Yeah, it works fine but my fingers are too sweaty right now
10:50
because it's very hot in place where I live but I'm pretty sure it would work fine for you
10:57
Now let's check the button which I didn't know the function and it's probably camera shutter
11:06
It is, so you can take pictures with this shutter right here
11:18
And that would be it for this video. Hope you like it, please consider subscribing to our channel
11:24
Leave a like and a comment below. I'm