0:00
Welcome here I've got Sharp Aqua's R2 and I'm going to show you how to use the camera pro mode at this device
0:13
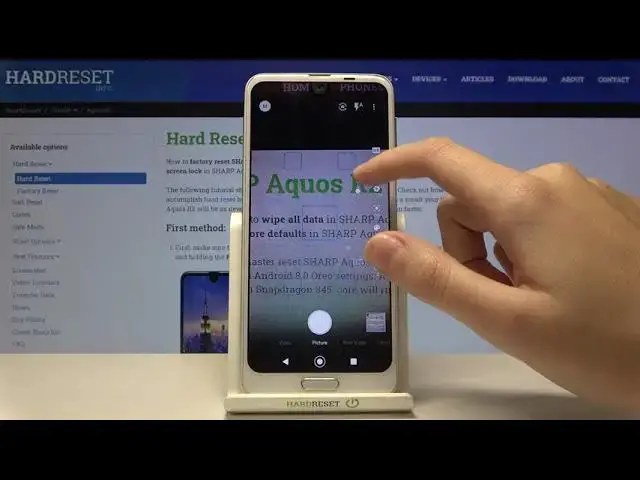
So let's start by tapping on the camera button to open it and for now we are in the standard photo mode
0:19
Now let's move to the left corner to this button. Here we can change the auto mode to manual one
0:26
As you can see here it appears. So when we tap on it, we get access to kind of pro mode
0:32
We have short information from the device that we can add just all setting values now and shoot unique photos by using these features
0:41
So let's okay. And as you can see we have some shooting parameters we can pick by ourselves
0:48
This is useful when we want to learn photographic skills or making experiments with photography
0:53
So let me start with this settings bar. Let's go from the first one button, which is the first one button
0:57
button which is the white balance. Here we can change the temperature of our picture by using
1:03
this slider. We have also the small icons that suggest us which lights should be good for
1:09
which conditions we have in the area where we take a picture. So we have the cloudy light here
1:15
we have the daylight, the white fluorescent light and also the tungsten light. So as you can see
1:22
this is kind of balance between the blue and the orange light
1:26
light and we can adjust this as we need. And of course there's no problem to go back to auto light balance
1:34
We can do it by tapping on the end of this slider here
1:39
So this button is kind of invisible, but it appears here when we tap on it
1:45
And now we are on the auto. The next one button here is the ESO so we can control the camera sensitivity to light We can make it less sensitive from 32 So this is really wide spectrum to 3 and 2000 and this is how to use this later Of course we can easily go back to auto ISO by tapping again at the end here
2:06
Now let's move to the next one button here we have the shooter speed and we can change the speed of our taking photo
2:15
So we can make it faster as you can see here from 1 and 50 can
2:20
Okay, so this is really short time of taking photo. This should be definitely better to objects, for example, that are in move to frozen them at the picture
2:29
By going down on it, we can make our time much longer
2:34
To the zero and three seconds, so this is the longer time, this is better to objects, for example, that are stable at the picture
2:42
And at the end we have also the auto settings, so now we are again on the auto
2:49
move to the next one button here here we have the focus we can change the
2:54
auto focus to the manual by using this side there as you can see now we are on the
2:59
auto we have also this red area that suggests us if we do it correctly or not as you can
3:06
see and this is how to use this and we can also pick this button here and go back to the
3:19
And with this option we have also some extra thing. So now let's move to the right corner to this button
3:27
So we can open the advanced camera settings. Most of them is also in the standard auto mode, but in the pro we have some extra things
3:37
So let's move to the common settings now. And here we can have the focus setting as you can see
3:43
And when we want to stay on the autofocus we can pick the focus setting we can pick the area of the focusing We can pick the face autofocus also the separate autofocus and center autofocus and the macro
4:01
So this is an extra thing. Let's stay on this one. Let's go back to this settings and let's move on this settings bar here to the next one button
4:12
Here we can add just the intensity of the colors at our key
4:16
picture so by going to the up on this side there we can make our picture black and white
4:23
by going down we can make it more colorful as you can see and of course at the end we have the
4:30
auto settings so now we are again on auto color the next one button here is the contrast
4:37
so we can adjust the contrast of our fixture we can make it more intense or less as you can
4:45
see this is how it works here and of course by just one tap we can easily go back to
4:50
auto contrast now let's move to the last one button here we can add just some
4:55
smoothness of our picture so I suggest you to discover it by yourself because I
5:02
don't really have good conditions to show you how it works but we can make our
5:07
picture less or more smooth by using this button and of course we can go
5:12
back easily at the end to the auto settings And now let's move again to the right corner to this button and to the common settings
5:21
Here I want to show you also the water level. By using this button we can turn it on and turn it off
5:28
So this is kind of leveler at this camera. Let me keep this turn it on, let's go back
5:34
And we have this line. This is useful, for example, when we want to keep our photographic topic straight at the picture
5:41
As you can see this is how it works here and it is only available here in the manual mode we can add it in the auto so this is extra thing here of course by going again to the
5:56
common settings here we can turn it off so for now it disappear and now let's go to
6:05
the left corner again by tapping on this one let's go back again to this auto and
6:12
modes. As you can see we have some easy manual modes also. So I accidentally go to this one, sorry
6:23
And I want to show you this one because here we have some half manual modes and we can take some
6:32
pictures. For example, let me pick monochrome now. And as you can see here we can adjust only the east
6:40
So the rest of this is on the auto settings. So it helps us to taking better pictures to choose better parameters and in these modes we can
6:50
shoot some things like that. As you can see here we have the white balance and the focusing and this is the close-up and when
7:04
we pick the back like for example also we have some short information from the device that
7:10
This is good to shoot photos with backlight, adjust the white balance and the contrast
7:14
So we have the white balance, the contrast and the rest of this goes back to the auto
7:21
So this is how to use all of these modes also. And we have also here the auto settings
7:29
So this is some extra thing. And as all, thanks for watching subscriber channel and leave the thumbs up