0:00
Welcome and follow me say one plus Nord and today I'll show you how to go to the
0:10
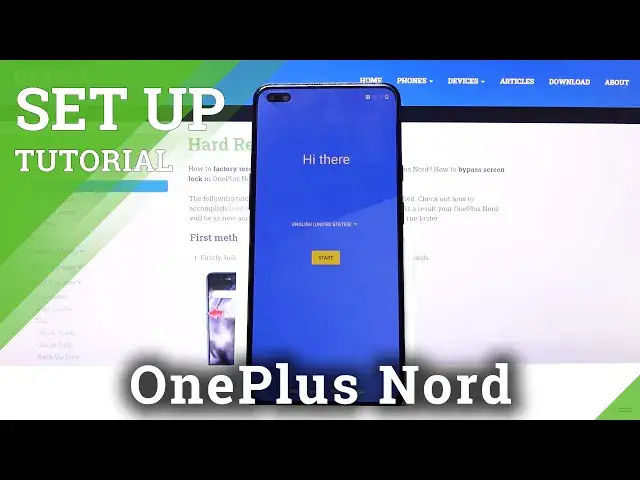
setup process of the device. So it gets started when you boot up the device for the first time you'll be presented with
0:16
the welcoming screen where you get to choose your language by tapping on a drop-down
0:20
and simply selecting it. Now for me it's already selected the correct language English so let's go the next one where
0:28
you have the terms and conditions. Now you do have to agree to them so there is no option
0:34
of disagreeing. If you're interested in them you can simply tap right here and read it. Once you
0:42
read it then you can go back and we'll tap on agree. Then you have user experiment experience
0:48
programs. Now this is a complete option you don't have to do that. Again you can read what it
0:53
exactly does and say no thanks if you don't want it or agree to it if you want to
0:58
On the next page then you have the connect mobile network. Now this step is completely optional
1:04
Once you insert a SIM card, it will automatically connect to it
1:08
You can insert that SIM card whenever you want it changes nothing
1:12
Once you insert the SIM card for instance after the setup it will work without any problem just as you would insert it right now so I going to tap on skip and from here we can connect to Wi again this step is optional the only thing that you will
1:26
miss out if you choose to not have either the mobile network or Wi-Fi is the ability to connect to your Google account
1:33
and also restore the device from an old backup that will be located on the Google Cloud
1:40
so I'm going to opt out of it and don't really care about the Google how to log into it and stuff like that so let's continue from here you can set up a date
1:49
assuming it's not correct which for me it looks like it is not so number one again i'm just
1:57
going to change the time to be more correct so at this p.m. about 305 there we go now I'm not
2:07
really going to bother with the date for now and let's stop on next then we have Google services
2:13
Again, you can read them by tapping on the drop-down right here, to expand the list, and read exactly what it does, and if you don't want it, you can simply toggle it off
2:20
Now, things like location will be required by specific apps, like Google Maps, for instance, to work correctly
2:27
so it will prompt you to turn it on what you can do by a single confirmation there Let stop on more and accept here and it we take you to the next page Co user program not really sure what that is
2:42
Building Up updates, push notification systems stability program. So I assume you can read again what it exactly does and opt in or out of it if you want
2:52
to and then set up a fingerprint. Now if you choose to set up a fingerprint, as I will do right now, you will see that it
3:00
prompts you automatically to set up a pin. That's the default but you can change
3:05
it to pattern or password. From there once you insert it and confirm it you
3:12
can then set up your fingerprint. Now if you only want a screen lock like a pattern
3:17
pin password and you're already at the fingerprint simply go back and tap on
3:22
skip this time. This will keep the pattern but you won't have to set up a
3:27
fingerprint and then we have different wonderful wizard of OS I assume this is the font so you
3:36
can see by tapping on it it changes the font and out there to me almost identical with
3:44
the difference of it being a little bit more compact so choose whichever one you like more
3:48
and then we have navigation bar and gestures again if you if you never used the gestures then you can try them out by tapping on next and they selected by default As you can see have to tap on start and there
4:01
no way of skipping this, so slide from the side to go back and that works from either side
4:06
Swipe up, go home. If I actually could swipe from the... There we go. And then swipe up and hold recent
4:19
There we go. Now on the animation right here it's kind of weird
4:24
Normally it looks and feels much smoother than it is on the guide right here
4:29
But as you can see once you set it up, we're done with the setup. And just as an example, as you can see, this works way better in actual use
4:41
And if you want to go to Resent, I could actually grab it, there we go
4:48
again it's fairly easy to do. So that's how we would go through the setup process of the device and if you found this very
4:57
helpful don't forget to hit like, subscribe and thanks for watching