0:00
Hello in this video I'm going to show you camera tips and tricks for the one plus Nord 3 5G
0:10
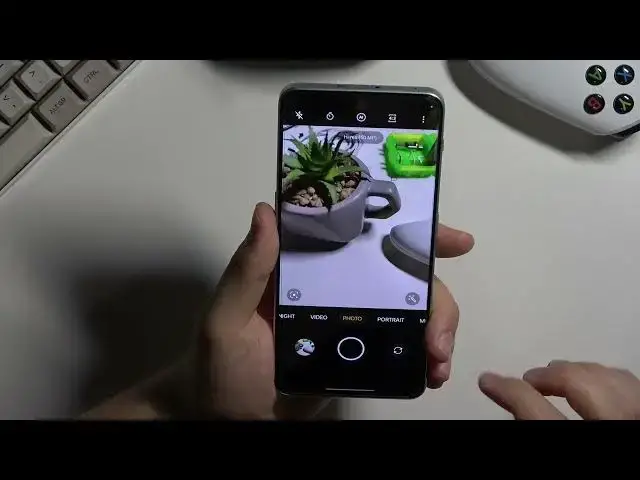
So we are going to start from this standard photo mode and right here when you want to adjust the brightness level, take a look
0:16
You can just click on the screen once and then move this sun icon up and down to decrease or increase the brightness level
0:24
You can also click once to adjust the brightness level automatically. That's how it works
0:30
You can also click on the volume buttons. They are located on the left side
0:35
So let me show you how it works. You are going to click on the left, volume up or volume down
0:41
and you can take the photos. When you click and hold on the volume up
0:45
you can take series of the photos, and the same for the volume down
0:49
And you can take 20 photos in each series. If you want to zoom in or zoom out
0:54
you can switch between these lenses, but also you can click hold on this preset and you can unlock this slider. As you can see with this slider
1:04
you can smoothly zoom in and smoothly zoom out There also two additional presets that 5 and the 10x That how it works Next if you want to change color and the temperature on the photos for example you can click right here
1:22
and you can actually find some filters. Just take a look, they change color and the temperature on our preview
1:36
Next, when you click right here, you can pick shutter delay, between 3 or 10 seconds
1:43
When you click on these 3 dots, you can actually turn on the high resolution mode
1:48
When you turn it on, you can right now take photos with the 50 megapixel mode
1:53
And this mode give us more details. So let's take a look for the preview, wait a little bit for the post processing of this photo
2:04
And right now we can try to zoom in and we can take a look on some details
2:09
For example, right here, as you can see we can zoom in very close and we can actually find
2:14
more details than using the standard photo mode. Let's go back from the settings and right now you can also go back to these three dots
2:26
go to the settings where we can find other options As you can see we can find for example the shooting methods And we can take photos by touching screen and also by showing palm of our hand
2:39
So this first option, the touch photo looks like that. You click on the screen and the photo is taken
2:46
And this palm gesture works on the selfie camera and you have to show the palm of your hand
2:52
And as you can see, and the photo will be taken after two seconds delay
2:56
Next if you want to use other options of this device you can go for the more modes
3:01
where we can find for example the extra HD mode. So let's try to take photo with this one
3:11
Okay it was taken and let's take a look on the details
3:19
It actually looks really close to this 50 megapixel mode so let's take a look for some details
3:26
that's the size of this photo and we can take a look for the comparison with this first photo that
3:34
i take okay so this was the photo with the 50 megapixel mode and that the size of it
3:56
So this one with the extra HD, it was taken basically with the 100 megapixel photos
4:03
And then you can also use this dual view video mode. As you can see right here, with this mode we are able to record videos from the two cameras
4:12
at the same time from the selfie camera and from the Eritu camera. You are also able to change position of these cameras
4:19
and get the picture in the picture and the two different ways
4:29
Let's go back from this one. And if you want to control other parameters of your photos
4:33
there is also the Pro mode where you can find options like ISO
4:38
shutter speed, exposure compensation, manual focus, white balance, and also we can change photo format
4:45
We can also click on this information icon where you can find the description of every parameter in the Pro mode
4:51
And yeah, that's all for this video. Hope you like it