0:00
Welcome, in front of me I have Motorola Moto E7 Power and today I will show you a couple
0:12
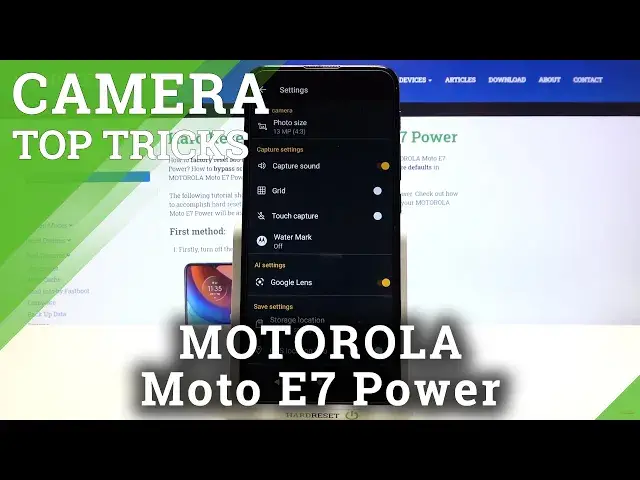
of camera tricks that you can use when you have this smartphone. So let's open the camera and at first we are going to start from the settings that we have
0:19
in this smartphone that are useful. So at first we can activate the grid lines to make a better composition of the photo
0:27
As you can see, it's right here. So right now if you want to put something in the middle on your photo, it will be definitely
0:34
much easier, because we got here the halberd grid lines. So as you can see, let's take a photo like that
0:47
And it looks definitely better than, for example, this photo. So as you can see, this photo is definitely better than this one and everything is all
1:01
about the grid lines that help us to make a better composition
1:05
We can also mark our photos when you tap on the watermark. You can add the timestamp to your photos, you can show date and time on the photos and
1:12
also the Motorola E7 Power watermark. And also we can add your name
1:17
So I'm going to add here the hard reset, click on the marker to confirm, then just simply
1:23
go back. When you take a photo, you have to take a look on the left bottom corner
1:30
As you can see, on the left bottom corner, we got the watermark
1:34
The photo was taken on the Moto E7 Power by hard reset
1:38
And on the right bottom corner, we got the timestamp. There's the date and the time
1:47
When you're in the settings, you can also activate the Google Lens
1:51
So if you want to find something, for example, you want to buy those earbuds, but you don't
1:59
know the name of the product, you can use the Google Lens. So click here on the right of the shutter, click to open the camera, accept the permission
2:07
that pops up on the screen and go for the search, for example
2:12
When you put your object right here and it will be detected by the Google Lens
2:19
Let's put it like that. Okay, we have to get it a little bit far away
2:31
For example, like that. As you can see, it found our product, so click shutter to find it
2:41
And as you can see, here is our product, the Xiaomi AirDots 2
2:48
When you are in the photo mode, you can also use the shutter countdown
2:52
For example, you can enable for three seconds. When you enable this one and click on the shutter, after a few seconds, the photo will
2:59
be taken. If you want to get macro photos, don't use this mode because it's not good quality
3:16
Take a look. There is the macro mode, right? So we are going to make a photo like that with this going
3:37
And right now, take a look at the difference when you go for the manual mode
3:41
Go here and set it up on this option. Take a look right now
4:02
There's the macro mode and the photo looks like that. But when you go for the manual and change the focus, we get better quality of the photo
4:12
and we can definitely go much closer to the object. So there's the difference
4:17
What do you think about that? And basically, that's all. So that's all tricks and that's all useful features that you have to know when you have
4:27
this smartphone. If you find something helpful, remember to like, comment, and of course, subscribe to
4:32
our channel. Thank you