0:07
Welcome. I'm filming this at Google Pixel 4a and today I'll show you how to go through the setup of the device
0:14
And when you boot it up for the first time, you will be presented with the
0:17
subtle Hi there screen, where basically you get to choose your language by tapping right here
0:25
Now obviously I'm going to stick with English but you can select any kind of other language from the list here. From there let's go to net to start
0:33
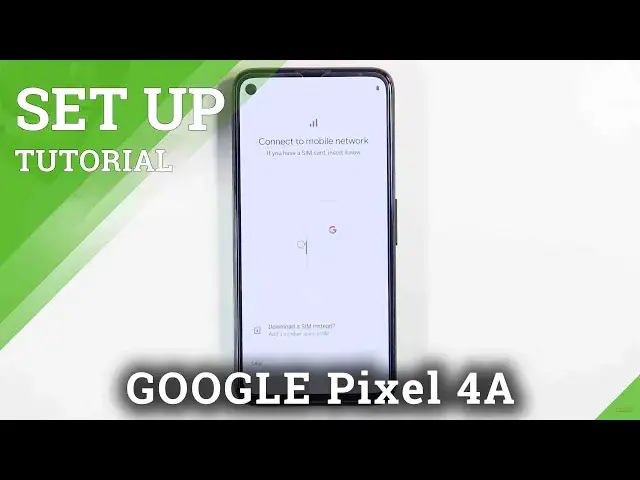
and on the next page we can connect to mobile network. Now this is done by inserting a SIM card. You can also I believe basically
0:41
download a SIM instead, which is using the eSIM. I believe this might be something that your provider
0:50
would have to do. It'll give you like a code. Otherwise you just simply insert a SIM card and call it a day
0:56
Now this step is also completely optional. You can basically skip it if you want to do it later. It won't change anything. So from there
1:04
once you go to the next page you will have the option to connect to Wi-Fi. Again this step is completely optional and if you choose to connect to it
1:10
you will have the option later on throughout the setup to also log into your Google account and restore the device from an old
1:17
backup. And outside of that if you choose to skip it you will still be able to connect to those
1:24
things once you actually log into your Wi-Fi. But that will be later on done just through settings instead of a neatly
1:32
provided sequence as it is throughout the setup. So I'm gonna skip it for now and I believe also one thing that you skip
1:40
is the automatic date and time select when you actually do not connect to Wi-Fi. If you choose to skip that you have to set it up
1:48
manually assuming it is not set up correctly. And I'm sure it might
1:52
actually... yeah it actually is correct ironically. So it looks like even without Wi-Fi and the
2:00
device sets correct time. So I'm just gonna go to next. Then we have Google services. So we have things like location scanning and send
2:10
user and diagnostic data. And you can tap on the drop down to
2:14
read exactly what it does. But briefly basically location is just GPS tracking
2:18
for applications. Things like Google Maps use it to give you a route to your destination when you're
2:24
trying to use it as a just a GPS navigation. Then we have
2:29
allow scanning which allows apps to use things like Wi-Fi, Bluetooth and other things just to scan for devices. And then send user and
2:36
diagnostic data basically that there's data on how you use the device and sends
2:40
it to Google so they can quotation mark improve the experience. Now if you don't want any of those you can actually
2:46
deselect all of them by just tapping right here. And then scroll down and tap on accept
2:56
Then we have the ability to set up a screen lock. Now it looks like by
2:59
default it opts into a four digit pin. But if you want to change it to
3:03
something else you can just tap screen lock settings or options whatever
3:07
options. And you have the three options. So we have the pattern, pin or password. So let's select for instance a
3:15
pattern. Now again I'll mention that this is a completely optional step. If you don't want to protect your device simply tap
3:21
on the skip right here. And you just won't have to set up
3:25
anything. So I'm gonna draw my pattern then repeat it. And this will set it up. And then we have
3:34
also option to set up a fingerprint. Now the fingerprint sensor is on the back so I won't really bother. But all you would
3:40
do is basically tap on next and start tapping it on the back which is a
3:44
circle basically thing. So I'm gonna skip it. And that finishes up the setup. So that is how you'd go through the setup
3:55
of this device. And if you found this very helpful don't forget to like
3:58
subscribe and thanks for watching