0:00
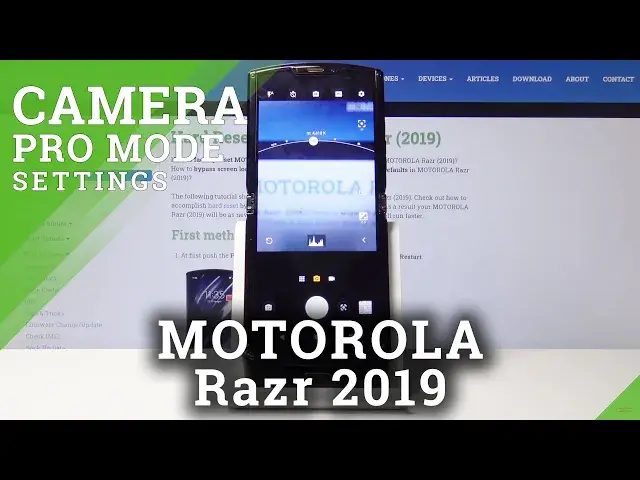
Here I've got the Motorola RAZR and I'm gonna show you how to use the camera pro mode on it
0:11
At first you have to click on the camera button here and now let's take a look at the settings
0:17
The pro mode here is a little hidden because in the most cases it's in the photo modes
0:23
but here it's just in this button so here we can get from the auto to manual mode and
0:31
as you can see here we are. The pro mode is good because here we can choose shooting parameters by ourselves and it's
0:38
very useful and let us to make experiments. So let's take a look
0:43
At first we start with this button here. Here we can manage the format of our picture from JPEG to RAW and also we can save our
0:52
picture in RAW and JPEG at the same time. RAW format is the format that captures all image data recorded by the sensor and it's
1:02
used by professional photographers. And the next thing I want to show you is this settings bar here
1:10
At first we have the focus so we can change autofocus to manual focus
1:16
As you can see by this slider. So when we pick this and want to go back to autofocus we just turn on this button here
1:26
and it's very easy. The second thing here is white balance in Kelvin degrees so we can choose the temperature
1:33
of white balance here. And useful thing here is that it also suggests us by this icons the preferred temperature
1:46
for different light. The first one here is tungsten light, then white fluorescent light, daylight and the
1:54
cloudy light. And also here to get back to auto settings we just click on this button here
2:01
The next thing here is the shooter speed so here we can manage the time of taking picture
2:09
from 1 and 6 thousand seconds of taking picture to 1 and 4 seconds of taking picture so it's
2:18
pretty wide. And also here we can get back by choosing this button here
2:24
The next one here is ISO so here we can control the camera's sensitivity to light from 100
2:32
to 3 and 2 thousands of this as you can see. And also to get back we click on this button here
2:45
And the last thing here is the exposure compensation so here we can turn on our picture more brighter
2:54
or more darker as we need before we take this. And the good thing which I very like in Motorola's cameras is the button here so here we can
3:06
just see all the sliders and manage them at the same time
3:14
And I think it's very useful and also when we want to get back and reset this we just
3:20
click on this button here. And now I'm going to take a picture
3:44
And that's all, thanks for watching, subscribe our channel and leave the thumbs up