Up next in 10

Learn more info about WIEPPO S5: https://www.hardreset.info/devices/wieppo/wieppo-s5/
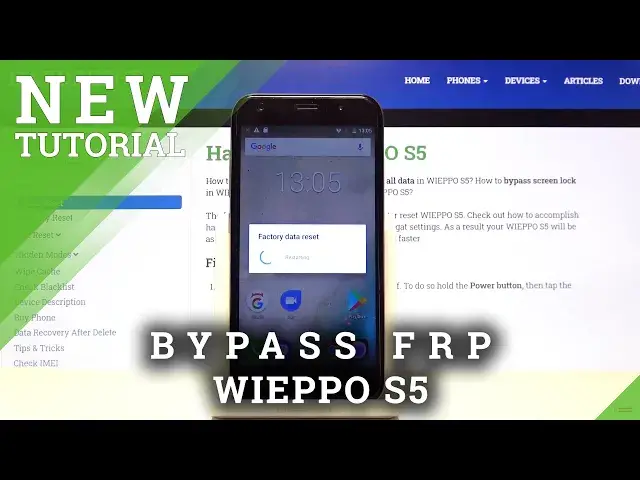
Are you wondering how to bypass Google verification in your WIEPPO S5? In this video we’d like to show you how easily you can skip FRP! Simply watch and follow all our steps and learn how to bypass Google verification easily.
How to unlock FRP in WIEPPO S5? How to bypass Google Verification in WIEPPO S5? How to remove Google protection in WIEPPO S5? How to remove Factory Reset Protection in WIEPPO S5?
Follow us on Instagram ► https://www.instagram.com/hardreset.info
Like us on Facebook ► https://www.facebook.com/hardresetinfo/
Tweet us on Twitter ► https://twitter.com/HardResetI
Show More Show Less View Video Transcript
0:00
Welcome, Infronomy is a Wepo S5 and today I'll show you how to bypass the Google verification
0:13
So as you can see the phone in front of me is locked and to unlock it we will need two things
0:21
So number one is SD card and number two is two files on it
0:29
Now the links for those files will be in the description. So once you download them just simply put them on the SD card using your computer and then
0:37
insert it into the device. So I already have the SD card with the two apps on there
0:48
Let's open it up and insert the card. There we go. So once it pops up, top on OK
0:58
From here I tap on the SD card at the bottom. And from here you should see the two apps on there
1:09
Now I advise you once you copy them to the SD card to place them just simply in the main directory so they are visible straight out like they are for me
1:19
So from here let's tap on FRP app right here. So bypass FRP VRP VRP
1:25
Now before we can actually install it we'll need to go into the setting. need to go into the settings scroll down to unknown sources and enable that and from
1:35
there see if there is also there is also the other aspect that i can disable just in case
1:50
but it doesn't look like okay so once you enable the unknown sources uh just go
1:57
back. There we go. End up on the app again, install. Now once done
2:09
installing click on done and then install settings Now once settings actually installs you want to open it up and from here we going to start off by going to security security then choose device administrators and
2:39
then where you see the find my device you want to disable it and deactivate it
2:44
this device administrator and there we go. So from there go back
2:50
Go back once more. Now I'll mention that if you go back too far
2:54
it will take you back to the SD card and to get back into the settings
2:59
you will need to reinstall the settings app to get back into it. So simply install it and then open it again
3:05
and continue from basically where you left off. So once you disable the administrator
3:11
you want to now go into the apps. apps right here then stop on 3DOTS show system and we're looking for
3:23
Google apps so go so Google Play services right here and then choose
3:31
disable disable app come back and then Google Play Store disable disable app and then let's go back
3:44
back once more actually I also check for a last app just to be sure
3:52
show system and Google Generates Google
4:07
Account Manager Now we want to also disable this one So disable
4:11
and now we can go back and back and from here we'll go into accounts
4:24
there we go top on add account choose Google and now login we take Google account now if you don have a Google account you can always create one although I would advise you to do it on your computer It going to be easier even though we have the option right here
4:44
Now the account can be created for free so there is no worry there
4:48
and you can just create one just for this purpose itself as a single use account
4:53
I have my own so that's what I'm going to use. And I'm going to put in a password
5:04
Step on next. And as can see it will pop up the welcome in terms of service
5:13
Nothing welcomes me better than agreeing to terms and services. And as you will see the app will now keep crashing
5:25
Now we can completely disregard it. The app did it. It's a job which has allowed us to add the Google account and we will see this pop up a couple
5:33
more time so I don't freak out it did its job and it's not necessarily needed anymore
5:40
So once you have added the Google account we will need to go back to the apps and we enable
5:45
the apps that we have disabled. So apps show system and again let's scroll to G and enable back, enable, enable and enable and
6:03
And where's the last one? There we go. Account Manager, enable and co-pack
6:09
So now that we have enabled the apps and that we have disabled, all you need to do is
6:13
hold the power key, reboot. Okay, and wait for the device to boot back up
6:25
So as you see, we're now back in the setup screen, so let's progress through it once more
6:33
So as you can see, now it shows us account added and provides us with the information
6:40
of the account that I have added right before the reboot of the device
6:44
So for you this email address should be different, obviously. But this is previously the screen that will tell us to verify our account and now we can simply
6:52
tap on next and basically skip it And I also mention before you click off the process is still not finished the device is still locked we still need to perform a reset of the
7:04
device through settings which will then unlock the device fully so at this
7:08
moment you just want to skip through most of the setup as much as you can and
7:12
simply get to the settings and reset it from there okay so as you can see
7:20
we're now on the home screen so Let's go into the settings
7:28
crawl down to backup and reset, and select factory data reset, and tap on reset phone
7:38
As you can see right here, it tells us that we'll remove the Google account and provides us with the information about that account
7:44
but it also will remove another account that was blocking us, which is infeasible here
7:48
So let's tap on erase everything from here, reset phone, and the process will now begin unlocking basically itself
7:57
So this will take about two minutes and once it's finished we'll be done back in the setup screen of the device
8:06
And as you can see now the process is finished, so from here we can set it up as however we want
8:19
Improve location accuracy, how about now? Let's get started. Skip. Now I'm going to skip most of this just to save on time, but you can set it up as however you like
8:31
The key thing that I can see already is the fact that I can skip a Wi-Fi connection
8:35
which if the device would still be locked, I would not be able to. and there we go so that is how you would bypass the google verification on this device
9:03
and if you found this very helpful don't forget to like subscribe and thanks for watching