0:07
In front of me is a Doji N-30, and today I'll show you how to bypass the Google verification
0:13
on this phone. And as you can see, the phone that I have in front of me is a locked and I can unlock it
0:18
either using the Google pattern or a Google account or the previously set pattern, I think it was
0:25
Let's quickly see. Oh, pin. Now assuming we don't know either of those, we're going to go back to the first page
0:34
And you do need a SIM card for this, as you can see I have one here, and that SIM card
0:38
does need to have some kind of contact on it. Now contact doesn't really matter, it can be some kind of gibberish fake number
0:45
It just needs to have something. So let's pop in the card in here
0:55
From here, if you have some kind of pin on it, do confirm it
0:58
and what you want to do once you insert it go into the emergency call
1:04
top on emergency information twice and now behind this little sticker there is a
1:12
pen click on it and choose our contact and select any kind of contact from the list
1:19
once you have added a contact we're gonna top on it and we're gonna choose three
1:27
dots share And it will bring up several options right here. So what you want to do is hold the Gmail option
1:35
When you hold it, it gives you this pop-up. And from here, you want to select Up Info
1:43
And let's see, we're going to select Advanced. Scroll down to actually my bad We first think top see We start off with the notifications there we go So notifications then advanced and then additional settings in the app
2:02
From here, again, it's barely visible, but there are three dots right here
2:06
so you want to click on them, and then choose help and feedback. And here, top on the field, and type in to let me
2:16
M-O, this will bring up the suggested option use Morse code, the first one at the top
2:22
So simply select it and it will load up. And in here you have a video
2:28
So top on that video and this will start in a way buffering it
2:33
and give you a 3DAR option once it does. There we go. So as you can see there's the 3Dats
2:38
Select it and choose Watch later, which in turn will open up our web browser
2:43
Select, accept and continue. and no thanks and from here we're gonna navigate to Hardlyset that info slash bypass
2:52
Now I'll type it in and once I'm done typing it in before I actually accept it
2:57
you can pause the video just so I can write it down. So post the video we need to
3:08
From there once you navigate the site, you want to scroll down to settings
3:14
If you get this pop up just consent. It's regarded, there we go
3:18
And by mistake, I just clicked on the application, so let's go back if you did the same
3:24
Okay, so from here you have settings at the bottom. I'm going to simply open up settings
3:30
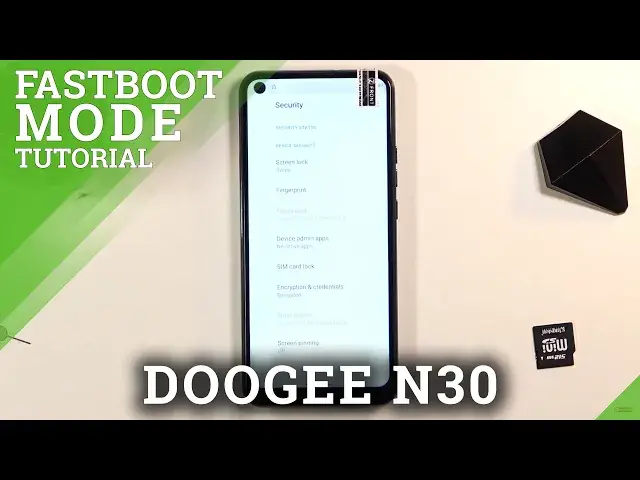
And now we going to go into security and location or in this case it just security And from here we will select let see We going to select screen pinning enable this and then choose a lack device when unpinning
3:52
And this will give you the option to insert some kind of protection on your device
3:56
Now, as you remember, I showed you that the device was locked, and one of the methods to unlock it was the pin that was previously set
4:04
So just to keep it completely different, I'm going to set a... pattern instead. As you can see, I don't need to verify the old pin. It just allows me to set up a
4:14
pattern right now. So let's draw our pattern, click next, readdall the same pattern, confirm
4:22
and it asks me for a fingerprint. I'm just going to skip this, we don't need a fingerprint
4:27
So once you have added your pin, pattern, password, whatever you want it to add
4:32
what you want to do is hold parkey, select the restart. and let it, well, reboot
4:42
Now, while it's booting up, I'm going to quickly tell you what just happened
4:47
So, once we have set up a new screen lock, Android is such a great device that can only keep one screen lock in its memory
4:56
So if you set up some kind of another one without tricking the device
5:01
into basically setting it up without verifying the old one, it just overrides the old one altogether
5:06
So what happened right now is the old pin is now a pattern instead, which is our pattern
5:12
So again, let's put the pin for the SIM card. Actually, I'm not even going to put it in, I'm just going to heat the SIM card out
5:20
It's not needed anymore. Just so I don't have like any kind of pin here
5:25
Okay, so let's unlock it. As you can see it tells us to put in a pattern right here because the device is technically locked right now So let draw our pattern that we have set up and now we can just progress through the setup
5:42
And there we go, so we have a verify pattern instead of a pen. So let's draw our pattern
5:48
and there we go, the device just unlocked. Now it's still recommended that you perform a factory
5:57
data reset of the device once the setup is complete. I'm going to finish this up and
6:02
show you where you can find this option. But at this moment I do recommend just to go to the setup
6:08
at this stage as quick as you can without actually setting up anything specific. Because like I said
6:13
we still need to factory reset the device. So from here we're going to go into these settings
6:27
go settings scroll all the way down to system reset options and then choose
6:36
erase all data factory reset erase all data confirm the pattern and then select
6:43
erase all data one last time and this will initiate the factory data reset and
6:48
this will remove basically all the old Google accounts protections that we have
6:52
set up and once the process is finished you will be back in the setup screen but
6:56
the device will be fully unlocked at that so you can set it up in whichever way you want
6:59
So I'm not going to really go through it. It kind of... There's not much more to it apart from the setup
7:04
so it would defeat the purpose to waste your time. So, that is how you would bypass the Google verification on this phone
7:10
And if you found this very helpful, don't forget to hit like, subscribe, and thanks for watching