0:00
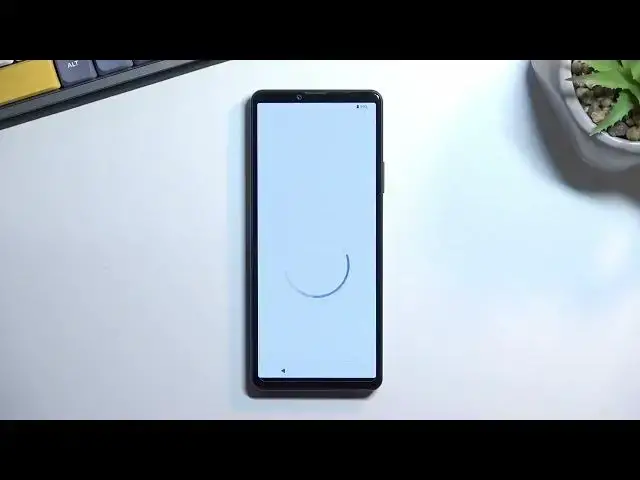
Welcome. And follow me is a Sony Xperia 10, Mark 4. And today I'll show you how you can go to the setup process of this phone when you first boot it up
0:13
So when you first boot it up, you should be presented with this screen that I can see for me right over here
0:18
And I'll need to do for the first one or first part is just select your desired language from the list
0:24
And for me it's a select a correct one, so I'm going to stick with this one and get started
0:30
It takes me to important information. I'm aware of important information and warranty safety and etc
0:37
Now you can tap on the important information and this will take you to a bunch of different things
0:44
So we have about warranty, warranty period and so on. And we also have right here a license agreement and some other stuff
0:54
So if you want you can obviously read those if you don't really care because you still need to
0:59
agree to them to actually use the phone that you just purchased, then I guess just check
1:05
the box on and go to the next page, which will allow us to connect to some kind of
1:10
mobile network through our SIM card. So you could insert your SIM card right now, or you can also download an ESIM, I assume
1:19
and we can skip this as well, which will then give us the Wi-Fi connection page
1:23
And the reason we have some kind of way of connecting to our our So throughout the process we have also the option to log into a Google account
1:35
Now, if you choose to skip Wi-Fi connection and also mobile network
1:41
then you will not see the Google login page at all, but you can change that later on after the setup has been set up
1:48
by going into the settings and just changing it in there. and yeah so I'll be setting it up offline
1:56
and from here we have also check the following so I'm aware of the
2:04
end user let I'm pretty sure we already had something along those lines before
2:13
the first page that we agreed on but whatever and the second one is optional again can tap on the end user license agreement
2:20
to see what you're agreeing to, but at the end of the day we need to agree to it to actually use your phone that you
2:26
paid for. Then we have a date and time. Now normally this page will not show up if you decided to either enter your SIM card and
2:33
connect to a mobile network or if you connect it to Wi-Fi
2:37
Then the device will pull that information automatically from the web, but because I skipped both
2:43
of them, I can just fix up the time right here considering it is incorrect
2:49
Now I am planning to connect to network later on so I just going to leave it as it is It going to fix itself up once I connect to it anyway Now from here we have some Google services with location scanning and sending user and diagnostic data
3:06
You can read exactly what these do and if you don't like them, disable them from their goal to bottom
3:12
Select accept. Which will take you do the next page, which is automatically giving us a setup of a pin
3:20
Not even the choice to choose which one we want, just automatically here is a pen set it up
3:26
Now you can skip it if you don't want it and you can also change it if you don't want to use pen
3:31
by selecting right here, screen like options, and choosing also a pattern or password if one of those
3:38
is something that you would like to utilize. From there we can draw our pattern, repeat it, and now it's set up
3:49
It automatically goes also to set up a fingerprint. So if you want to utilize that you can, it's basically mounted on the side
3:56
It's the power button. It also doubles as a fingerprint sensor. So if you want it, use it
4:02
If you don't scroll all the way down and select no thanks
4:08
Continue setup. I see continue. System navigation. So here we have two different ways of navigating through our system that I can choose from
4:18
default it opts into a three button navigation which is well right now we have one button navigation but it shows you it looks like normally so you also have the home button and recent But you can also switch to gesture navigation which will then allow you to use these like swipes
4:36
So you swipe up to go home, swipe up and hold to go to recent and swipe from either side of the screen
4:40
to go back, which is what I will be utilizing. Anything else, control info on lax screen, this just allows you to choose a..
4:52
how notifications will be displayed on the lag screen when the device is locked
4:57
So you can select to either have a full notification visible along with, for instance, part of the content
5:04
like you would see for messages where it says, shows you a contact that has messaged you
5:10
and portion of that message. You can choose it to only show that someone messaged you or you can just remove the notification altogether
5:19
So when the device is locked, if you have some snoopy, people at work, they just have no way of knowing if anybody even messaged you
5:28
I'm going to keep it at default setting, so it's going to go to next, and this finishes up
5:34
the setup. So let you select finish, which will greet us with our home screen
5:38
So there we go. That is how we can go through the setup of this phone, and if you found this very helpful
5:44
don't forget to hit like, subscribe, and thanks for watching. Thank you