0:02
From my name is an Apo, Reno for Light, and today I'll show you how to go through the setup process of the device
0:13
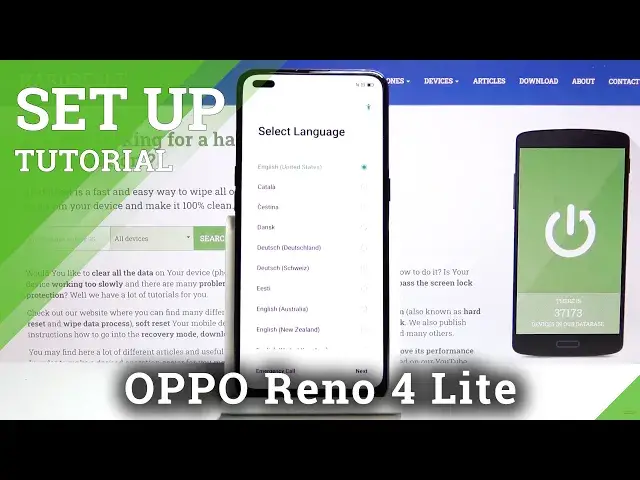
And to get started, once you boot it up, you'll be presented with the select language screen, so obviously let's select our language
0:21
I'm going to stick with the one that is selected by default, English, but you can select any other language if you want to
0:27
then select next and choose your region and go with the US now this is
0:33
fairly optional honestly and again next we have terms of service now we do
0:39
need to agree to the user agreement right here you can top on the blue text to
0:43
actually open it up and read what you're agreeing to and once you're done you can
0:50
select it or well you have to select it and everything below that is
0:54
optional so the privacy and what else something about error lot data log whatever
1:01
those are optional as you can see right over here the gray text so you don't
1:06
actually have to select it so once you select just the first one up on next and
1:12
then connect to Wi-Fi now this step is optional and if you don't have any
1:17
network near you you can simply skip this and connect to network later on once
1:21
you're once you have it your network to connect to. I'm going to skip it
1:29
Then we have Wi assistant so automatically select the best Wi This is a fairly handy option If you check it on it will always choose the fastest network that you have already connected to previously So it will not be able to connect to all networks that for instance you don know the password to or haven connected previously
1:49
But anyone that you already logged into will be basically a free game and whichever one is better
1:55
That's the one that your phone will choose to use. And then auto switch to mobile network
2:01
so if all your Wi-Fi receptions are just other garbage, the phone will choose to opt into the mobile network instead at that point
2:12
So if you want that, you can select it if you don't, then keep it off
2:17
So honestly, I would suggest to keep this on. Now the mobile one is completely up to you
2:23
If your data plan is, well, fairly big, not limited to like, I don't know, maybe a gigabyte
2:30
then select it if you have something like a gigabyte of data per month I would probably
2:35
advise against it because I just run out fairly quickly at that point
2:40
So from there once you select it or choose to keep it off, tap on next
2:45
And we have Google services. So we have a couple different ones. Use location, scanning and also send user and diagnostic data
2:53
Now each one of them has something a little bit different so you can tap on the arrow to expand
2:57
it, but basically location uses the localization. to know where you are located and this is used by apps things like google maps to for instance
3:08
give you a accurate route to your destination if you using it as a GPS navigation They don have scanning for labs and services to scan for Wi network and a nearby devices So basically the use of Wi Bluetooth and stuff like that
3:25
And then send user and diagnostic data, kind of self-explanatory, gather data on how you use the device, and then sends it to Google
3:32
Now, you can disable all of them if you want to, like so
3:36
and simply tap on Accept. And don't bother with it. Things like localization can later on be enabled through the notification panel
3:47
You have a simple toggle for it. So that's one way. And also if an app requires localization and you try to open it, it will give you a message
3:55
that, for instance, this app will run better with localization enabled or location
4:02
So from there, you can either enable it or choose to disregard that
4:07
Then I have set lag screen. So you can tap on the settings. And it looks like by default it goes into a six-digit pin, but we can choose a different method
4:19
So we have also a choice between pattern for 4 to 16, an alphabetical password, and all cancel
4:27
I'm going to go with a pattern. So from there, let's draw it, repeat it once more, and that's about it
4:33
It's now set. Now it also looks like it's going straight into face recognition, so we can select it
4:40
or if you don't want any face recognition you can simply operate here to skip it
4:44
Now I'm going to add it just so it's easier for me to unlock the device
4:53
There we go So I move the phone a little bit to the side so it picks up my face a little bit better
5:01
And from here, turn on rays to turn on screen. So basically whenever you pick up your device at all, turn on the device and automatically
5:10
then start scanning your face so it can unlock it. And then we have a fingerprint
5:16
Again, if you don't want it, which I don't, I'm just going to tap on cancel and finished with protection. And from here we have recommended auto update
5:23
overnight and home screen icons. So the first one is just an update option and
5:28
then this one is a how your device will look. So those are the default ones that
5:34
you will see. Then we have some different styles. You can tap on them and see how
5:42
they look like. Now it looks like custom is just if you have already downloaded some
5:47
you can access this through settings too if you have downloaded it later on some icon packs and you can select them from here as well from here
5:54
meaning from the settings so select whichever one you want stop and apply and then let's
6:00
go to next import data now I'm going to be setting up as new so I'm going to select
6:04
later but if you want to import data from an old device you can simply tap right
6:08
here and follow the process that will be displayed and now we're basically done
6:14
get started and there we go so if you found this very helpful don't forget
6:19
like, subscribe and thanks for watching