0:00
Here I have Acer Liquid Z6e and let me show you how to setup this device, so let me show
0:09
you how to go through the initializing setup process on the following phone
0:14
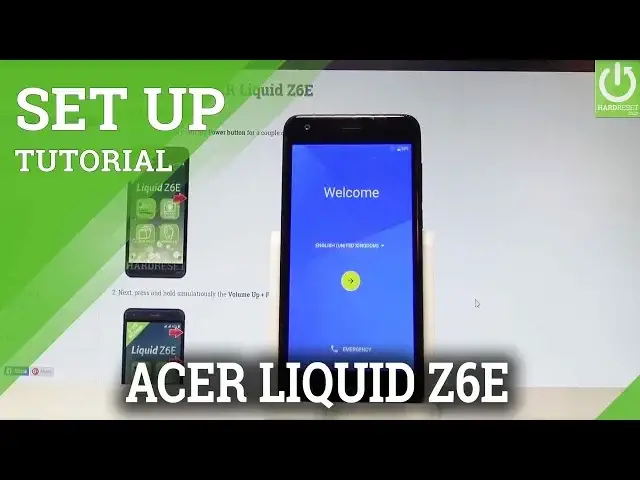
So at the very beginning let's start by using your welcome panel, here you can choose your
0:18
desired language, as you can see this is the full list of available languages that you
0:23
can use, in my case let me choose English for instance from United States
0:28
You may also choose emergency and make some emergency calls if you need something, if
0:32
not let's go back, let's choose the next key. So here you have to accept some Acer legal stuff, here you've got the required license
0:41
let me agree to this and here you've got the recommended, let me don't agree to the following one
0:46
You have to choose your type of the network connection, you can choose both mobile and
0:51
wifi but to use it you have to insert the micro SIM, let me don't do it right now
0:58
You can also use only the wifi or you can also setup later the connection and for the
1:04
initializing process you don't have to use it. But in my case let me use the wifi, it's always a good idea to have the internet connection
1:11
tab next, here you have to choose your wifi, so let me connect to my wifi
1:15
The device is obtaining the IP address, the phone is checking connections, let's wait
1:31
This can take up to 2 minutes, let's just wait. Now the device is looking for the available software update
1:45
And that's it, now you have to decide, either you would like to copy your google accounts, apps and data from one of your other devices or you may choose no thanks
1:53
In my case let me setup my device without any restored thing, so let me choose no thanks
1:58
tab next. The phone is checking info, let's just wait a couple of seconds
2:19
And here you can add the google account to your device, you can do it on two ways, you
2:24
can create a new account by using that blue link or you can use the existing google account
2:29
in my case let me use the existing one, so let's just enter the email that you would
2:36
like to use, so this is my email, let me correct it
2:43
Alright now let's tab next, it's time to enter the password, let's just wait for the password
2:50
filled, and now let me input the password
3:01
Alright now you can choose next right here. Let's accept terms of service and privacy policy, so tab accept, the phone is checking info
3:28
Here we've got some google services that you can enable or disable, for example automatically
3:32
backup device data, use google location service to help apps find your location, you can improve
3:39
location accuracy and help improve your android experience, let me leave all of these features
3:43
enabled and tab next. You can also setup payment info, let me choose no thanks and tab continue
3:58
So here you can also setup the email address, of course the other one that you input from
4:04
the gmail account or you can just use the one from the google account, so for now let's
4:09
choose not now. You can restore some apps and data from one of the following devices connected to your
4:17
google account or you can simply scroll down and choose don't restore
4:21
So here you can protect your device by using pin, pattern or password or you may also do
4:25
it later, you may also see it on our other videos how to protect your device
4:30
Tab skip, skip anyway. Tab finish to the acer information. Tab got it to the welcome panel and that's it, you just activate your device, now you
4:43
may use your phone. Thank you for watching, please subscribe our channel and leave thumbs up under the video