0:00
Welcome! In front of me I have Amazfit Band 7 and I'm gonna show you how to pair this band with the iPhone
0:10
First thing you will need to do is to turn on your smart band and you can turn it on by plugging it
0:16
to a charger. Once you plug it to the charger it will turn on automatically and after you turn on
0:21
the band you should see the list of languages on the screen. You can scroll through this list
0:26
by swiping up and down on the screen of your band. Now find the language you would like to use
0:33
on the device and then tap on it to select it. And after you select the language you will see
0:37
the QR code on the screen. It means we need to download and install the ZEPP application on our
0:42
iPhone. So make sure you have the internet connection and Bluetooth enabled. Once you do
0:48
and open the App Store on your iPhone. In the App Store tap on the search icon then tap on the search bar and type in ZEPP and tap on search
1:03
You should see this application ZEPP Health and Fitness. Tap on it to select it
1:08
then tap on the get button to download and install the application. Once the application is done installing you can tap on the open button to open it
1:19
After you open the application you may see a couple of pop-ups about the permissions
1:23
For example the location permission. This one is required if you want to track your
1:28
routes during the running, cycling and stuff like that. If you don't care you can deny this
1:34
permission if you want to use all of the features. Next we have the Bluetooth permission. This one is required so tap on OK
1:42
And here we can allow the other companies and apps to track the activities. I'm gonna tap on
1:49
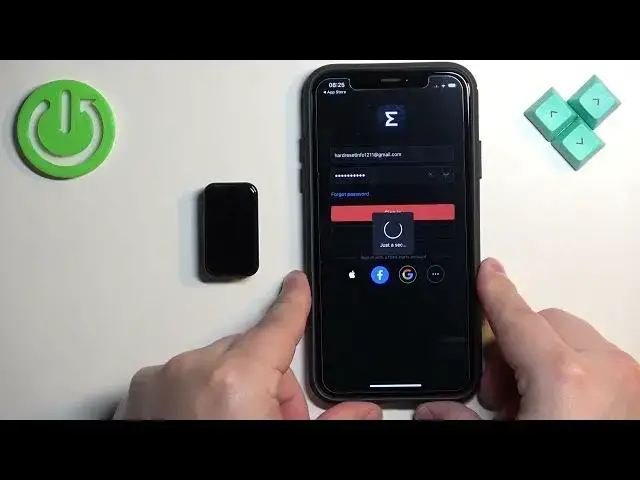
ask not to track and then we need to log in into ZEPP account. If you don't have an account you
1:55
can tap on sign up to make a new one or use the third-party account like Google, Facebook or
2:02
Apple. I'm just gonna log in. Okay then tap on sign in
2:16
And after you log in you may see a couple more pop-ups about the permissions. As you can see
2:20
here we have the permission to access the motion fitness and activities
2:27
Next we have the notification permission. If you want to receive the notifications from your
2:31
iPhone on the band you need to allow this permission. If you don't care you can deny it
2:36
And then we have the permission for health. You can tap on OK right here
2:40
That will pop up the health access. If you don't care you can deny it
2:44
And then we have the health permissions. If you don't care you can allow it
2:48
If you don't care you can deny it. And then we have the permission for health. You can tap on OK right here
2:54
That will pop up the health access and here you can allow or deny the permission for different
3:00
features. Basically you can allow to write data for features and read data from features. So
3:07
set it to your liking and then you can tap on allow or deny right here. I'm gonna tap on allow
3:15
Okay and once you're done with the permissions you should see the homepage of the app. Now tap on profile. Tap on add device. Select the band. Tap on agree
3:27
Tap on the band has QR code. Tap on OK. And now we need to scan the QR code from our band
3:35
with our phone. So basically you need to pick up your phone and point the phone's camera
3:41
on the smartband. It will scan the QR code and it will connect the devices. So we need to wait
3:54
Confirm the pairing by tapping on the check mark. Right here we can synchronize the data from the account. So if you had previous
4:02
devices connected to your account and some settings saved you can basically
4:07
copy them to your new device if you want to. I'm just gonna tap on set as new device
4:15
Tap on done. And now we can go back to the app
4:20
Set as new device. Tap on done. Tap on done. And at this point you should see the device page with your
4:32
m8 with band 7. And of course you should be able to use your smartband
4:39
And that's how you pair this smartband with the iPhone. Thank you for watching. If you found this
4:44
video helpful please consider subscribing to our channel and leaving a like on the video