0:00
Welcome. In front of me, I have the Spiggin screen protector that I'll be applying on the brand new iPhone 15 Pro
0:10
This is a two-pack and I'll be replacing the current one that has already applied
0:15
Some garbage glass that is on here with this one which should be a little bit easier to apply and also a little bit better
0:23
So let's actually get a look at it. yes we have two different one of these i'm going to set one of them to the side obviously this is a
0:34
two-pack as the name would apply or the message more like so the way we apply it is number one without
0:44
any case on so i'm going to take it off and i'm going to also take off the glass on here
1:00
I cover it up for the moment, so there's no dust settling on it
1:08
And while I do that, I'm going to try to figure out how to apply it. So clean of the display, yep, it's clean
1:16
And then... I guess we start off by peeling that off
1:26
back adhesive side. So that's back film. We need to remove that
1:36
Then we plop it on the device. Press and slide cool. Okay
1:56
and trying to figure out what are we supposed to do. Ooh, that's a big, big, disgusting little fly
2:06
Give me a moment while I try to get this flying cancer out of here
2:17
Okay it got slumped out of here Cool We can proceed further Now I am applying this kind of tempered glass because I think that that what it is for the very first time
2:28
So bear with me while I'm trying to get this going. So this will basically fit over here like so
2:42
Okay, so there's not much to it. The only thing that I'm trying to figure it out is once it's on there
2:57
Okay, I get it. So to go over this, we peel off this part
3:05
We then put it onto our device like so. And because that reveals the sticky side on the back, it will obviously start to
3:11
sticking, it does also say to basically kind of like spread it out so
3:15
it will stick to it. Then we remove this right over here, which will release
3:22
the tempered glass from being stuck to the actual plastic frame and then we just lift it up
3:28
and the glass will stay on here while the plastic gets removed
3:32
So that's basically the simple way of explaining it. And from there we're just going to use
3:38
this little squeegee or however you want to call it to even it out. So, I'm going to give it a clean pass because there is dust right now
3:51
So I want to completely clean it off. Still, add some dust left
4:11
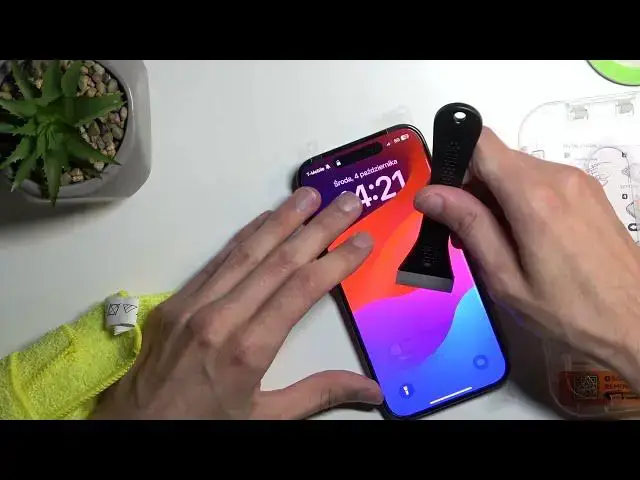
Okay, pretty good. So right off the bat, I'm going to just jump to this, peel this off, and apply it
4:24
Now one thing that I didn mention which hopefully everybody could notice we do have a writing that it says top right here I can actually see it sticking to the display right now So it says top so obviously this is the top of the device
4:41
So from here, now that it's applied, we want to peel it off
4:59
There's a big cutout right here for some reason
5:11
And peeling that off isn't going necessarily as nice as I would have hoped
5:29
I've actually peeled that off, trying to figure out something
5:55
Now I'm not necessarily sure if it's referring to for me to actually completely peel it off or do what it is basically at right now. Um, hmm
6:06
Let's lift it up and see what we are dealing with
6:29
So it's already applied. I get what I'm supposed to do
6:39
I'm at least I think so. I'm going to peel that off
6:45
Not like it needed And from here So I trying to get rid of for instance bubbles like we have
7:06
right here. There's a little bit more on here
7:30
Okay, so there we go, that's basically it, applied to the display
7:40
So to be completely honest, it's complicated, or adding a little bit more
7:45
more complexity for no actual reason. Because should be told, personally for me, it's much
7:51
simpler to apply these ones, which don't come with any kind of like this kind
7:55
of design. You just peel it off, slap it on, and you're good
7:59
to go. Here you have like additional steps that really are designed to, like
8:05
allow people that wouldn't really do this normally to apply this to their device
8:12
Which, that being said, it's still kind of screwed up even though there was
8:15
any kind of dust under there I'm pretty sure about that one you can see a couple little dots
8:21
right here and yeah it's it's something that for temper glasses never happens to me when I'm
8:31
actually applying this kind of glass can jump to it straight away I can see how it's
8:35
applying here you don't get to see too much I'm I'll be honest it might be better
8:41
or anything but in terms of application it's not as good to apply it if you already know how to apply tempered glass
8:50
So, there we go. Anyway, hopefully you found this video helpful. If you did, don't forget to hit like, subscribe, and thanks for watching