0:00
Welcome, I'm Ferdinand Mizej, Ulefone Power 3S, and today I will show you how to enable
0:10
and also set up the Do Not Disturb mode. So to get started you want to pull down the notification panel, and from here you should
0:17
see the toggle for it. So for me it's right over here
0:21
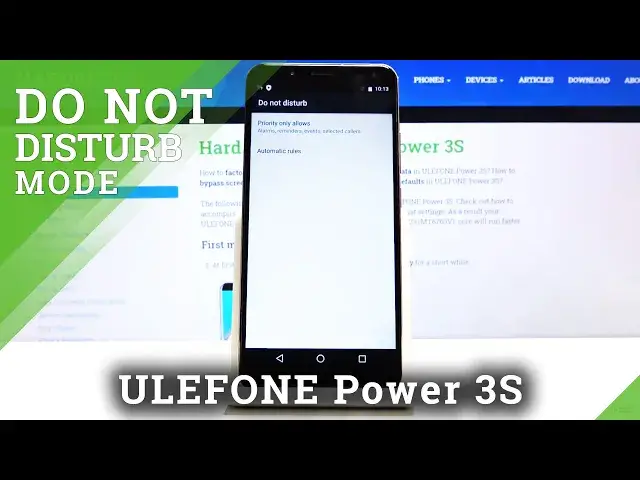
And before you tap on it, you do want to hold it, this will take us to the settings where
0:25
we can customize it. So we have priority only allows, you can tap on it and customize how Do Not Disturb mode
0:31
will work for calls and messages. So we have messages first, and we can allow messages from anyone, which kind of defeats
0:40
the purpose of this, from contacts, stared contacts, which is another way of calling
0:44
favorites, and then none, which just basically no one can message you in a way
0:51
And then calls have the same options, so choose the one that you want
0:56
And also on the bottom you have repeated callers. Now this option completely bypasses whatever you have set right here, so you could have
1:03
literally set to none, so no one can or should be able to reach you
1:07
But if you enable this option right here for repeated callers, if someone calls you twice
1:11
within a 15 minute period, they actually will be able to reach you the second time around
1:16
assuming it's in that 15 minute window. And this is a good option for emergency events, so if someone really needs to get a hold of
1:25
you, and you are the type of person to have constantly Do Not Disturb mode on, this will
1:30
help them actually reach you, so you know that someone is trying to contact you in case
1:35
of some kind of emergency, like I said. And then above that you have just different kind of sound notifications for reminders
1:43
events, and alarms. Now alarms can't be disabled here. So select which ones you want, and from there you can go back
1:52
And the next thing that we have is the automatic rule, which simply allows us to set an automatic
1:57
schedule for the Do Not Disturb mode, so it turns on and off automatically at given days
2:02
of the week and hours. And I'm just gonna simply tap on the ones that exist, and you can see right here how
2:09
it looks like. So you have the name of it, the days that it's enabled, so it's Friday and Saturday
2:19
and then you also have the time, so that's the start time, then it ends next day at 10
2:26
And Do Not Disturb, this is the options that you have for which ones you want, so I'll
2:31
go with priority only, which is what we have customized. And then alarms can override the end time, so this will allow you to, if you already
2:41
have one set, this could be enabled. And if you have some kind of alarm clock set during the Do Not Disturb mode, this will
2:50
completely turn off the Do Not Disturb mode, considering sometimes you might need alarm
2:56
clock to just, I don't know, for instance, remind yourself that you need to leave somewhere
3:00
and this will be a good way to just kind of turn off Do Not Disturb mode without actually
3:06
needing to interact with it. Apart from it being enabled right here, once you set it up, you wanna turn it on right
3:13
here, the automatic one, and if it's the time that it's supposed to be enabled, which
3:18
at the moment it's not, then it will automatically turn on, and if it's on, you can also manually
3:26
turn it off by tapping on it. Now, also, apart from that, you can simply tap on the toggle right here, and it will
3:32
pop up with a couple options, which here, you can either set it to Until You Turn Off
3:37
which when you turn it on, you will have to then turn it off yourself, otherwise it will
3:42
be on till you do so, and then you also have the second option for 1 hour, now this is
3:47
default, but you can tap on the plus to add 2 hours, 3, however many hours you want, and
3:52
once you're satisfied with the hours, or, well, until you turn off, you simply press
3:57
Done, and as you can see, now it's enabled. Now, right now it's set to Alarm Only, as you can see, and that was because that's how
4:05
it was set right here, but if you want to go to Priority Only, that's how you would
4:09
do it, and then again, same option, and that's it. And again, if you have set it for a specific amount of hours, you can still disable it
4:19
at any time by, again, tapping on it to turn it off
4:23
So that is how you would use this option, and also set it up, and if you found this
4:27
video helpful, don't forget to hit Like, Subscribe, and thanks for watching