Up next in 10

If you got questions about Motorola One Action:
https://www.hardreset.info/devices/motorola/motorola-one-action/
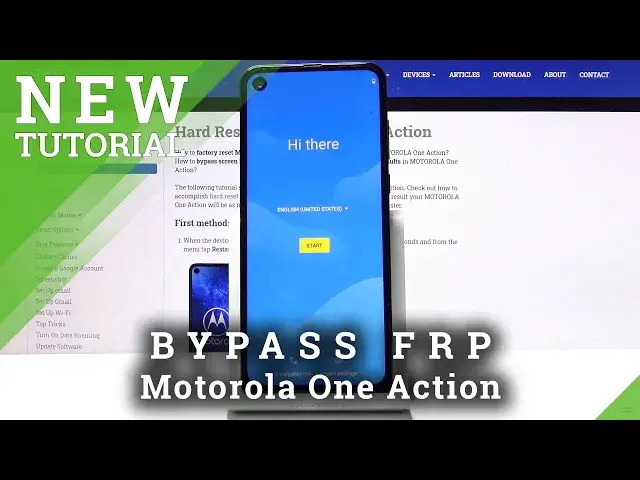
Thank you for clicking on our video, here is your personal tutorial on how to skip a large step after mobile device reset. If you’ve run into the FRP lock and do not remember or know personal verification data, we will gladly explain what you should do with that. There is a way to bypass Google Verification simply and it’s demonstrated in this video. Start watching right now! Don’t forget to check our channel for more.
How to Bypass Google Verification in Motorola One Action? How to skip FRP in Motorola One Action? How to skip Google Verification in Motorola One Action? How to Bypass FRP in Motorola One Action? How to unlock Motorola One Action?
Follow us on Instagram ► https://www.instagram.com/hardreset.info
Like us on Facebook ► https://www.facebook.com/hardresetinfo/
Tweet us on Twitter ► https://twitter.com/HardResetI/
Show More Show Less View Video Transcript
0:00
Welcome from Hussie Murula One Action and today I'm actually how to bypass the Google Verification
0:12
Now as you can see the phone in front of me is already locked so I can unlock it either
0:17
using a pattern or using the Google account. Now assuming we don't know either of those there's a couple things we'll need to begin
0:26
So starting off you will need to have a connection to a network we'll need it. work we'll need it and that's about actually it so from here let's go back to
0:34
the first page and change the language to any kind of other language that
0:38
uses just a different keyboard Greek Russian things like that work okay so as
0:45
you can see I'm gonna choose Greek right here and let's just proceed from this so
0:50
we want to go back to the locked screen let me quickly put in the
0:58
Wi-Fi password there you go
1:09
so as you can see there we go there is the field you want to top on it and hold this
1:14
globe icon go to the language settings right here top on add language and choose
1:20
any kind of language without the arrow and then top on add which is just a blue
1:25
button right there we can add another one again without the arrow add on the blue button and that should be good enough so
1:34
now we're going to go back again to the first page and change it back to English and
1:38
now progress to it again so again we're going to get to the page where it tells
1:44
us to verify the account again top on the field hold these the globe and if
1:55
you haven't done it by now probably would be a good time to change it QWERTY as you can see alphabet QWERTY so select that and then hold it again
2:04
if you have selected and then go to language settings from here again top on add
2:09
keyboard and scroll down and this time around you're looking for one with an arrow so as
2:13
you can see there is Albanian let's choose that and from here top on a 3 dots go to
2:18
help and feedback and describe your issue you're gonna search for a MERS code so M-O-R
2:25
there we go use a M-R code So you want to choose that it will give you a video right here and you want to top on it And once it loads up top on a three dots and go to watch later This will open up our browser
2:41
So let's accept and continue and turn on sync, no thanks. And from the search part right there, you want to type in hard reset. Info
2:55
And let's go. And once you're going. And once you're on the website, tap on the three bars, go to the download category
3:05
and then in a download search field you're going to type in Android 7.1.2
3:11
So there we go, bypass FRP, Android 712 and 10
3:27
Tap on the download, scroll down, hold the button, and choose Open and Cognito tab confirm it and this will start the download
3:41
so once it's done downloading tap on open and before we can install it we will need to allow unknown sources so
3:49
up on settings and then allow from this source check this on there we go and go back and then install
4:00
And once it's done, open it up. And there we go. Disregard the fact that it's going to be crashing now, it doesn't really matter
4:11
Go back, go back. Go back once more. And from here you want to change the search to settings
4:20
So type in settings for the download that you're looking for, search for it
4:25
and it should give you one app. So Android Settings, APK. Download it, scroll down
4:30
and again hold it and open incognito and okay and once it's done
4:37
downloading open it up install and open and from here we're gonna start
4:45
off by going into the applications or apps so I can actually find it and your
4:51
options see all 35 top on the three dots go to show system and scroll down
5:00
2G I think we have to just kind of roll down. Okay so here we looking for Google Play Services and Google Play Store Now it looks like there is no Google account manager so yeah
5:22
So Google Play Services, stop on it, disable, disable app, go back, Google Play Store, disable, disable, and go back
5:32
So make sure you don't go back too far. It will take you, if you do, it will take you back to the browser
5:41
And if that has happened to you, then what you want to do is re-download the settings
5:45
up and then we install it and open it up again and continue basically where you left off
5:51
So from here, we're now going to go into accounts, tap on out account, and choose Google
6:02
and log in with a Google account. Now if you don't have one you can always create it, it's completely free
6:07
You can create basically a trash Google account specifically for this purpose if you want to
6:12
I'm going to use mine that I already have. And I'm going to put in a password for it
6:24
And next to login. There we go. So as can see I have logged in now
6:31
Google Terms of Service here. Yep, I agree. And once you have logged in, let's go back
6:38
And go back to the apps that we have disabled. So apps and notifications, CL35, show system, and scroll down to G
6:48
Google Play Services, enable. Go back Google Play Store. Enable. And now, old power key
6:57
Once you enabled, the two apps that we have previously disabled. So top on restart
7:02
And let's wait for the device to boot back up. Okay, as you can see after the restart, we are back in the setup screen, so again let's progress through this setup now
7:17
And you should start seeing a single difference here once it reaches the verify account
7:23
Stone copy. And there we go
7:35
So this is previously where it was telling us that we need to verify our account
7:40
Now it telling us that account was added and it provides me with the account that I have added right before the restart Now as you also seen there was this pop that the application that I have downloaded is crashing
7:53
It doesn't really matter. That application was used so Android thinks that we can add Google
8:01
Without this application when we go into accounts, Google option would not be visible at all
8:07
So at this moment we just want to kind of skip through most of this and set it up
8:13
as quick as possible just to get access to home screen. Again, as you can see, keeps crashing, just disregarded
8:34
Okay, so once we're on the home screen, from here, you want to go to the settings
8:43
scroll all the way down to system, advanced, reset options, and choose Erasol Data Factory Reset
8:51
Now as you can see one of the things that it removes is your Google account, and it provides us with the Google account right here, but it also removed the one that was blocking us before
9:00
So let's stop on Erasol Data, Erase All Data, and let the device basically unlock itself
9:13
So as you can see now the process is finished and you can now set up the device as
9:25
how we would like so. But again go through this in a relatively quick manner, skipping majority of the things
9:33
But the key thing to keep in mind right here, the fact that we can skip Wi-Fi, the device would be lacked, this option would not be visible
9:42
So like I said, you can basically now add any kind of protection, your Google accounts, connect Wi-Fi
9:55
basically do whatever you want with it. By this point, it is fully unlocked
10:02
And there we go. As you can see, we're now done with the setup, and there's no need to verify anything
10:08
So if you found this bypass helpful, don't forget to hit like, subscribe
10:12
and thanks for watching