0:06
From here, QBarr X20 and today I'll show you how to bypass the Google verification on this phone
0:12
Now as you can see the phone right here is locked and I could unlock it either using the pattern that was previously used on this device or using the Google account
0:20
Now assuming we don't know either of those, what we'll need for the bypass is a SIM card
0:27
Now the SIM card needs to have some kind of contact on it. It doesn't really matter if the contact is real or not
0:32
It just needs to have some kind of contact saves to it. So, actually, let's back out to the first page right here
0:41
Now you do also want to be connected to network. So if you're not progressed a little bit through the setup
0:46
where it tells you that, you know, you can connect Wi-Fi and then go back to the first page
0:52
So from here, I'm going to take off the cover so I can take out the tray
1:00
Now my sim card does have a pin on it so once I pop it in it should give me, there we go, this page right here, so I'm just going to quickly confirm it so I can unlock the sim card
1:27
And from here, once you have your SIM card with contact in, select the..
1:33
Ok, but it's one of those that changes the language. Okay. So, yeah, let's select the emergency call
1:42
Then top emergency info twice. Tap on a pencil. Add contact. And as you can see, you have a bunch of contacts right here on the SIM card
1:54
So what we need to do is simply select whichever one you want. what you want. There we go. So it adds a contact obviously. You want to tap on that contact
2:03
and from here we're going to go to see three dots, share and it will bring up a couple
2:12
options so you want to hold the Gmail icon. This will bring up a window right here
2:20
and you want to select Hub Info And from here advanced scroll down and
2:30
So we know, my bad. Notifications, then advanced. And then additional settings in the app
2:41
From here we're going to top on the three dots, help and feedback
2:46
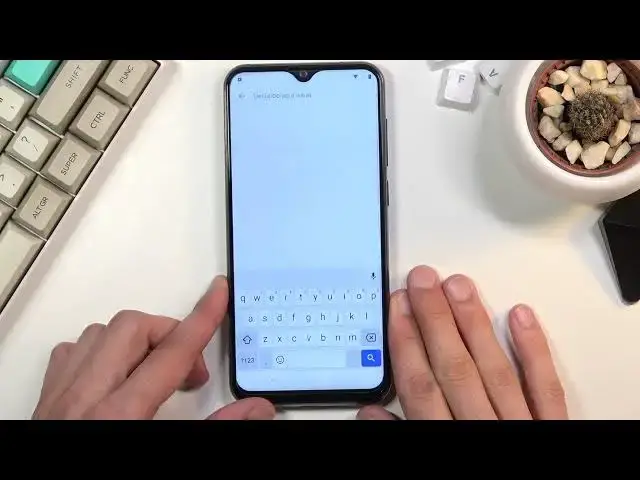
And in this... Whoopsy, my bad. Let me just go back. Okay, and then describe your issue, you want to type in..
2:53
Okay, apparently this doesn't function. Okay, I just encountered some kind of bug apparently
3:16
As you see, I was stopping on the field and it wasn't bringing up the... up the keyboard but apparently leaving it and coming back to it seemed to fix it
3:24
So in the describe your issue field you want to type in just two letters, MO and this will bring
3:29
up use Morse code as a suggested option and once you top on it it loads it up and it has a video
3:35
so click on that video and it will bring up three dots on the video
3:40
You want to choose watch later which will open up our browser. So from here obviously it's
3:48
Select Accept and Continue and no thanks so we can actually use that browser
3:52
Once it loads up, right at the top you want to navigate to hard reset. Info
4:02
Like so. If you need a moment to write it down, do pause the video
4:18
Go to the download category and then in the download search bar you want to search for Android 8
4:31
Like so. And this should only have one application right here so obviously let select download scroll down download once more confirm it and it should store the download And once it finished you can select open Before we can actually install it unfortunately we need to go into the settings right here and then select allow from this source go back and now we can select install
5:06
From here, once it's finished installing, select Open, and we're going to now start off
5:11
by selecting the Google Account Manager, EPK install. And you want to choose for version 6.0
5:20
And again we need to go into these settings, allow from this source, go back and install
5:25
Now once this is done installing, the only option here is done, so obviously let's click on it
5:33
and then you want to choose bypass FRP, select the browser sign in, then top only three dots
5:40
and again select the browser sign in, confirm it. And now we can log in with your Google account
5:49
Now there is an option to create an account but never use it so I don't know how well it works
5:55
That is for the people that would prefer not to use their actual account and I don't know
5:59
create some kind of throwaway account for this. You can but probably it will be most likely easier to do it on your computer and then once
6:07
you create it log in here. I already have my account so that is one
6:14
what I'm going to be using right here. There we go
6:27
Now I have to put in a password, so obviously I'm going to do that off the screen
6:44
Now as you can see it did a login right now. So from here all we really need to do is hold a power key and select the reboot
6:59
Or restart as it's called a ink here. Once again once the device puts up uh this time around we actually going to take out the SIM cards so I don have to put in the pin
7:23
There we go. So, let's go through the setup process right now
7:40
And right of the bad, you can see right here, this is previously where it would tell us that we need to either use the pin to verify the old user or log in with the old Google account
7:50
And right here, it changed into account added. And as you can see, it's the account that I have added for you. Obviously it will be different
7:57
It's going to be the account that you use to log in. So, yeah, let's just select next
8:06
And right now you want to finish up the setup. up skip as much as you can it doesn't really matter how you set it up right now so
8:14
you can see I'm just skipping everything the purpose of that skipping everything
8:21
and not setting it up right now is because the device is still technically locked
8:26
it still has the Google account and pattern and its memory somewhere just not stopping us
8:32
at this moment from doing anything so what we can do right now to actually remove those
8:37
accounts is navigating these settings, scroll all the way down to system, advanced
8:44
reset options and erase all data factory reset, reset phone and once you tap on the
8:50
erase everything button it will basically remove everything from the device so that
8:56
will include also the accounts that were blocking us and once the reset is
9:00
finished you'll be back in the setup screen unfortunately but at that point you can set up your device however you like so
9:07
I'm not going to be going through reset right here because it's basically all autopilot
9:14
and then it's just a typical setup screen so you can do it however you like
9:20
So this will basically conclude the bypass right here and if you found this very helpful, don't forget to hit like
9:27
Oh that was loud. Yeah, don't forget to hit like, subscribe and thanks for watching