0:00
In front of me is a Samsung Galaxy A40 and today I will show you how to bypass the Google verification screen
0:13
So I already have everything ready in front of me. There is a SIM tray right here and a little eject tool
0:22
So what you want to have is basically a SIM card with a pin on it
0:26
So once you put it in the phone will request a pin. and by doing so to also take us to the lag screen, which we want
0:34
And you want to also connect to the internet. So progress to the setup like you usually do
0:42
till you get to the screen where it wants you to connect, so it can then tell you that you need to verify the account
0:48
So I am already connected, as you can see. And once that ready, you can put in the tray
0:57
So slide it on the SIM card. and there will be a trick that we're gonna do
1:07
So as you can see, now we have the screen, black screen with a pin
1:13
And you want to put the pin eject tool in there. And what you want to do is pop the SIM card back out
1:21
while right after you see it pop out, press the power button
1:26
You want to do it really quickly, and there is just a brief moment between
1:30
between like the screen unlocking and the time we get a message, they can do so
1:37
Just to give you an example of doing it wrong, if you do it too slowly, you get this message
1:42
and it automatically goes, or it doesn't go. Let's see, let's try that again, just to show you what I mean
1:53
So if you pop it out, it should do this. and basically unlocks the device and goes back to the screen here
2:02
And we want to have it like it was previously. So we do it by basically pressing the power button right after you eject the SIM tray
2:11
So let's do that once more but correctly this time. So putting it in
2:17
Screen goes like so. And you eject it and press power button
2:26
And as you can see now we're on a lock screen. From here you want to tap this little button right over here, the lock screen or the lock
2:35
And then you'll get the no sign in, tap on notification settings, and then tap on see all here
2:47
And you want to most recent from here and again all. And then go and find YouTube up
2:56
So someone on the bottom, there it is. You can tap on it
3:02
From here, tap on an app notification settings. So right here. Then top on about
3:11
And Google Privacy Policy. Okay. And now, just accepted. You don't need to sign in
3:20
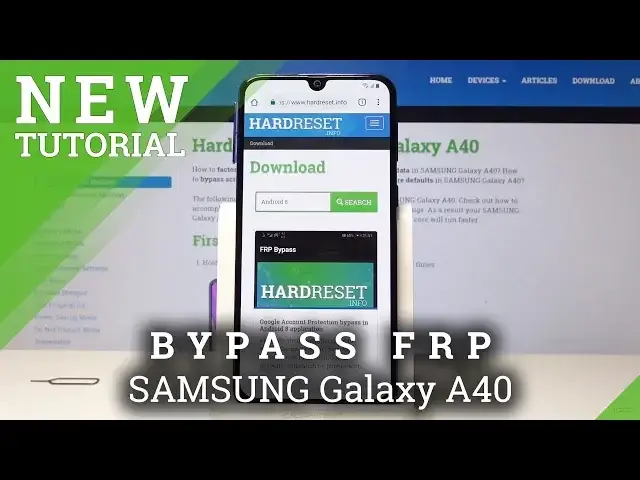
You just want the access to the browser. So from here we going to go to hard reset website so hard reset that info and go
3:37
now you want to change the category to download so top on the bars over there and then
3:46
select download and that downloads search field type in Android 8. Move it so you can see it
3:57
You can see Android 8. You can see Android 8, search for it
4:08
And you'll receive this FRP bypass. Tap on download and go down once more
4:18
right here continue and you need to allow it okay and then tap on open once it
4:31
it downloads now to actually install it will need to enable unknown sources so in
4:37
settings I'm gonna flip this one and I can go one back and then we'll be able to
4:44
tap on install once it's installed we're gonna open it. So tap on Open
4:56
And from here what do we want to do is tap on Google Account Management, I think, or... Yep
5:04
Let's go back. It's Google Account Management and installed for version 6.0
5:11
Then once more, go into settings, enable unknown sources, and go one back
5:17
one back and again tap on install. Once it install it's just tap done and now tap on bypass FRP and select browser sign in
5:38
And on here we're going to tap on the three little dots right here to go into the menu and then select browser sign in
5:46
okay and now we get to put in the email that you would wish to use so I'm
5:53
gonna put mine in and top on next and now put in the password for the email that you have put in
6:06
I'm gonna do the same Okay, and once you tap on Next, it will go to the little screen like it's loading and then go back here
6:23
And at this moment we're done with this program and what we need to do is reboot the device
6:30
So I'm actually going to take the SIM card out and put this back in
6:35
It's not needed anymore. So hold the power key and select, restart
6:46
What this will do now is once we go back to the setup something and you have the Android verification screen it will automatically think that you already logged in with the account that we provided just a moment ago and you can proceed without actually inputting
7:03
anything in there and basically get to the entire setup of the device but once
7:10
it's finished or once we go to the setup we want to do a last hard reset of
7:17
the device to remove any kind of residue after the previous account so let's do that once the
7:26
device is on okay so I'm just gonna quickly skip through this
7:47
And then I can see there was the account that we provided
8:00
And we didn't need to actually put in anything and just proceed it on
8:06
I'm just going to tap on Don't Restore. Now once more this setup doesn't really matter because we're going to go through it once more after we're finished
8:32
So just go through it as quick as possible. Okay, so now that we have the access to the
9:21
the home screen, which you want to do is go into settings. So I pull down the notification and you have a setting icon right here
9:30
Go to the settings, go all the way down into, where is it
9:39
I think it's going to be advanced features or not. It's going to start for a reset
9:49
So here it is, here it is reset. It in general management and reset You can top on it and tap on reset settings or well not on this one sorry
10:27
Factory data wipe. That's what I want or what we need. So once you go into factory data wipe, just let's go again from like the beginning
10:37
so you can get a clear view of where I went. It's going to be in general management right here
10:46
almost at the bottom and from here have the reset and you have factory data reset
10:53
Step on reset once more delete all and wait for the process to go through
10:59
And once it has reset we'll be back in the setup screen but this time there will be no previous
11:05
Google account to verify so we can just set up completely as a fresh device
11:11
So all this is doing I'll be back once once. Back once we actually are in the setup screen
11:45
And as you can see, now the process is finished and we can now the process is finished
12:13
And we can now set up the device once more. So as you can see already, we can skip the Wi-Fi connection
12:40
which if it would be still locked, we'd actually, actually have to connect
12:47
Stop on accept. You can go to this process as you like
12:55
You can set up your passwords, your Google account connect, the internet, set up some kind of pin and protections
13:03
It's now like the official setup, so you don't need to worry about anything
13:09
and once it is set up it will be all fine. And as you can see, device is set up and working fine
13:26
Everything is okay. So that is basically how you do a bypass of the Google verification
13:32
And if you found this video helpful, don't forget to hit like, subscribe and thanks for watching